
Tree Care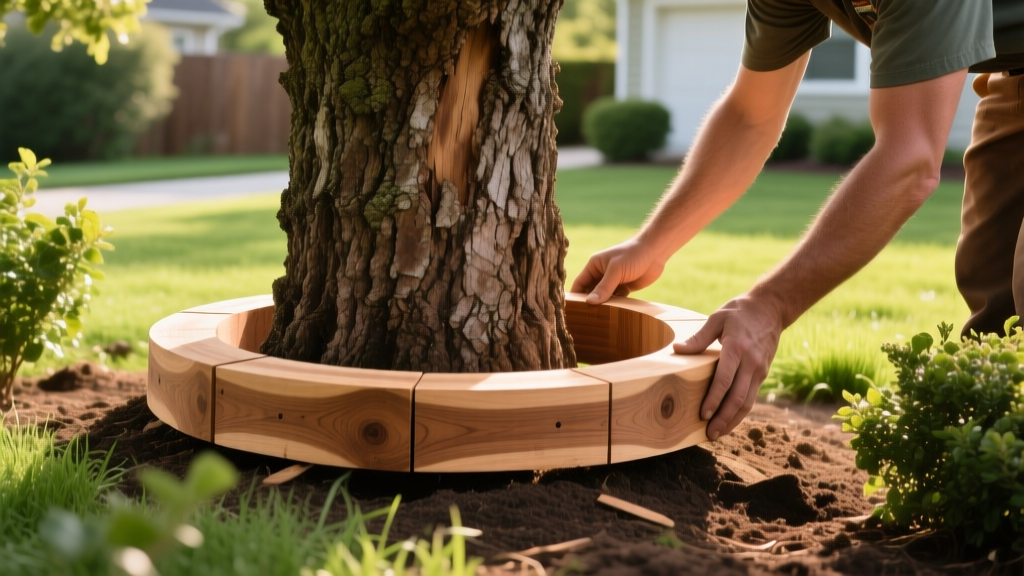
How to Install Landscaping Wood Tree Rings Safely
The Hidden Dangers of Landscaping Wood Tree Rings
Installing landscaping wood borders around trees is one of the most common weekend projects for homeowners seeking a clean, manicured yard. However, when executed incorrectly, these wooden tree rings become ecological traps. Improperly installed wood borders restrict soil gas exchange, trap excess moisture against the root flare, and create an ideal environment for Phytophthora root rot and secondary wood-boring insects. According to the University of Minnesota Extension, excessive mulch and enclosed borders that bury the root flare are leading causes of urban tree decline.
This guide provides a scientifically grounded, step-by-step framework for installing landscaping wood tree rings that protect your tree's critical root zone (CRZ) while delivering the aesthetic benefits of structured hardscaping.
⚠️ Arborist Warning: The "Volcano" Effect
Never use landscaping wood to build a raised bed directly against a tree trunk. Piling soil or mulch higher than the natural root flare suffocates the phloem tissue, leading to girdling roots and eventual tree death within 3 to 7 years.
Why Most Landscaping Wood Borders Fail
Before breaking ground, it is critical to understand the failure modes associated with wood tree rings. Most DIY installations fail due to three specific errors:
- Oxygen Deprivation: Burying landscaping timbers deeper than 6 inches compacts the soil and blocks oxygen from reaching the rhizosphere. Tree roots require a constant exchange of oxygen and carbon dioxide; solid wood walls buried in heavy clay act as an impermeable barrier.
- Chemical Leaching: Older pressure-treated woods or certain modern copper-based treatments can alter soil pH and introduce heavy metals into the immediate root zone, damaging fine feeder roots.
- Moisture Trapping: A continuous, sealed wood ring prevents surface water from draining naturally, creating a perched water table inside the ring during heavy spring rains.
Choosing the Right Landscaping Wood for Tree Health
Not all landscaping wood is created equal. When selecting materials for a tree ring, you must balance rot resistance, structural longevity, and chemical safety. Below is a 2026 market comparison of the most common materials used for tree borders.
| Wood Type | Avg. Cost (per linear ft) | Lifespan | Tree Safety Rating | Notes |
|---|---|---|---|---|
| Western Red Cedar | $9.00 - $14.00 | 10-15 Years | Excellent | Naturally rot-resistant; no chemical leaching. |
| ACQ Pressure-Treated Pine | $5.50 - $8.00 | 15-20 Years | Moderate | Alkaline Copper Quaternary can slightly raise soil pH; use a plastic liner. |
| Untreated White Oak | $6.00 - $9.00 | 7-10 Years | Excellent | High tannin content resists decay naturally; safe for all soil types. |
| Recycled Composite Timber | $18.00 - $26.00 | 25+ Years | Excellent | Zero leaching; requires specialized carbide-tipped saw blades to cut. |
Step-by-Step Guide: Installing a Safe Landscaping Wood Tree Ring
Follow this precise installation protocol to ensure your hardscaping enhances, rather than harms, the tree's vascular system and root architecture.
Step 1: Calculate the Critical Root Zone (CRZ)
Do not guess the size of your tree ring. The border must be placed outside the tree's immediate root flare zone. Measure the tree's Diameter at Breast Height (DBH) using calipers or a flexible tape measure at 4.5 feet above the ground. The Rule: Calculate 1.5 feet of radius for every 1 inch of DBH. For a tree with a 10-inch DBH, the minimum radius for your wood ring is 15 feet from the trunk center. If space constraints require a smaller ring, never install wood borders closer than 3 feet from the trunk of a mature tree.
Step 2: Excavate a Shallow, Root-Conscious Trench
Mark your circle using a string tied to a ground stake at the trunk's center. Dig a trench exactly where the landscaping wood will sit. Crucial Measurement: The trench should be no deeper than 4 to 6 inches. If you encounter structural roots thicker than 2 inches in diameter, do not sever them. Reroute the wood border slightly outward or use a flexible bender board in that specific section to bridge over the root without compressing it.
Step 3: Set the Wood Border with Drainage Gaps
Place your landscaping wood into the trench. To prevent the ring from becoming a water trap, do not seal the joints completely. Leave a 1/4-inch gap between timber ends, or drill 1/2-inch weep holes every 4 feet along the bottom edge of the wood border. This allows hydrostatic pressure to escape during heavy rainfall, preventing soil saturation inside the ring.
Step 4: Expose the Root Flare
Before adding any mulch inside the ring, use a hand trowel or an air spade to carefully remove soil and old mulch from the base of the trunk until the root flare (the widening at the base where trunk meets roots) is 100% visible. This is the single most important step for long-term tree survival.
Step 5: Apply the 3-3-3 Mulch Rule
The Arbor Day Foundation strongly advocates for specific mulching parameters to prevent trunk decay. When filling the interior of your new landscaping wood ring with wood chip mulch, adhere strictly to the 3-3-3 rule:
- 3 Inches Deep: Never exceed 3 inches of mulch depth. Deeper layers become anaerobic and breed harmful fungi.
- 3 Feet Wide: Ensure the mulch covers a minimum 3-foot radius around the trunk (ideally extending to your wood border).
- 3 Inches Away: Keep the mulch exactly 3 inches away from the physical bark of the trunk. The root flare must remain exposed to ambient air.
💡 Pro Tip: Nitrogen Tie-Up Prevention
As landscaping wood mulch decomposes, soil microbes consume nitrogen from the top layer of soil, potentially starving your tree's surface feeder roots. To counteract this, apply a 1/2-inch layer of finished compost directly onto the soil before laying down the wood mulch. This provides a slow-release nitrogen buffer.
Seasonal Maintenance and Inspection
A landscaping wood tree ring is not a "set it and forget it" feature. Wood shifts with frost heave, and mulch decomposes. Perform this 5-point inspection every spring and late fall:
- Check for Trunk Contact: Ensure wind or animal activity hasn't pushed mulch against the trunk bark.
- Inspect Wood Integrity: Look for white mycelium or soft, spongy spots on the interior-facing side of the landscaping wood, indicating advanced decay.
- Clear Weep Holes: Use a wire hanger to clear dirt and debris from the drainage holes drilled during installation.
- Top-Up Mulch: If the mulch layer has decomposed to less than 1.5 inches, replenish it with fresh, coarse arborist wood chips (avoid fine shredded "double-hammered" mulch, which mats and repels water).
- Monitor for Girdling Roots: Check the exposed root flare for any roots that have begun wrapping around the trunk, a common side effect of previous improper mulching.
Frequently Asked Questions
Can I use reclaimed railroad ties for my tree ring?
No. Railroad ties are treated with creosote, a toxic compound containing polycyclic aromatic hydrocarbons (PAHs). Creosote will leach into the soil, severely damaging the tree's fine root hairs and posing a health risk to humans and pets.
Will a landscaping wood ring protect my tree from string trimmers?
Yes, this is one of the primary functional benefits. By defining a clear boundary, the wood ring keeps string trimmers and lawn mowers at a safe distance, preventing "mower blight"—the mechanical stripping of bark that invites fatal fungal pathogens like Armillaria.
Should I put landscape fabric under the mulch inside the wood ring?
Never use impermeable plastic or woven landscape fabric inside a tree ring. These materials block water infiltration, restrict oxygen exchange, and prevent the natural decomposition of organic matter into the soil profile. Always place mulch directly on top of the native soil.

