
Tree Care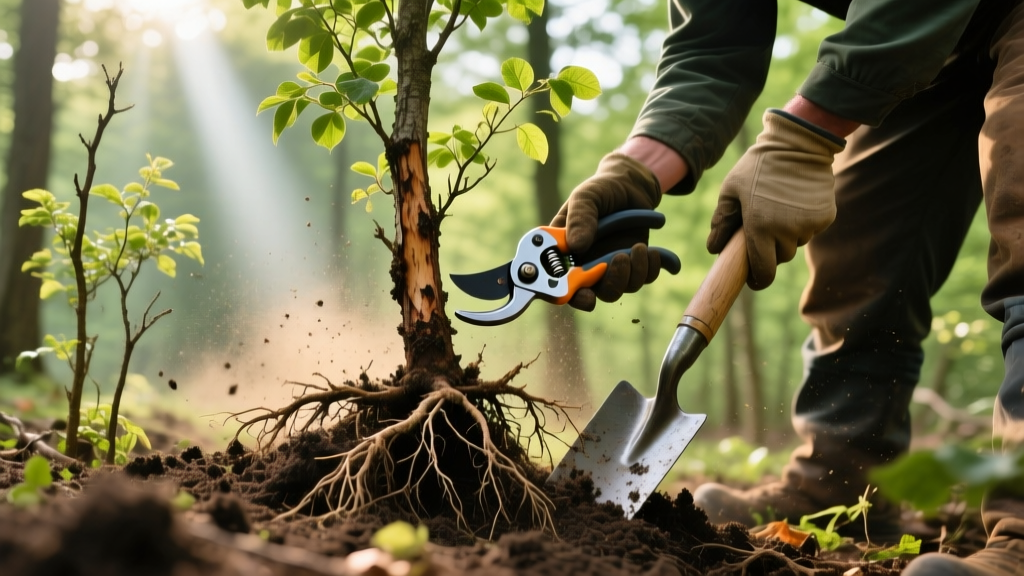
Pest Control Playbook for Small Tree Removal: Invasive Saplings
The Threat Matrix: Why Nuisance Saplings Are Pest Magnets
In the context of landscape pest management, a volunteer sapling is rarely just a harmless weed. Invasive and nuisance small trees act as structural weeds and critical 'pest bridges' that harbor destructive insects and diseases, allowing them to overwinter and multiply before spreading to your prized landscape specimens. When executing a small tree removal strategy from a pest-control perspective, the goal is not merely clearing space; it is dismantling a biological safe haven.
Species like the Tree of Heaven (Ailanthus altissima) are primary hosts for the Spotted Lanternfly (SLF), an invasive planthopper that excretes honeydew, fostering sooty mold and devastating local agriculture and ornamentals. According to USDA APHIS, removing the preferred host trees is a foundational step in SLF population management. Similarly, volunteer ash saplings can harbor Emerald Ash Borer (EAB) larvae, while unchecked Bradford pear sprouts create dense, thorny thickets that shelter rodents and tick populations.
| Invasive Species | Primary Pest Vector | Root Suckering Risk | Extraction Difficulty |
|---|---|---|---|
| Tree of Heaven | Spotted Lanternfly | Extreme (Hydra Effect) | High (Requires chemical) |
| Bradford Pear | Ticks, Rodents, Fire Blight | Moderate | Moderate (Thorny) |
| Russian Olive | Borers, Canker pathogens | High | High (Deep taproot) |
| White Mulberry | Fruit flies, Scale insects | Low | Low (Shallow roots) |
Phase 1: Mechanical Extraction Protocols
The mechanical approach to small tree removal depends entirely on the trunk caliper (diameter) measured at 6 inches above the soil line. Using the wrong tool leads to root snapping, which guarantees aggressive resprouting in species like the Tree of Heaven. Penn State Extension emphasizes that leaving even small root fragments of Ailanthus in the soil can result in dozens of new, aggressive suckers.
Caliper Under 1 Inch: The Hand-Pull Method
For seedlings and first-year volunteers, hand extraction is highly effective if the soil is adequately moistened. Use an Extractigator or a heavy-duty soil knife (like the AM Leonard Stainless Steel Hori-Hori). Grip the sapling at the absolute base of the root collar—not the stem—and pull at a 45-degree angle. If the stem snaps, use the Hori-Hori to excavate the top 3 inches of soil and sever the taproot below the root crown.
Caliper 1 to 3 Inches: Leverage Extraction
Once a sapling exceeds 1 inch, hand-pulling becomes impossible without specialized leverage tools. The Weed Wrench (Medium size, handling 1 to 2.5-inch stems) or the Uprooter are industry standards. These tools clamp onto the base of the trunk and use a fulcrum plate against the soil to pop the entire root ball out of the ground.
Pro-Tip: Always wrap the clamping jaws in a piece of heavy canvas or rubber if you are extracting near desirable plant roots to prevent the steel jaws from severing adjacent non-target root systems.
Caliper 3 to 5 Inches: Cut-and-Treat Preparation
At this diameter, the root mass is too extensive for manual extraction without heavy machinery. You must transition to a cut-stump protocol. Use a high-quality Japanese pull saw, such as the Silky Gomboy 210mm, which cuts on the pull stroke and leaves a remarkably smooth surface. A smooth cut is critical; jagged chainsaw cuts create pockets where water pools, diluting the subsequent herbicide application and reducing efficacy.
Phase 2: Chemical Stump Eradication (The Anti-Hydra Protocol)
Cutting an invasive tree without immediate chemical treatment is a catastrophic mistake in pest management. The 'Hydra Effect' occurs when the severed root system, suddenly deprived of its canopy, panics and pushes up dozens of water sprouts and root suckers. To prevent this, you must translocate a systemic herbicide directly into the cambium layer.
⚠️ CRITICAL WARNING: Herbicide Timing
Systemic herbicides must be applied to the freshly cut stump within 15 minutes of the cut. After 15 to 30 minutes, the tree's natural defense mechanisms will seal the vascular tissue with resin and tyloses, rendering the cut stump completely impermeable to chemical uptake.
The Cut-Stump Step-by-Step
- Mix the Solution: For cut-stump applications, a 50% solution of Glyphosate (e.g., Roundup Pro, 41% active ingredient) mixed with water is standard. Alternatively, a 20% solution of Triclopyr ester (e.g., Garlon 4) mixed in a basal oil or diesel carrier is highly effective for thick-barked species and works better in cooler autumn temperatures.
- Make the Cut: Cut the small tree horizontally, leaving a stump no taller than 2 inches above the soil line. This minimizes the surface area exposed to rain and keeps the chemical close to the root collar.
- Target the Cambium: You do not need to drench the entire stump. The heartwood in the center of the tree is dead and will not transport chemicals. Use a 1-inch foam brush or a targeted spray bottle to apply the herbicide strictly to the outer 1-inch ring (the cambium and phloem layers) around the perimeter of the cut.
- Mark the Stump: Add a non-toxic dye (like Tracker Blue) to your herbicide mix. This allows you to visually confirm complete coverage of the cambium ring and prevents accidental double-application.
Phase 3: Site Remediation and Post-Removal Monitoring
Once the sapling is removed and the stump treated, the physical void left in the soil requires attention. Large extraction holes can disrupt drainage patterns and create depressions where water pools, fostering fungal pathogens like Phytophthora.
Soil Backfill and Mycorrhizal Inoculation
Backfill the extraction void with a 50/50 mix of native soil and coarse compost. Avoid using heavy peat moss, which can create a 'bathtub effect' that retains too much moisture. To accelerate the breakdown of the dead, herbicide-treated root mass and to protect nearby desirable trees, incorporate a granular mycorrhizal inoculant (such as MycoApply Endo) into the backfill. This introduces beneficial fungi that will colonize the roots of your remaining landscape plants, helping them outcompete any residual soil-borne pathogens left behind by the removed nuisance tree.
The 24-Month Monitoring Schedule
Even with perfect chemical application, dormant root buds may occasionally push a single sucker. Monitor the removal site every 30 days during the spring and summer growing seasons. If a sucker appears, do not pull it; pulling tears the root and stimulates more buds. Instead, snap it off at the base or paint the individual sucker leaf with a 2% Glyphosate foliar spray.
Cost & Effort Comparison: DIY vs. Professional Small Tree Removal
Deciding whether to execute this playbook yourself or hire a licensed arborist depends on the scale of the infestation and your comfort handling restricted-use chemicals. Below is a breakdown of estimated costs for the 2026 season.
| Removal Scenario | DIY Cost Estimate | Professional Cost Estimate | Key Considerations |
|---|---|---|---|
| Single Sapling (Under 2" caliper) | $45 - $85 (Tool rental/purchase + herbicide) | $125 - $175 (Minimum trip charge) | DIY is highly recommended; pro minimums make this cost-prohibitive. |
| Thicket of 10-15 Sprouts (3-5" caliper) | $150 - $250 (Chemicals, PPE, saws) | $600 - $1,200 (Hourly crew rate + disposal) | Pros have access to commercial-grade Triclopyr and wood chippers. |
| Sapling near utility lines or hardscape | N/A (High liability risk) | $350 - $500 per tree | Always hire insured pros for trees within 10 feet of power lines or retaining walls. |
By treating nuisance saplings as critical pest vectors rather than mere aesthetic annoyances, you protect the broader ecological health of your landscape. Proper tool selection, precise cambium targeting, and vigilant follow-up ensure that your small tree removal efforts yield permanent results, closing the door on the pests that rely on these invasive hosts to survive.

