
Tree Care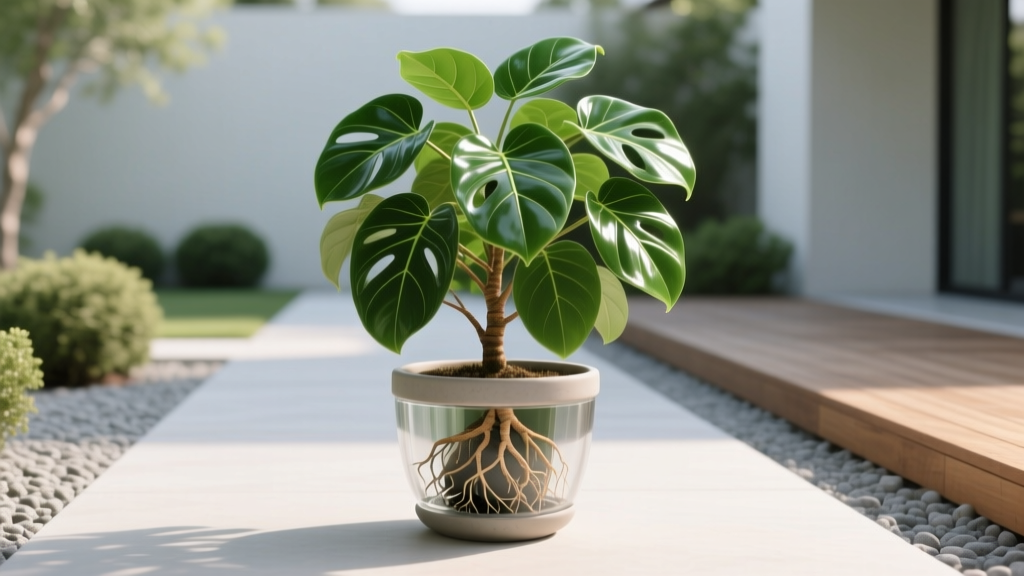
Caring for Money Tree Plant: Potting & Establishment Guide
The 90-Day Establishment Window: What to Expect
When you bring home a Pachira aquatica, commonly known as the money tree, the first 90 days dictate its long-term survival. Native to the freshwater swamps of Central and South America, this tropical wetland tree is highly sensitive to root hypoxia (oxygen deprivation) when confined to indoor containers. Caring for money tree plant specimens successfully requires mimicking their natural hydrological cycles while providing structural root support.
Establishment Timeline:
- Days 1–14 (Acclimatization Shock): Expect minor lower-leaf yellowing and drop. The plant is adjusting to lower indoor humidity and altered light angles.
- Days 15–45 (Root Exploration): New white feeder roots push into the fresh soil matrix. Foliage growth pauses as energy diverts subterranean.
- Days 46–90 (Canopy Stabilization): New apical growth emerges. The plant is now fully established and ready for a standard fertilization regimen.
Engineering the Ideal Soil Matrix
The most common failure point in caring for money tree plant varieties is utilizing standard, peat-heavy indoor potting soils straight from the bag. These soils suffer from a high perched water table, keeping the bottom third of the pot perpetually saturated and inviting Pythium root rot. To achieve the required 15% to 20% air-filled porosity (AFP), you must engineer a custom, fast-draining matrix.
| Component | Ratio | Function & Sourcing | Est. Cost (2026) |
|---|---|---|---|
| High-Quality Potting Base | 50% | Provides baseline nutrients and moisture retention. Use a well-aerated brand like FoxFarm Ocean Forest. | $18 / 1.5 cu ft |
| Coarse Horticultural Pumice | 25% | Prevents soil compaction over time. Avoid perlite, which degrades and floats to the surface. Use 1/4-inch pumice. | $15 / 5 lbs |
| Fir Orchid Bark | 25% | Creates macro-pores for rapid drainage and root anchoring. Use 1/2-inch graded bark chunks. | $12 / 4 quarts |
Mix these components thoroughly in a galvanized tub before potting. The resulting blend will drain rapidly while retaining just enough capillary moisture in the potting base to sustain the plant between waterings.
Container Selection and Drainage Dynamics
The vessel you choose directly impacts the soil's drying curve. When caring for money tree plant root systems, the pot's material and geometry are just as critical as the soil itself.
Sizing the Pot
Never over-pot a money tree. A container that is too large holds excess soil volume that the root system cannot access, leading to anaerobic decay. Select a pot that is exactly 2 inches wider in diameter than the current nursery root ball. If your plant is in a 6-inch nursery pot, move it to an 8-inch decorative container.
Material Science: Terracotta vs. Glazed Ceramic
- Unglazed Terracotta: The porous clay walls wick moisture laterally out of the soil profile, increasing evaporation rates by up to 30%. This is the mandatory choice for growers in low-light environments or those prone to overwatering.
- Glazed Ceramic / Plastic: Non-porous walls trap moisture. Only use these if your money tree is located in a highly arid climate, directly in a south-facing window, or if you frequently travel and miss watering schedules.
Critical Drainage Rule: Ensure the pot has at least one drainage hole no smaller than 1/2 inch in diameter. If using a decorative cache pot without holes, keep the plant in a plastic nursery liner and physically remove it to water over a sink, allowing 100% runoff before replacing it.
Step-by-Step Potting Protocol
Execute this process during the active growing season (spring through early autumn) to minimize transplant shock.
- Pre-Moisten the Mix: Lightly dampen your custom soil blend before potting. Bone-dry peat and bark can become hydrophobic, repelling the initial watering.
- Inspect and Prune Roots: Gently tease the outer edges of the root ball. Using sterilized bypass pruners, cut away any dark, mushy roots (signs of rot) and score the sides of the root ball vertically to sever circling roots, encouraging outward radial growth.
- Establish the Base Layer: Add 1 to 2 inches of your soil mix to the bottom of the new pot. Do not place gravel or rocks at the bottom; this creates an artificial perched water table, raising the saturation zone closer to the roots.
- Position the Trunk Flare: Set the plant in the center. The trunk flare (where the bark meets the roots) must sit exactly 1/2 inch below the soil surface. Burying the trunk deeper invites stem rot.
- Backfill and Tamp: Fill the gaps with the soil mix, gently tapping the sides of the pot to settle the soil. Avoid aggressively packing the soil down with your hands, which crushes the macro-pores created by the bark and pumice.
- The Initial Soak: Water slowly until 20% of the water volume exits the drainage holes. This settles the soil around the roots and eliminates hidden air pockets.
Troubleshooting Early Establishment Failures
Even with perfect technique, environmental variables can trigger physiological stress responses. Use this diagnostic matrix to identify and correct issues during the first 90 days.
| Symptom | Physiological Cause | Corrective Action |
|---|---|---|
| Brown, crispy leaf margins | Low ambient humidity combined with high soil salinity from nursery fertilizers. | Flush the soil with distilled water. Increase local humidity to 40-50% using a pebble tray or humidifier. |
| Oedema (water blisters on leaf undersides) | Roots absorb water faster than the stomata can transpire it, causing cell rupture. | Extend the dry-out period between waterings. Ensure the plant is receiving adequate indirect light to drive transpiration. |
| Mushy, dark brown trunk base | Advanced Pythium or Phytophthora root and stem rot due to soil asphyxiation. | Remove from soil immediately. Cut away all necrotic tissue, treat with copper-based fungicide, and repot in 100% sterile pumice to re-root. |
| Massive, sudden leaf drop | Environmental shock from drastic temperature shifts or cold drafts during transit. | Do not fertilize. Keep soil barely moist and maintain stable temperatures between 65°F and 75°F. Wait for apical buds to break. |
Advanced Care Considerations
Light Acclimatization
Money trees thrive in bright, indirect light (10,000 to 20,000 lux). If moving a plant from a low-light retail environment to a bright south-facing window, use a sheer curtain to diffuse the light for the first 14 days. Sudden exposure to high-intensity UV radiation will cause photo-oxidative bleaching, resulting in permanent white, papery patches on the canopy.
Fertilizer Lockout During Establishment
Do not apply liquid or granular fertilizers during the first 60 days of establishment. The custom soil mix contains sufficient baseline nutrients, and the delicate new feeder roots are highly susceptible to osmotic burn from synthetic salts. After day 60, begin a half-strength application of a balanced, water-soluble fertilizer (e.g., 10-10-10 NPK) only when the plant is showing active new growth.
Pet Safety Profile
For households with dogs or cats, it is vital to know the toxicity profile of your houseplants. According to the ASPCA's toxic and non-toxic plants database, the money tree (Pachira aquatica) is classified as non-toxic to both cats and dogs, making it a safe choice for pet-friendly homes, though ingestion of large fibrous amounts may still cause mild gastrointestinal upset.
For further botanical classification and native habitat data, you can reference the National Gardening Association's plant database. By strictly adhering to these establishment protocols, your money tree will develop a robust, hypoxia-resistant root system capable of supporting vigorous canopy growth for years to come.

