
Tree Care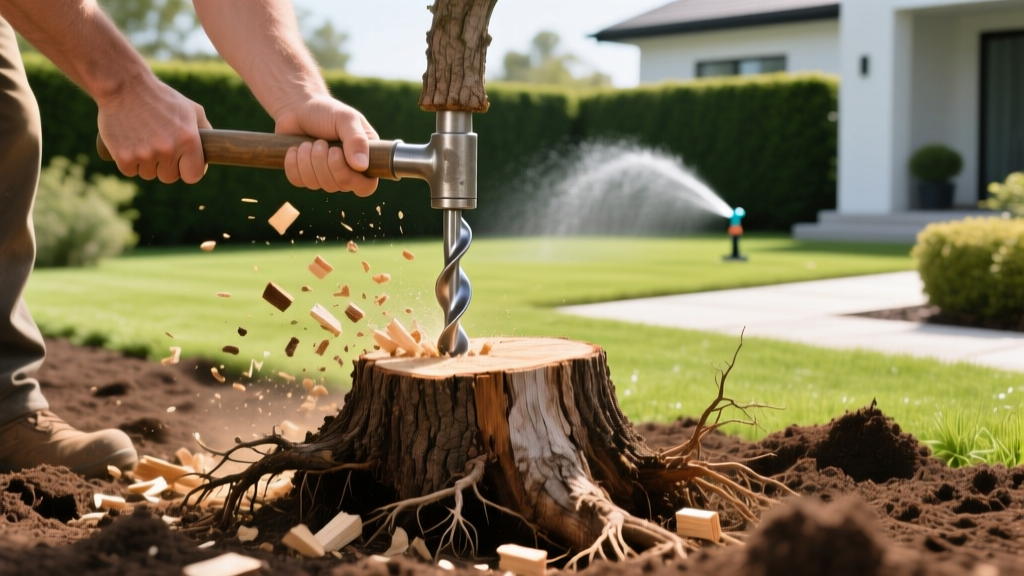
Removing a Tree Stump: DIY Methods, Costs, and Chemical Treatments
A leftover tree stump is more than an aesthetic nuisance; it is a tripping hazard, a breeding ground for carpenter ants and termites, and a physical barrier to landscaping projects. While hiring a professional arborist to grind a stump typically costs between $150 and $300 (or $2 to $4 per inch of diameter), homeowners can tackle the project themselves using mechanical, chemical, or manual methods. The right approach depends entirely on the stump's diameter, the surrounding soil composition, and your budget.
Assessing the Stump: Size, Species, and Location
Before selecting a removal method, measure the stump's diameter at ground level and identify the tree species. Hardwoods like oak, hickory, and maple have dense, deep taproots and thick lateral roots that resist manual extraction and chemical decay. Softwoods like pine and spruce decay faster but often feature wide, sprawling root mats.
⚠️ CRITICAL SAFETY WARNING: Never begin digging, grinding, or driving digging bars into the soil without first contacting Call 811 to have underground utility lines marked. Striking a buried gas or fiber-optic line with a stump grinder or steel digging bar can result in fatal injuries and massive financial liability.
Method 1: Chemical Stump Removal (The Slow but Cheap Route)
Chemical removal is ideal for stumps between 12 and 30 inches in diameter where time is not a constraint. This method does not dissolve the wood; rather, it accelerates fungal decay by flooding the stump's vascular system with nutrients that wood-decaying fungi require to multiply.
The Epsom Salt Myth vs. Potassium Nitrate Reality
Many DIY blogs recommend Epsom salt (magnesium sulfate). While high concentrations of Epsom salt will desiccate and kill live root tissue, it does not actively promote the fungal rot required to break down dead wood. The industry standard for chemical removal is Potassium Nitrate (KNO3), widely available in products like Spectracide Stump Remover or Bonide Stump-Out (typically $10 to $15 per 16-oz bottle).
Step-by-Step Chemical Application
- Drill the Stump: Using a cordless drill and a 1-inch spade bit, bore holes into the top of the stump. The holes must be 10 to 12 inches deep and spaced roughly 3 inches apart in a grid pattern. Drill additional holes at a 45-degree angle along the sides to intersect the vertical holes.
- Apply the Chemical: Fill each hole to the brim with Potassium Nitrate granules. Do not pack it tightly; leave room for water.
- Hydrate and Seal: Pour warm water into each hole to dissolve the granules and carry them into the wood's xylem. Cover the entire stump with a heavy-duty black plastic tarp, securing the edges with landscape staples to trap moisture and heat.
- Wait and Remove: Allow 4 to 8 weeks for the wood to become spongy. Once the structural integrity has failed, break the stump apart with a mattock and dig out the remaining roots.
Method 2: Mechanical Stump Grinding (The Fast, Labor-Intensive Route)
For immediate results, renting a walk-behind stump grinder is the most effective DIY solution. Standard rental units, such as the Barreto 13HP or Vermeer SC252, feature a rotating carbide-tipped cutting wheel that chips the stump into mulch down to 8 or 10 inches below grade.
Rental Logistics and Costs
Expect to pay between $150 and $250 per day for a walk-behind stump grinder rental. These machines weigh between 250 and 350 pounds. You will need a pickup truck with a ramp or a heavy-duty trailer to transport the unit; most standard SUVs cannot safely accommodate the weight or loading angle.
Operating Technique and Safety Gear
Operating a stump grinder requires a specific sweeping motion. Do not push the cutting wheel straight down into the wood. Instead, engage the wheel and sweep it side-to-side across the face of the stump, removing 1 to 2 inches of material per pass. According to OSHA PPE guidelines, the high-velocity ejection of wood chips and hidden rocks mandates strict protective gear:
- Eye Protection: ANSI Z87.1-rated wrap-around safety goggles (not standard glasses).
- Hearing Protection: Ear muffs or plugs rated for at least 25 NRR (grinders operate at 100+ decibels).
- Footwear: Steel-toe or composite-toe boots with aggressive tread to maintain grip on slick wood chips.
Method 3: Manual Extraction (For Small Stumps Under 12 Inches)
If the stump is small (under 12 inches in diameter) and the soil is relatively loose, manual extraction avoids rental fees and chemical wait times. This method relies on severing the lateral roots and leveraging the central taproot out of the ground.
Required Tools
- Digging Bar (San Angelo Bar): A 6-foot, 15-pound solid steel bar with a chisel tip for trenching and a tamper end for breaking soil.
- Reciprocating Saw (Sawzall): Fitted with a 9-inch pruning blade (e.g., Milwaukee Ax blade) designed to cut through dirt-covered roots without dulling instantly.
- Cutting Mattock: For chopping through smaller fibrous roots.
Dig a circular trench 18 inches away from the base of the stump, exposing the lateral roots. Sever these roots using the reciprocating saw. Once the lateral roots are cut, use the digging bar as a lever under the stump's base to snap the taproot and hoist the stump out of the hole.
Method Comparison Matrix
| Method | Estimated Cost | Time to Completion | Physical Effort | Best For |
|---|---|---|---|---|
| Chemical (KNO3) | $10 - $25 | 4 to 8 weeks | Low | Medium stumps, tight budgets |
| Mechanical Grinding | $150 - $250 (Rental) | 2 to 4 hours | High | Large stumps, immediate results |
| Manual Extraction | $0 - $50 (Tools) | 3 to 6 hours | Extreme | Small stumps, soft soil |
| Professional Service | $150 - $400+ | 1 hour | None | Multiple stumps, hard access |
Post-Removal: Soil Remediation and Re-grading
Removing the physical wood is only half the project. As the remaining underground roots and wood chips decompose, the microbes responsible for decay consume massive amounts of nitrogen from the surrounding soil. If you immediately lay sod or plant a new tree over this area without amending the soil, the new vegetation will suffer from severe nitrogen deficiency, manifesting as yellowing (chlorosis) and stunted growth.
According to research published by the University of Minnesota Extension, you must backfill the void with a mixture of topsoil and high-nitrogen organic compost. For every bushel of wood chips left in the hole, mix in a balanced 10-10-10 granular fertilizer or blood meal to offset the nitrogen draw. Mound the backfilled soil 2 to 3 inches above the surrounding grade; the soil will inevitably settle as the subterranean roots continue to rot over the next 12 to 24 months.
Frequently Asked Questions
Can I burn a tree stump out with diesel fuel?
While pouring diesel fuel or kerosene onto a stump and igniting it is a common internet myth, it is highly ineffective and dangerous. The fire will scorch the top layer of the stump, creating a charred barrier that actually insulates the damp, inner heartwood from further burning. Furthermore, local fire codes in most municipalities strictly prohibit open-ground burning of accelerants. If you want to use fire, drill holes, fill them with Potassium Nitrate (which acts as an oxidizer), let it absorb for a week, and then ignite it with charcoal. This creates a slow, smokeless burn that turns the stump to ash.
Will a tree stump grow back after grinding?
Most deciduous trees (like maples, poplars, and elms) are aggressive sprouters. If the lateral roots remain in the ground after grinding, they may send up 'suckers' or water sprouts through the fresh mulch. To prevent this, apply a systemic herbicide containing triclopyr or glyphosate to the freshly cut outer ring of the stump (the cambium layer) immediately before grinding, or manually snip and paint the emerging suckers with herbicide as they appear.
How close to a foundation can I grind a stump?
Stump grinders can safely operate within 12 to 18 inches of a concrete foundation, provided the cutting wheel does not strike the concrete, which will instantly shatter the carbide teeth. However, if the stump is physically touching the foundation, manual extraction using a reciprocating saw and digging bar is required to avoid structural damage to the foundation wall or waterproofing membranes.

