
Tree Care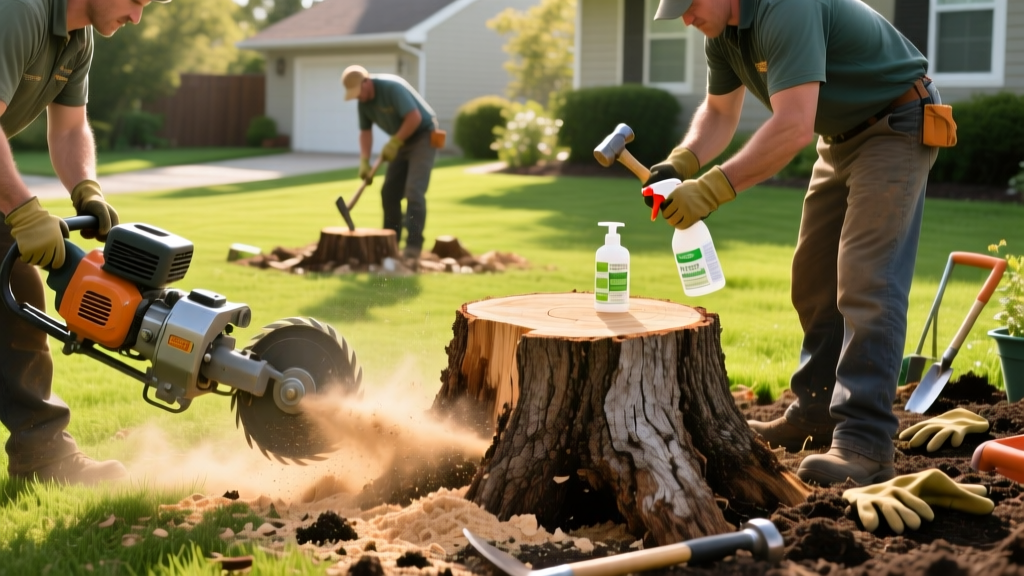
Removing a Stump: Grinding, Chemical, and Manual Methods Compared
The Hidden Costs of Leaving a Tree Stump
Leaving a freshly cut tree stump in your yard creates immediate landscaping and biological liabilities. Beyond the obvious tripping hazard and aesthetic disruption, decaying stumps act as primary breeding grounds for Armillaria root rot and subterranean termites. According to the University of Minnesota Extension, the extensive lateral root networks attached to abandoned stumps can harbor fungal pathogens that spread to nearby healthy trees and shrubs. When removing a stump, homeowners must choose between three primary methods: mechanical grinding, chemical accelerated decay, and manual excavation. The optimal choice depends entirely on the stump's diameter, your budget, and the physical accessibility of the site.
The Decision Matrix: Which Method Fits Your Stump?
Use the framework below to determine the most efficient removal strategy based on your specific site conditions. Costs are estimated for a standard 24-inch diameter hardwood stump.
| Removal Method | Best Application | Avg. Cost (24" Stump) | Time to Complete | Physical Effort |
|---|---|---|---|---|
| Mechanical Grinding | Stumps >12", open yards, immediate replanting | $150–$300 (Pro) / $200 (Rental) | 1–3 Hours | Moderate |
| Chemical Decay | Budget projects, stumps near hardscapes, low urgency | $15–$30 (Materials) | 4–8 Weeks | Low (after drilling) |
| Manual Excavation | Stumps <12", tight fence lines, zero budget | $0–$50 (Tool rental) | 4–8 Hours | Extreme |
Method 1: Mechanical Stump Grinding (The Industry Standard)
Stump grinding is the fastest and most definitive way to eliminate the above-ground portion of the tree. Professional arborists typically charge $3 to $4 per inch of stump diameter. For a DIY approach, renting a walk-behind grinder (such as a Husqvarna SG45 or a Vermeer SC362) costs between $150 and $250 per day from major equipment rental yards.
Site Preparation and Root Flare Exposure
The most common failure mode in DIY grinding is failing to expose the root flare. Stump grinders cannot efficiently cut through soil and rocks; doing so dulls the carbide-tipped teeth within minutes. Use a mattock and shovel to excavate a 6-inch trench around the perimeter of the stump, removing all soil, rocks, and mulch down to the solid wood of the root flare. This allows the grinding wheel to cut 4 to 6 inches below grade, preventing future surface roots from sprouting.
Execution and Safety Protocols
The cutting wheel spins at over 1,000 RPM, launching woodchips and debris at speeds exceeding 60 mph. ANSI Z87.1-rated safety glasses are insufficient on their own; you must wear a full mesh face shield, heavy-duty leather gloves, and hearing protection.
Operate the grinder using a sweeping, pendulum motion. Start at the outer edge of the stump and work inward, lowering the wheel 2 inches per pass. Never plunge the wheel directly into the center of the wood, as this will stall the engine and damage the drive belt.
Method 2: Chemical Accelerated Decay (The Budget Route)
When heavy machinery cannot access the backyard due to narrow gates or delicate landscaping, chemical removal is a viable alternative. This method does not dissolve the wood; rather, it accelerates the natural fungal decomposition process. The Penn State Extension notes that potassium nitrate (KNO3) is the most effective active ingredient for this process, as it provides a massive nitrogen boost to wood-decaying fungi.
Drilling Patterns and Application
Purchase a granular stump remover containing 100% potassium nitrate (e.g., Hi-Yield Stump Remover). Using a spade bit or auger bit on a heavy-duty drill, bore a ring of holes 3 inches inward from the bark edge. Each hole should be 1 inch in diameter and at least 10 inches deep. Space the holes 4 inches apart.
Fill each hole to the brim with the potassium nitrate granules, then pour warm water into the holes to dissolve the chemical and carry it into the wood's vascular system. Cover the entire stump with a dark plastic tarp, weighing down the edges with bricks to retain moisture and heat. The stump will become spongy and structurally compromised in 4 to 6 weeks, at which point it can be easily broken apart with an axe.
Warning: Soil Salinity and Replanting
Potassium nitrate significantly alters the local soil pH and salinity. If you plan to plant a new tree or sensitive shrubs in the exact same location within the next year, avoid chemical removal. The residual salts can cause osmotic stress and root burn in newly planted specimens.
Method 3: Manual Excavation (For Small Stumps & Tight Spaces)
For stumps under 12 inches in diameter, manual extraction is highly effective and leaves the soil profile completely intact. This method requires leveraging physics rather than brute force.
The Leverage Technique
- Sever Lateral Roots: Use a 6-foot steel digging bar (e.g., Truper 17160) or a reciprocating saw equipped with a 12-inch pruning blade (like the Freud DS0012S) to cut all lateral roots in a 2-foot radius around the stump.
- Expose the Taproot: Dig a narrow, vertical trench directly adjacent to the main taproot. Clear the soil away from the taproot to a depth of at least 18 inches.
- Apply Class 1 Leverage: Slide the digging bar under the taproot, using a solid block of wood or a landscape timber as a fulcrum near the base of the stump. Apply downward pressure on the bar to snap the taproot and lift the stump from the ground.
Post-Removal Soil Remediation: The Nitrogen Problem
Regardless of whether you grind or manually extract the stump, you will be left with a hole filled with woodchips and shredded root matter. Fresh woodchips have a Carbon-to-Nitrogen (C:N) ratio of approximately 400:1. Ideal garden soil requires a C:N ratio near 24:1.
As soil microbes break down the carbon-heavy woodchips, they aggressively consume all available nitrogen in the surrounding soil, a process known as 'nitrogen tie-up.' If you simply cover the hole with topsoil and plant grass or a new tree, the vegetation will turn chlorotic (yellow) and stunt within weeks. To remediate the soil, mix a high-nitrogen fertilizer (such as a 32-0-0 synthetic urea or organic blood meal) directly into the woodchip backfill at a rate of 1 pound of actual nitrogen per 100 square feet of the excavated area. Allow the soil to settle and water it heavily for two weeks before laying sod or planting.
Frequently Asked Questions
Can I plant a new tree directly over a ground stump?
No. The decaying wood left behind by a stump grinder will physically obstruct the new tree's root ball and create a localized nitrogen deficit. Furthermore, the decaying matter can harbor soil-borne pathogens like Phytophthora. Always offset your new planting hole at least 3 to 4 feet away from the center of the old stump's location.
How deep do tree roots go after grinding?
Stump grinders typically reach a depth of 6 to 8 inches below grade. The deeper structural roots and taproot remain in the soil and will slowly decay over 5 to 10 years. According to the Arbor Day Foundation, these remaining deep roots do not pose a threat to new plantings or hardscapes and will naturally decompose without sprouting, provided the above-ground cambium layer was completely destroyed.

