
Tree Care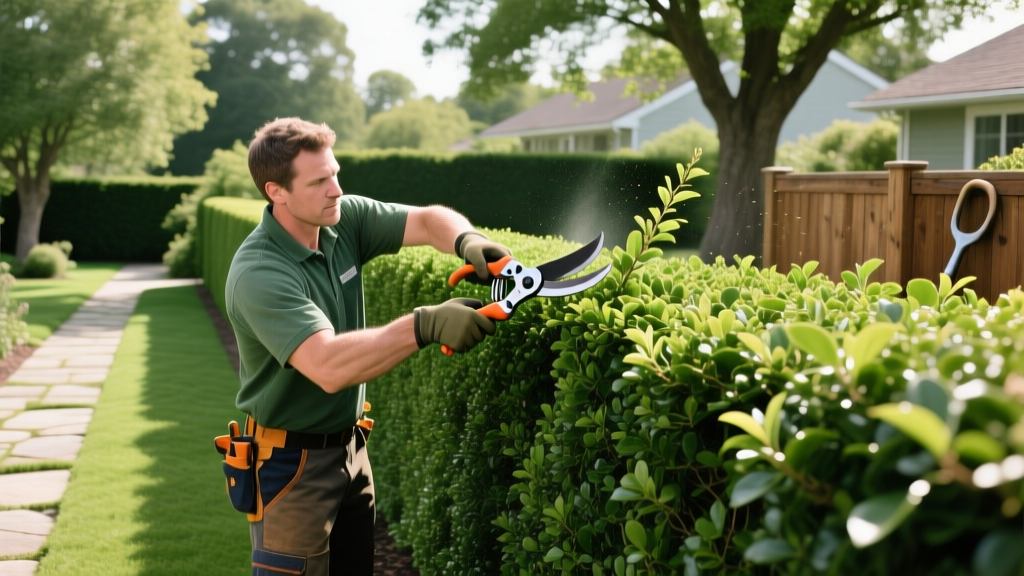
Step-by-Step Hedge Trimming: The Ultimate Shaping Procedure
The Geometry of Light: Why the 'Batter' Angle is Non-Negotiable
The most common failure in formal hedge trimming is creating a vertical or top-heavy profile. When the top of the hedge is as wide as or wider than the base, the upper canopy shades out the lower branches. Over two to three growing seasons, this light deprivation causes the lower foliage to thin, turn brown, and eventually die back, leaving you with a 'leggy' hedge with an unsightly bare base.
To prevent this, professional landscapers use a technique called battering. This involves cutting the sides of the hedge at a slight inward angle from the base to the top. The rule of thumb is to slope the sides inward by 2 inches for every 12 inches of vertical height. This 5-to-10-degree angle ensures that sunlight penetrates all the way to the soil line, encouraging dense, vigorous growth from the bottom up. According to the Royal Horticultural Society, maintaining this tapered profile is the single most critical factor in the long-term health and density of formal hedges.
⚠️ The 'Dead Zone' Warning for Conifers
When trimming species like Arborvitae (Thuja), Juniper, and Cypress, never cut back into the older, brown, needle-less wood near the center of the plant. Unlike broadleaf evergreens, most conifers lack adventitious buds on old wood. If you trim past the green outer foliage layer into the 'dead zone,' those branches will remain permanently bare. Always leave at least 1 to 2 inches of green foliage on the exterior of the cut.
Essential Gear: Selecting the Right Trimmer for Your Species
Choosing the correct hedge trimmer dictates the cleanliness of your cuts and the physical strain on your body. Dull or underpowered tools will chew and tear stems rather than slicing them cleanly, creating ragged wounds that invite fungal pathogens like box blight (Cylindrocladium buxicola).
| Trimmer Model | Power / Blade | Strokes Per Min (SPM) | Best Application | Est. Price |
|---|---|---|---|---|
| Stihl HSA 56 | Battery / 20 in. | 2,800 SPM | Boxwood, Privet, Yew (up to 1/2 in. stems) | $179 |
| Makita XHU02Z | Battery / 22 in. | 1,350 SPM | Light shaping, delicate topiary, low noise areas | $229 |
| Husqvarna 522HD60 | Gas / 24 in. | 4,050 SPM | Overgrown hedges, thick-stemmed Viburnum | $329 |
Pro Tip: For stems thicker than 3/4 of an inch, do not use a hedge trimmer. The blades will jam and crush the cambium layer. Use a pair of sharp bypass loppers or a pruning saw for these structural cuts before doing your final shearing.
Step-by-Step Hedge Trimming Procedure
Follow this exact sequence to achieve sharp, professional-grade lines while protecting the plant's vascular system.
Step 1: Establish Your Guide Lines
Never rely on your naked eye for long, straight runs. Drive wooden stakes into the ground at both ends of the hedge and at the desired final height. Tie a mason's line tightly between the stakes. For the batter angle, measure 2 inches inward from the base stake for every foot of height, and run a second string line from the top stake down to the base marker to guide your side cuts.
Step 2: Clear the Base and Sides First
Always trim the sides of the hedge before the top. Use a smooth, sweeping arc motion, moving the trimmer from the bottom of the hedge upward. This 'bottom-up' sweeping action allows the cut foliage to fall away from the blade path. If you cut top-down, the severed branches will tumble down the face of the hedge, constantly jamming the cutting teeth and forcing you to stop and clear debris.
Step 3: Level the Top Canopy
Once the sides are tapered, use your horizontal string line as a visual guide to shear the top. Keep the trimmer blade perfectly parallel to the ground. In regions with heavy winter snowfall, the University of Minnesota Extension recommends shaping the top of the hedge into a slight, rounded peak rather than a dead-flat surface. This prevents heavy, wet snow from accumulating and splaying the branches outward, which can cause permanent structural splitting.
Step 4: Hand-Detail the 'Stragglers'
After the bulk shearing is complete, step back 10 feet and look for individual branches that have flopped over or escaped the cut. Use Japanese hedge shears (like the Okatsune 302) to hand-snip these outliers. Hand-shearing leaves a cleaner cut on thick stems and prevents the 'chewed' brown tips that mechanical trimmers often leave behind on broadleaf species.
Seasonal Timing Matrix for Common Hedge Species
Trimming at the wrong time of year can stimulate tender new growth right before a frost, or ruin the spring flower display on blooming hedges. Adhere to this species-specific calendar:
| Species | Primary Pruning Window | Secondary Touch-Up | Critical Rule |
|---|---|---|---|
| Boxwood | Late Spring (after first flush) | Late Summer (Aug) | Never trim in late fall; new growth will winterkill. |
| Arborvitae | Early to Mid-Spring | Late Summer | Avoid cutting into the brown, inner dead zone. |
| Privet | Early Spring | Every 6 weeks in summer | Highly vigorous; requires frequent maintenance. |
| Yew (Taxus) | Early Spring | Mid-Summer (July) | Tolerates hard renovation pruning into old wood. |
Post-Trim Sanitation and Disease Prevention
Hedge trimmers are notorious vectors for spreading devastating landscape diseases, particularly Phytophthora and box blight. If you trim an infected hedge and immediately move to a healthy one without cleaning your blades, you will inoculate the fresh cuts with fungal spores.
Keep a spray bottle filled with a 70% isopropyl alcohol solution or a 10% bleach-to-water mixture in your tool belt. Between every single hedge—and immediately after finishing a section showing signs of dieback or cankers—wipe down the trimmer blades thoroughly. Allow the solution to sit on the metal for at least 30 seconds to ensure pathogen destruction before moving to the next plant. Furthermore, always rake and dispose of the clippings from the base of the hedge; leaving decaying foliage at the root zone creates a humid microclimate that fosters root rot and fungal blights.

