
Tree Care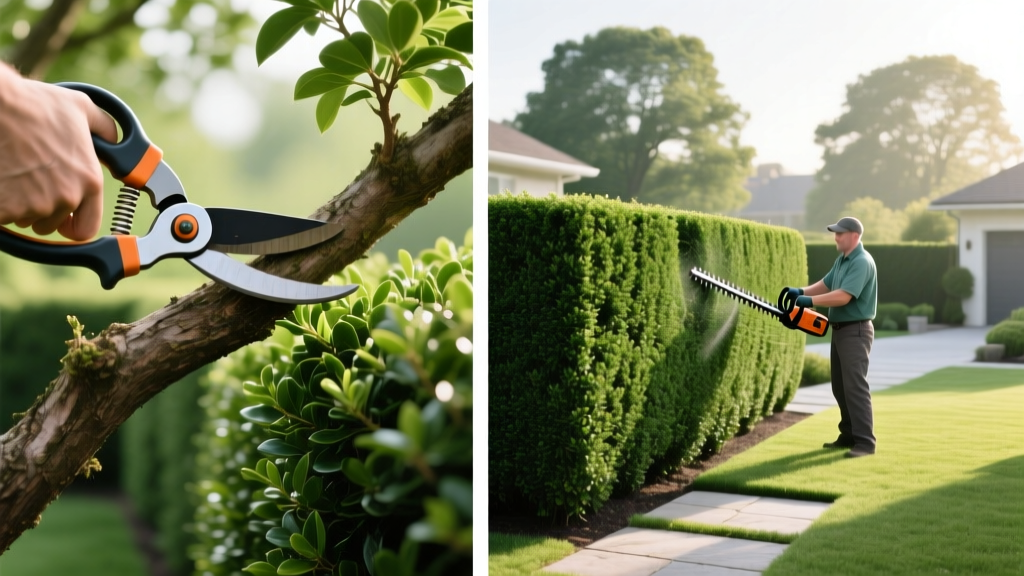
Step-by-Step Maintenance Guide for Hedge Bushes for Privacy
The Blueprint: Selecting and Spacing Hedge Bushes for Privacy
Installing hedge bushes for privacy is a long-term infrastructure investment for your landscape. The most frequent point of failure occurs before the first shovel hits the dirt: improper species selection and miscalculated spacing. Planting shrubs too closely together creates immediate competition for water and nutrients, leading to stunted growth and interior dieback. Planting them too far apart leaves gaps that take years to close, defeating the purpose of a privacy screen.
To achieve a dense, impenetrable barrier, you must calculate spacing based on the mature width of the species, not the size of the plant in the nursery pot. A general rule for a solid screen is to space the plants at 50% to 75% of their listed mature width. Below is a data matrix for the most reliable evergreen species used in residential privacy screens.
| Species (Cultivar) | Mature Height | Mature Width | Optimal Spacing | Annual Growth Rate |
|---|---|---|---|---|
| Emerald Green Arborvitae (Thuja occidentalis) | 12-15 ft | 3-4 ft | 2-2.5 ft | 1-2 ft |
| Green Giant Arborvitae (Thuja standishii x plicata) | 30-50 ft | 12-15 ft | 6-8 ft | 3-5 ft |
| Nellie Stevens Holly (Ilex x) | 15-25 ft | 8-12 ft | 5-6 ft | 1-3 ft |
| Skip Laurel (Prunus laurocerasus) | 10-15 ft | 5-8 ft | 3-4 ft | 1-2 ft |
Step-by-Step Planting Procedure for Maximum Density
Proper planting technique dictates the survival rate and establishment speed of your hedge. Follow this exact sequence to minimize transplant shock and encourage rapid lateral root expansion.
- Dig the Trench, Not Individual Holes: For a continuous hedge, dig a single continuous trench rather than individual circular holes. This prevents the 'flowerpot effect' where roots circle within loose backfill and fail to penetrate native soil. The trench should be 2.5 times the width of the root ball and exactly the same depth as the root ball.
- Locate the Root Flare: Before placing the shrub in the trench, brush away the top inch of soil from the root ball to expose the root flare (where the trunk transitions to roots). The root flare must sit 1 to 2 inches above the final grade level. Planting too deep is the number one cause of hedge mortality.
- Amend and Backfill: Do not replace native soil with pure topsoil or potting mix, which creates a drainage differential. Instead, mix the excavated native soil with 20% organic compost by volume. Backfill the trench in 4-inch layers, tamping down lightly with your boot to eliminate large air pockets without compacting the soil.
- Apply Precision Mulch: Apply a 2 to 3-inch layer of double-shredded hardwood mulch over the root zone. Crucially, keep the mulch at least 3 inches away from the base of the trunks to prevent voles from girdling the bark and to avoid collar rot.
Years 1-3: The Establishment Maintenance Protocol
The first three years are the establishment phase. The goal is not maximum vertical growth, but rather developing a robust, deep root system and encouraging lateral branching.
Precision Watering and Soil Moisture Monitoring
Newly planted hedge bushes require 1 to 1.5 inches of water per week, including rainfall. Do not rely on surface soil moisture to dictate your watering schedule. Insert a 6-inch analog soil moisture probe into the root zone. If the top 4 inches are dry but the bottom 2 inches remain moist, delay watering. Overwatering in heavy clay soils leads to Phytophthora root rot, a fatal pathogen particularly aggressive in Thuja species. Use a soaker hose or drip irrigation line laid at the base of the plants, running for 45 to 60 minutes twice a week during dry spells, rather than using overhead sprinklers which promote foliar fungal diseases.
Targeted Fertilization Strategy
Avoid high-nitrogen synthetic fertilizers in the first year, which force weak, leggy top growth at the expense of roots. In year two, apply a slow-release, granular fertilizer with an NPK ratio of 16-4-8 or 12-4-8 in early spring, just before bud break. Calculate the application rate based on the drip line area, targeting 1 pound of actual nitrogen per 1,000 square feet. For a 50-foot long hedge that is 4 feet wide (200 sq ft), you need 0.2 pounds of actual nitrogen. If using a 16-4-8 blend, apply approximately 1.25 pounds of total product evenly across the root zone.
The 'A-Frame' Pruning Technique
CRITICAL PRUNING RULE: The most common failure in privacy hedges is lower-branch dieback, resulting in a 'leggy' screen that fails to block ground-level sightlines. This occurs when the top of the hedge shades the bottom. You must maintain an A-frame or trapezoidal profile. The base of the hedge should be 10% to 15% wider than the top. For a 6-foot-tall hedge that is 3 feet wide at the top, the base must be 3.5 to 4 feet wide to ensure sunlight reaches the lower branches.
According to the University of Minnesota Extension, structural pruning should be done using sharp bypass pruners (such as the Felco 2) to make clean, 45-degree cuts just above an outward-facing bud. Avoid using electric hedge trimmers during the establishment phase; shearing creates a dense outer shell of leaves that blocks light and air from penetrating the interior of the plant.
Mature Hedge Maintenance: Keeping the Screen Dense
Once your hedge bushes for privacy reach their desired height (typically years 4 and beyond), maintenance shifts from encouraging growth to managing density and controlling size.
- Thinning vs. Shearing: Limit formal shearing to once or twice a year (late spring and late summer). For every shearing session, perform interior thinning. Reach deep into the canopy with hand pruners and remove 10% to 15% of the oldest, inward-growing branches. This allows dappled light to reach the interior, keeping the hedge green all the way to the trunk and preventing the buildup of dead, dry material that poses a fire hazard.
- Height Reduction: If the hedge outgrows its space, reduce its height by no more than 15% in a single season. Make reduction cuts just above a lateral branch that is at least one-third the diameter of the branch being removed. This ensures the lateral branch can take over the terminal growth without forming weak, watersprout clusters.
- Winter Protection: Evergreen privacy hedges, especially Arborvitae and Holly, are susceptible to winter desiccation. Wind pulls moisture from the needles faster than frozen roots can replace it, causing the tips to turn bronze or brown. Apply an anti-desiccant spray, such as Wilt Pruf, in late November when temperatures are above 40°F, and apply a second coat in late January during a winter thaw.
Troubleshooting Common Privacy Hedge Failures
Even well-maintained hedges encounter environmental and biological stressors. Use this diagnostic table to identify and correct issues before they compromise the entire screen.
| Symptom | Probable Cause | Corrective Action |
|---|---|---|
| Interior browning and excessive needle drop in autumn | Normal seasonal shed OR excessive outer shearing blocking interior light. | Hand-thin the outer canopy using bypass pruners to allow dappled light penetration. Rake out dead interior debris. |
| Browning at the base of the hedge | Shading from the top canopy (inverted pruning profile) or dog urine burn. | Re-profile the hedge into an A-frame. If urine burn, flush the soil with 5 gallons of water per plant immediately after exposure. |
| Random branch tips turning brown and curling in summer | Tip moth damage (common in Leyland Cypress and Arborvitae) or drought stress. | Prune out and destroy infested tips. For severe cases, apply a systemic insecticide containing imidacloprid as a soil drench in early spring. |
| White, powdery residue on leaves with premature leaf drop | Powdery mildew (common in Skip Laurel and some Hollies due to poor air circulation). | Thin interior branches to improve airflow. Apply a fungicide containing chlorothalonil or neem oil at the first sign of infection. |
Frequently Asked Questions
How long does it take for hedge bushes for privacy to form a solid screen?
When planted at the optimal spacing outlined in the matrix above and maintained with the Year 1-3 fertilization and watering protocol, fast-growing species like Green Giant Arborvitae will form a solid, opaque screen in 2 to 3 years. Slower, denser species like Nellie Stevens Holly typically require 4 to 5 years to fully interlock their canopies.
Can I plant a privacy hedge close to a retaining wall or fence?
You must account for both the mature trunk caliper and the root spread. Plant evergreen hedge bushes at least 3 feet away from wooden fences to allow for maintenance access and to prevent the shrub from pushing against the fence panels as it sways in high winds. For concrete retaining walls, maintain a 2-foot minimum clearance to prevent lateral root pressure from cracking the masonry over time. For more detailed structural planting guidelines, refer to the Clemson Home & Garden Information Center.

