
Tree Care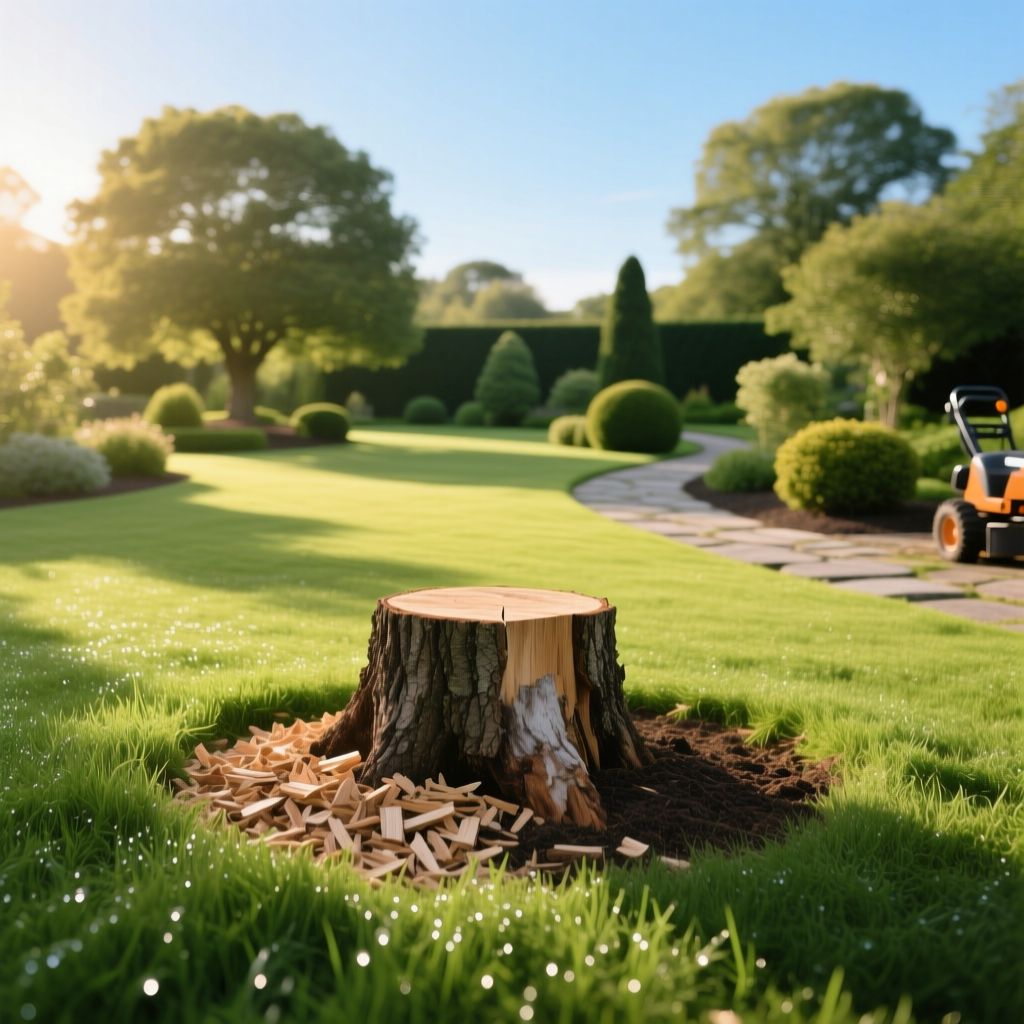
The Ultimate Guide to Stump Removal Methods: Reclaim Your Yard
James MillerPublished
Removing a problematic or aging tree is a significant step in maintaining a healthy landscape, but the job is rarely finished once the trunk is cut down. The remaining tree stump can quickly transform from a minor inconvenience into a major liability. Stumps are notorious tripping hazards, they interfere with lawn mowing routines, and they serve as prime real estate for wood-boring pests, fungal pathogens, and invasive species. If you are dedicated to cultivating a pristine outdoor space, addressing the remnants of felled trees is an essential component of comprehensive property maintenance.
Choosing the right approach for stump extraction depends on several variables, including the size of the stump, the species of the tree, your budget, and how quickly you need the area restored. Some techniques require heavy machinery and professional expertise, while others rely on patience, basic hand tools, and natural biological processes. In this comprehensive guide, we will explore the most effective stump removal methods available to homeowners and landscaping professionals alike. Whether you are looking to rapidly clear space for a new patio or prefer an eco-friendly approach that nurtures your soil, you will find the exact strategy you need. For more holistic advice on maintaining your entire landscape, be sure to explore our extensive lawn care guides and our dedicated tree care hub.
Mechanical Stump Grinding: The Professional Standard
When speed and efficiency are your top priorities, mechanical stump grinding is universally recognized as the gold standard. This method utilizes a specialized piece of heavy machinery known as a stump grinder, which features a rotating cutting wheel equipped with sharp, carbide-tipped teeth. The grinder systematically chips away the wood, reducing the stump and its major surface roots into a pile of fine woodchips and sawdust.
How the Grinding Process Works
A professional arborist or equipment operator will position the grinder over the stump and slowly sweep the cutting wheel from side to side, chewing through the wood layer by layer. The grinding typically extends anywhere from six to twelve inches below the surrounding soil grade. This depth is crucial because it removes the root flare and the uppermost section of the taproot, ensuring that the tree cannot produce annoying root suckers and that the area can be easily covered with topsoil for future landscaping.
Pros & Cons of Stump Grinding
- Pros: Extremely fast (most residential stumps are ground in under an hour), highly effective, immediately clears the surface area, and produces usable mulch for garden beds.
- Cons: Requires renting expensive heavy machinery or hiring a professional service, leaves the deeper root system intact to decay naturally over time, and can cause minor turf damage from the machine tracks.
If you decide to rent a stump grinder for a DIY weekend project, safety must be your absolute priority. These machines are incredibly powerful and can throw wood debris at high velocities. Always wear heavy-duty Kevlar chaps, steel-toe boots, ear protection, and a full face shield. Furthermore, before you break ground, it is imperative to call your local utility marking service to ensure you are not grinding directly over buried gas, water, or fiber-optic lines. For tips on preparing your yard for heavy equipment and protecting your surrounding turf, check out our guide on soil testing and yard preparation.
Manual Stump Removal: Digging Out the Roots
For smaller stumps, or for homeowners who prefer to save money by investing their own sweat equity, manual extraction is a highly viable option. This method involves physically severing the root system and leveraging the stump out of the ground. While it is undeniably labor-intensive, manual removal offers one distinct advantage over grinding: it completely removes the entire root ball, leaving a clean hole that is perfect for replanting or installing hardscaping features.
Essential Tools for Manual Extraction
To tackle this project, you will need a robust arsenal of hand tools. A sharp digging shovel, a heavy-duty mattock, a steel digging bar (also known as a spud bar), a bow saw or reciprocating saw, and a sturdy axe are the bare minimum. For larger stumps, you may also need a high-lift farm jack, a heavy-duty chain, and a nearby anchor point (like a healthy, mature tree or a vehicle) to help winch the stubborn root ball from the earth.
Step-by-Step Manual Removal
- Trenching: Begin by digging a circular trench around the perimeter of the stump, about two feet out from the base. This exposes the lateral roots that anchor the tree to the surrounding soil.
- Severing Roots: Use your mattock, axe, or bow saw to cut through every lateral root you encounter. For thick taproots diving straight down, the steel digging bar is your best tool to chop and pry the wood apart.
- Leverage & Extraction: Once the lateral roots are severed, push the digging bar deep under the root ball and use it as a lever. Rock the stump back and forth to break the remaining deep anchor roots. If the stump refuses to budge, wrap a heavy chain around the base and use a high-lift jack to pull it upward.
- Backfilling: Once the stump is free, you will be left with a substantial crater. Fill this void with a mix of native soil and rich compost to prevent settling. Our fertilizer and soil amendment guide offers excellent advice on restoring nutrient balance to disturbed soil.
Chemical Stump Removal: Accelerating the Decay Process
If you lack the physical stamina for manual digging and the budget for professional grinding, chemical stump removal offers a middle-ground solution. This method does not provide instant gratification; rather, it accelerates the natural rotting process, turning a rock-hard piece of timber into a soft, spongy mass that can be easily broken apart with an axe and removed by hand.
Choosing the Right Chemical Agent
The most common active ingredient in commercial stump removers is potassium nitrate. This chemical acts as a powerful oxidizer and provides a massive dose of nitrogen to the wood, which feeds the fungi and bacteria responsible for decomposition. Alternatively, many eco-conscious gardeners opt for Epsom salt (magnesium sulfate) or rock salt. While salt effectively kills the remaining living tissue and dries out the wood, it can severely damage the surrounding soil, making it difficult to grow grass or plants in that spot for years. Therefore, potassium nitrate is generally the safer choice for your overall landscape health.
The Drilling & Application Technique
To apply the chemical effectively, you must create pathways for the solution to penetrate deep into the heartwood. Using a spade bit and a heavy-duty power drill, bore multiple holes into the top of the stump. The holes should be at least one inch in diameter and eight to ten inches deep, spaced a few inches apart in a grid pattern. Drill additional holes at a downward angle along the sides of the stump to intersect with the vertical holes. Pour the stump removal granules into the holes, fill them with water to activate the compound, and cover the stump with a dark plastic tarp to trap moisture and block sunlight. Over the course of four to eight weeks, the wood will soften significantly, allowing you to chop it out easily. If you are concerned about chemical runoff affecting your turf, review our lawn care guides for tips on protecting your grass from soil contaminants.
Natural Decay & Eco-Friendly Alternatives
For the patient gardener who prefers to work in harmony with nature, allowing a stump to decay naturally is the most environmentally friendly method available. In a forest ecosystem, fallen trees and stumps are rapidly broken down by a complex web of insects, fungi, and microorganisms, returning vital nutrients to the soil. You can replicate and accelerate this process in your own backyard without the use of harsh chemicals or heavy machinery.
Inoculating with Fungi & Nitrogen Loading
Wood is incredibly high in carbon but very low in nitrogen. To speed up decomposition, you need to alter the carbon-to-nitrogen ratio. Drill holes into the stump and fill them with a high-nitrogen organic fertilizer, such as blood meal, alfalfa meal, or even fresh chicken manure. Water the stump thoroughly and cover it with a thick layer of nitrogen-rich organic matter, like grass clippings or compost. You can also purchase mushroom plug spawn (such as oyster or shiitake mushrooms) and tap them into the drilled holes. The mycelium network will aggressively consume the lignin and cellulose in the wood, breaking it down from the inside out while providing you with a bonus harvest of edible mushrooms.
Creating a Stump Planter or Fairy Garden
While you wait for the natural decay process to take its course—which can take anywhere from three to seven years depending on the tree species and local climate—you can repurpose the stump as a unique landscape feature. Hollow out a small depression in the center, fill it with premium potting soil, and plant trailing succulents, ferns, or vibrant annual flowers. This transforms an eyesore into a stunning focal point. Once the wood eventually turns to humus, it will leave behind incredibly rich, biologically active soil that is perfect for future planting. For more ideas on integrating trees and garden beds, visit our tree planting and landscaping guide.
Post-Removal Lawn Restoration & Soil Care
Regardless of the extraction method you choose, the removal process will leave your yard in a state of transition. Proper post-removal restoration is critical to ensure that your lawn recovers quickly and that the soil remains healthy enough to support new growth. The most common mistake homeowners make is simply pushing the leftover woodchips back into the hole and covering them with a thin layer of sod.
The Danger of Nitrogen Tie-Up
When raw woodchips are buried in the soil, the microorganisms responsible for breaking them down will consume all available nitrogen in the surrounding dirt. This phenomenon, known as nitrogen tie-up or nitrogen immobilization, will starve any grass or plants you attempt to grow above the site, resulting in a persistent yellow, dead patch in your lawn. If you use the woodchips as surface mulch in garden beds, they are perfectly fine. However, if you are backfilling a hole to replant grass, you must either remove the bulk of the woodchips or heavily amend the soil with a fast-acting nitrogen fertilizer to compensate for the biological demand.
Reseeding & Sodding the Bare Patch
Once the hole is filled with a clean mixture of topsoil and compost, it is time to restore the turf. Grade the area so it is perfectly level with the surrounding lawn to prevent water pooling. If you are seeding, choose a grass variety that matches your existing lawn and follow the best practices outlined in our overseeding and patch repair guide. Keep the soil consistently moist until the new grass is well-established. If you prefer instant results, lay down a piece of fresh sod, ensuring the edges are tightly butted against the existing turf to prevent drying out.
Frequently Asked Questions About Stump Removal
How long does it take for a stump to rot naturally?
The natural decay timeline varies wildly based on the tree species, local climate, and soil biology. Softwoods like pine, poplar, and willow can decompose entirely within three to five years, especially if kept moist and shaded. Dense hardwoods like oak, hickory, and maple can persist for a decade or more. Introducing nitrogen-rich fertilizers and wood-decaying fungi can cut this timeline in half.
Is it better to grind a stump or remove it completely?
This depends entirely on your future plans for the space. If you simply want to mow over the area without obstruction and do not plan on planting anything new, grinding is faster, cheaper, and less disruptive to the surrounding lawn. However, if you intend to plant a new tree, install a fence post, or lay a concrete foundation in that exact spot, complete manual removal is necessary to eliminate the physical barrier of the root ball.
Can I plant a new tree exactly where an old stump was removed?
It is generally not recommended to plant a new tree in the exact same hole immediately after removing an old one. The decaying roots from the previous tree can harbor soil-borne fungal diseases, such as Armillaria root rot, which can quickly infect and kill your new sapling. Additionally, the soil structure and nutrient balance are often compromised. It is best to offset your new planting hole by at least six to eight feet from the old stump location. For more details on avoiding common tree diseases, consult our expert resources.
Will stump removal damage my surrounding lawn?
Manual digging and chemical removal have a relatively low impact on the surrounding turf, provided you are careful with your tools and chemical applications. Stump grinding, however, can cause localized damage. The heavy tracks of the machine can compact the soil and tear up the grass, and the operator may accidentally scalp the surrounding turf with the cutting wheel. You should expect to do some minor raking, topdressing, and reseeding around the perimeter of the grinding site.
How do I deal with the woodchips left behind after grinding?
A single stump can produce a surprisingly massive pile of woodchips. You can use these chips as a free, organic mulch for your flower beds, shrub borders, and garden pathways, where they will help retain soil moisture and suppress weeds. However, avoid using fresh woodchips from trees that were removed due to severe fungal infections or blights, as the pathogens could spread to your healthy plants. If you have more chips than you can use, many local municipal composting facilities will accept them for free.

