
Tree Care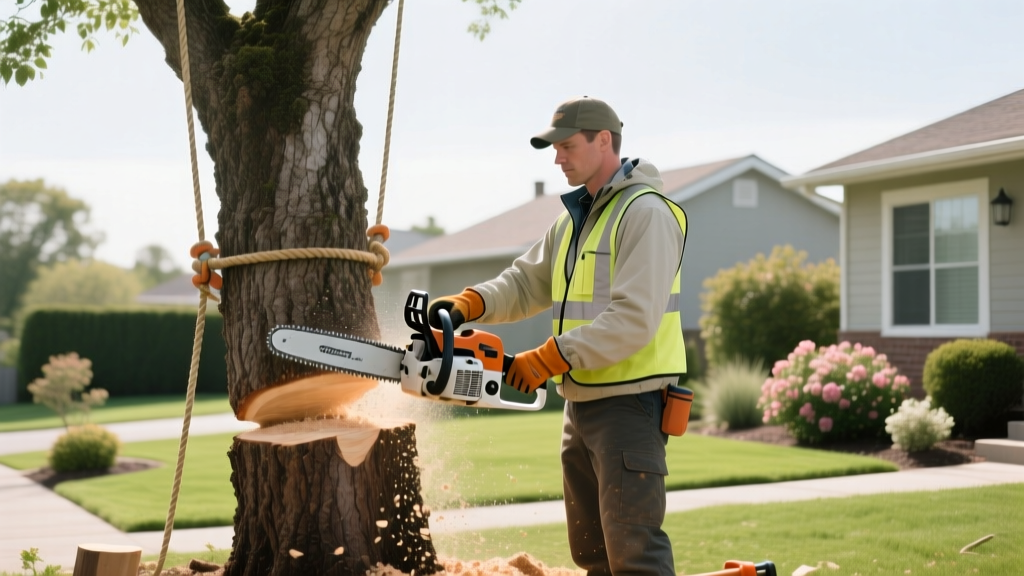
Taking Out Trees Safely: A Homeowner's Felling and Removal Guide
The Reality of DIY Tree Felling
Taking out trees is one of the most hazardous landscaping tasks a homeowner can undertake. According to the CDC National Institute for Occupational Safety and Health (NIOSH), chainsaw and tree-felling accidents result in tens of thousands of emergency room visits annually, with kickback and falling limbs being the primary culprits. Before you pull the starter cord on your chainsaw, you must objectively assess whether the tree's size, lean, and surrounding drop zone allow for a safe DIY removal, or if the risk profile demands a certified arborist.
The Decision Matrix: DIY Felling vs. Professional Removal
Use this framework to determine if taking out trees on your property is within your safe operational limits. In 2026, professional tree removal averages $900 to $2,800 depending on the Diameter at Breast Height (DBH) and access constraints, but the cost of a medical emergency or property damage vastly outweighs these figures.
| Risk Factor | DIY Safe Zone | Hire a Professional (ISA Certified) |
|---|---|---|
| Tree DBH (Trunk Diameter) | Under 10 inches | Over 12 inches |
| Tree Lean | Perfectly vertical or slight lean toward drop zone | Heavy back-lean or severe lateral lean |
| Drop Zone | Open field, clear of structures and power lines | Fences, roofs, sheds, or utility lines within 1.5x tree height |
| Wood Condition | Healthy, solid wood | Visible conks, hollow cavities, or severe rot at the base |
| Species Density | Softwoods (Pine, Spruce) | Heavy, brittle hardwoods (Hickory, Oak, Eucalyptus) |
Essential Tool Loadout and PPE
Do not attempt felling with a compact, top-handle homeowner chainsaw. You need a saw with adequate bar length and power to complete the back cut without burying the tip.
- Chainsaw: A 45cc to 50cc gas-powered saw with an 18-inch bar (e.g., Husqvarna 445 or Stihl MS 250, retailing around $450–$550).
- Felling Wedges: 15-inch ABS plastic wedges with deep spikes to prevent kickout.
- Felling Lever/Axe: A specialized felling axe or a 24-inch breaker bar to drive wedges and lift the tree.
- PPE: A forestry helmet system with mesh visor and earmuffs (e.g., Husqvarna Forest Helmet), Kevlar-lined chainsaw chaps (Class C, minimum 20-inch length), and steel-toe logging boots.
Establishing Your Escape Routes
Before making a single cut, clear the ground around the tree's base of tripping hazards like vines, roots, and brush. You must establish two escape paths. These paths should be at a 45-degree angle diagonally backward from the direction of the planned fall. Never retreat directly behind the tree; if the trunk splits or the root ball kicks up (a phenomenon known as a "sit-back" or "barber chair"), the area directly behind the tree is the most lethal zone.
The Open-Face Notch: Step-by-Step Felling Sequence
Forget the outdated 45-degree conventional notch taught in older manuals. Modern arboriculture relies on the Open-Face Notch, which utilizes a 70 to 90-degree hinge to keep the tree attached to the stump longer, providing superior steering control as it falls. The International Society of Arboriculture (ISA) heavily advocates for this technique to minimize hinge failure.
Step 1: The Top Cut
Stand on the side of the tree opposite your intended drop zone. Make your first cut angling downward at roughly 60 degrees. Cut approximately one-third of the way into the trunk. Ensure your chainsaw's bar is perfectly level horizontally.
Step 2: The Bottom Cut
Make an upward cut at a 20 to 30-degree angle to intersect perfectly with the endpoint of your top cut. When these two cuts meet exactly, the "notch" piece of wood will fall out cleanly. If they do not meet, use your chainsaw to carefully clean out the hinge point until it is a sharp, clean vertex. A messy hinge will tear unpredictably.
Step 3: The Back Cut and Hinge Wood
Move to the opposite side of the tree. The back cut must be made two inches horizontally above the apex of your open-face notch. This two-inch step is critical; it prevents the tree from sliding backward off the stump.
The Hinge Rule: Do not cut all the way through. You must leave a strip of uncut wood (the hinge) connecting the stump to the trunk. The hinge thickness should be exactly 10% of the tree's DBH. For a 10-inch tree, leave a 1-inch hinge. The hinge wood dictates the direction of the fall.
⚠️ WARNING: The Barber Chair Effect
If you are taking out trees with a heavy forward lean or cutting brittle species like hickory, the trunk can split vertically upward from the back cut before the tree falls, creating a massive, hinged slab of wood that snaps backward with lethal force. To prevent this, drive your felling wedge into the back cut as soon as the bar is deep enough to clear it, and use a sledgehammer to lift the tree before the cut is finished.
Confined Spaces: Sectional Dismantling and Rigging
If your drop zone is obstructed by a roof, driveway, or fence, you cannot fell the tree in one piece. Taking out trees in confined spaces requires sectional dismantling (topping down). This involves climbing or using an aerial lift to remove the canopy in manageable 4-to-6-foot sections.
For lowering heavy wood safely without damaging the lawn or hardscaping below, you need a rigging system:
- The Rigging Rope: Use a dedicated 1/2-inch 12-strand arborist rigging rope (e.g., Samson Stable Braid). Never use climbing rope or hardware store nylon for lowering wood; the shock load of a falling log will snap them.
- The Friction Device: Wrap the rope around a base friction device like a Portawrap or a Good Rigging Control System (GRCS) mounted to the trunk. This allows the ground worker to control the descent of a 300-pound log by simply adjusting the rope's tail tension.
- The Target Zone: Always lower sections to a designated "drop mat" made of brush or soft soil to absorb the kinetic energy and protect underground irrigation lines or septic tanks.
Stump Management and Site Cleanup
Once the trunk is sectioned and bucked into 16-inch firewood rounds, you are left with the stump. Leaving a stump invites carpenter ants, termites, and fungal pathogens that can spread to adjacent healthy landscaping.
Renting a walk-behind stump grinder (like a Vermeer SC30) costs approximately $150 to $200 per day in 2026. Grind the stump to a depth of 8 to 12 inches below grade. Fill the resulting hole with a mix of native topsoil and compost, tamping it down firmly to prevent settling. If you plan to replant in the exact same spot, you must extract the primary root ball using a mini-excavator, as the decaying wood will create a nitrogen-deficient void that stunts new tree growth.
Frequently Asked Questions
Can I use a rope and my truck to pull a leaning tree over?
No. Yanking a tree with a vehicle applies unpredictable lateral shock loads. If the rope snaps, it will whip back toward the vehicle cabin. If the tree's root plate is compromised, the entire root ball can rip out of the ground unpredictably. Always use mechanical wedges and levers to steer a tree into the drop zone.
How do I calculate the height of the tree before felling?
Use the "Axe Handle Method." Stand a known distance away from the tree. Hold an axe handle or ruler vertically at arm's length. Align the top of the handle with the top of the tree, and your thumb with the base. Turn your arm 90 degrees horizontally, keeping your thumb at the base. Have a partner walk to the point where the top of the handle aligns with the ground. The distance from the tree base to your partner is the tree's approximate height.
What is the safest time of year for taking out trees?
Winter dormancy (December through February) is optimal. The tree's moisture content is lower, making the wood lighter and easier to handle, and the lack of foliage provides a clear view of the canopy's structure, deadwood, and potential hanging hazards (widow-makers) before you begin cutting.

