
Tree Care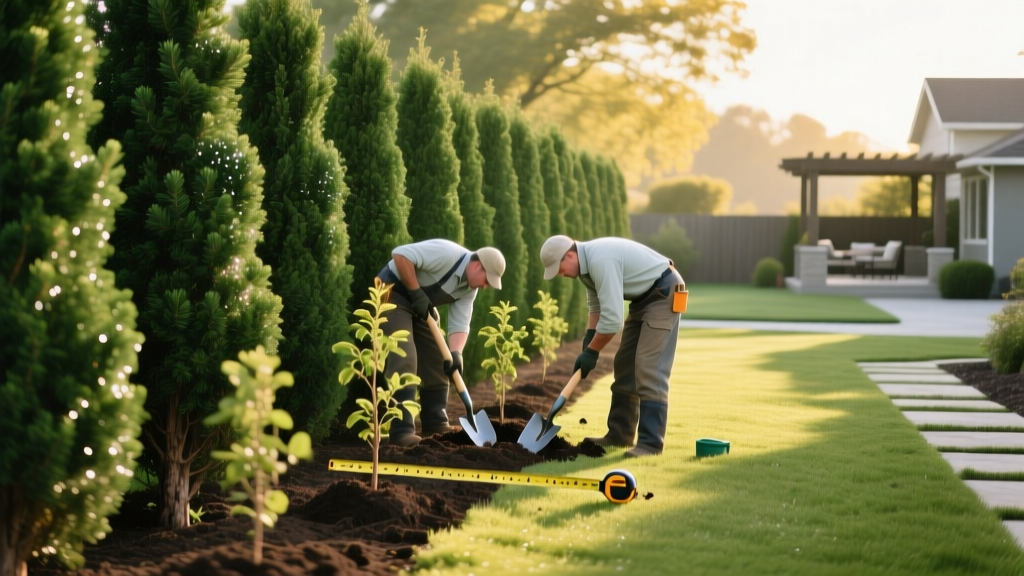
How to Plant Tall Hedges for Privacy: Spacing and Care Guide
Selecting the Right Species for Your Hardiness Zone
The most common failure in establishing a living privacy screen is selecting a species based solely on mature height while ignoring local hardiness, soil drainage, and disease susceptibility. Leyland Cypress (× Cuprocyparis leylandii), once the default choice for rapid screening, is now heavily discouraged by arborists in humid climates due to Seiridium canker and Cercospora needle blight. Instead, opt for disease-resistant cultivars that provide dense, year-round evergreen coverage.
When sourcing nursery stock in 2026, expect to pay between $40 and $65 for high-quality, field-dug 5-gallon specimens of premium privacy cultivars. Bare-root stock is cheaper ($15–$25) but carries a 30% higher first-year mortality rate if not planted during strict early-spring dormancy windows.
| Species / Cultivar | USDA Zones | Growth Rate (ft/yr) | Mature Height | Best Use Case |
|---|---|---|---|---|
| Thuja plicata 'Green Giant' | 5–8 | 3–5 | 30–40 ft | Fastest screening for full sun; highly deer resistant. |
| Prunus laurocerasus 'Schipkaensis' | 6–8 | 1–2 | 10–15 ft | Dense, broadleaf evergreen for deep shade or under-canopy planting. |
| Ilex × attenuata 'Nellie R. Stevens' | 7–9 | 1.5–3 | 20–25 ft | Security screening (spiky leaves); tolerates heavy clay and heat. |
| Taxus × media 'Densiformis' | 4–7 | 0.5–1 | 8–10 ft | Lower, slower-growing screens for northern climates and tight property lines. |
The Mathematics of Hedge Spacing
Homeowners frequently plant privacy shrubs too close together, assuming tighter spacing yields a faster screen. This triggers severe root competition, stunts vertical growth, and causes interior dieback due to light deprivation. According to Clemson University's Home and Garden Information Center, proper spacing is dictated by the plant's mature width, not its height.
The 30% Overlap Rule: To create a solid, gap-free visual barrier without suffocating the root zones, space your plants so their mature canopies overlap by exactly 30%.
- Formula: Mature Width × 0.7 = Optimal Planting Distance (Center-to-Center).
- Example: If a 'Green Giant' Arborvitae has a mature width of 12 feet, multiply 12 by 0.7. Space the trunks 8.4 feet apart.
If you require an immediate, opaque screen and are willing to accept a shorter overall lifespan for the hedge (15 years instead of 30+), you can reduce the multiplier to 0.5 (50% overlap). However, you must commit to aggressive annual thinning to allow airflow and prevent fungal pathogens from colonizing the damp interior foliage.
Step-by-Step Trenching and Soil Amendment
Digging individual holes for a long hedge creates isolated "bathtub" effects in heavy clay soils, where water pools around the root ball and causes Phytophthora root rot. For hedges longer than 20 feet, excavate a continuous trench.
- Mark and Excavate: Dig a continuous trench that is twice as wide as the root ball, but only as deep as the root ball's height. Never dig deeper than the root ball; loose soil at the bottom will cause the heavy shrub to sink over time, burying the root flare.
- Prevent Glazing: If working with heavy clay, the shovel will create a smooth, impermeable "glazed" wall on the trench sides. Use a garden fork to aggressively score and roughen the sides and bottom of the trench to a depth of 2 inches, allowing lateral root penetration.
- Amend the Backfill: Do not replace native clay with pure peat moss or potting soil; this creates a textural boundary that roots will refuse to cross. Blend your excavated native soil with 20% aged pine bark fines or compost by volume. This improves drainage while maintaining the chemical and structural continuity of the site.
Planting Depth and Root Flare Placement
Planting too deeply is the number one cause of mortality in newly installed privacy hedges. The root flare—the point where the trunk widens at the base and the first structural roots emerge—must remain exposed to the air.
Critical Measurement: Before unpotting or unwrapping burlap, brush away the top 2 inches of soil from the root ball to physically locate the root flare. If the nursery buried the flare during propagation, carefully excavate it down to the true flare before planting.
Set the root ball in the trench so that the root flare sits 1.5 to 2 inches above the final surrounding grade. This accounts for the inevitable 1-inch settling that occurs after the backfill soil is watered and consolidates. Mound the backfill soil slightly away from the trunk to create a shallow drainage swale, preventing winter ice and summer rain from pooling directly against the bark.
Year-One Watering and Fertilization Protocol
Establishing tall hedges for privacy requires a precise hydration strategy. Relying on lawn sprinklers is insufficient, as they rarely deliver the deep, slow soak required to penetrate a dense nursery root ball. The Morton Arboretum recommends applying 10 gallons of water per inch of trunk caliper per week during the first growing season.
Hydration Delivery Methods
- Drip Irrigation: Install a 1 GPH (gallon per hour) pressure-compensating dripper at the base of each shrub. Run the system for 10 hours once a week to deliver the required 10 gallons slowly, preventing runoff.
- Watering Bags: For smaller installations, use 20-gallon slow-release watering bags (e.g., Treegator). Fill them twice a week during peak summer heat (July–August), and once a week during spring and early fall.
Warning: Do not apply high-nitrogen synthetic fertilizers (like 46-0-0 urea) to newly planted hedges. High nitrogen forces rapid, weak foliage growth that the compromised root system cannot support, and it can burn tender new root hairs. Wait until the second spring, then apply a slow-release, balanced fertilizer (such as 16-8-8 or 14-14-14) at a rate of 3 pounds per 1,000 square feet of bed area.
Troubleshooting Common First-Year Failures
Even with perfect planting, environmental stressors can trigger specific symptoms. Use this diagnostic framework to intervene before permanent damage occurs:
- Symptom: Crispy, brown tips on new growth, while older interior needles remain green.
Cause: Wind desiccation or fertilizer burn.
Fix: Increase watering volume by 20% and erect a temporary burlap windbreak on the prevailing wind side for the first winter. Flush the soil with 15 gallons of water if fertilizer was applied within the last 14 days. - Symptom: Entire shrub turns pale yellow-green and droops, but soil is wet.
Cause: Hypoxia (suffocation) from poor drainage and root rot.
Fix: Immediately halt all irrigation. Use a soil auger to drill 12-inch deep vertical holes around the drip line and fill them with coarse gravel to create emergency drainage chimneys. - Symptom: Foliage bronzing or turning purple-brown in late winter.
Cause: Winter burn (transpiration exceeds frozen root uptake).
Fix: Apply an anti-desiccant spray (like Wilt Pruf) in late November and again in late January when temperatures are above 40°F. Ensure a deep, 10-gallon watering in late autumn before the ground freezes solid.
By adhering to precise spacing mathematics, respecting the root flare, and implementing a calculated irrigation protocol, your privacy screen will establish a robust root architecture capable of supporting vigorous vertical growth for decades.

