
Tree Care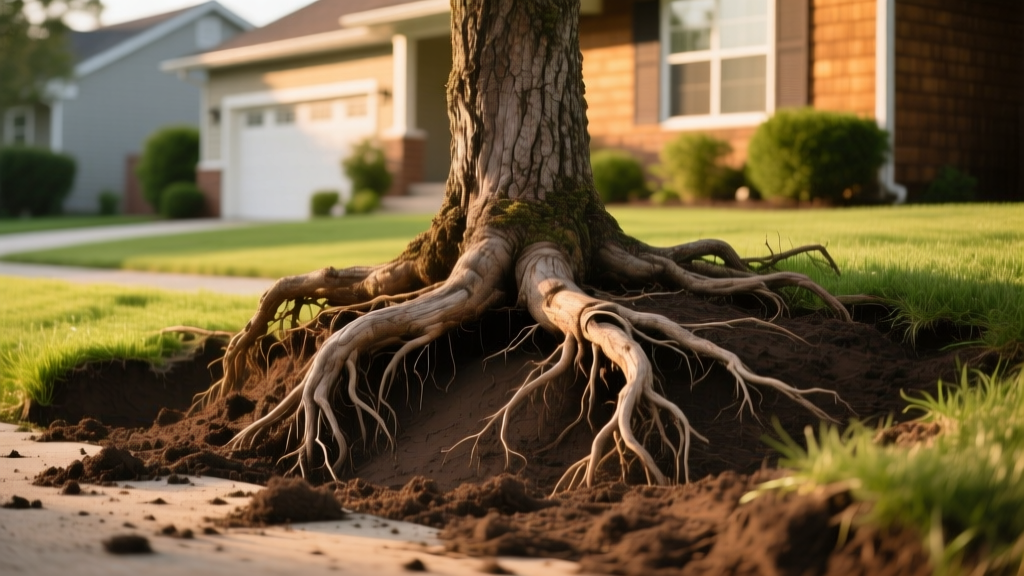
Tree Roots Above Ground Near House: Causes & Safe Fixes
The Anatomy of Surface Roots: Why They Rise
Finding tree roots above ground near house foundations, driveways, and walkways is a common structural and aesthetic problem. While it is tempting to view surface roots as an aggressive attack on your hardscaping, they are actually a survival response to subterranean stress. Tree roots require three primary elements to thrive: oxygen, water, and physical space. When soil becomes heavily compacted, poorly drained, or layered with thick clay, the deeper soil profile becomes anaerobic. To avoid suffocation, the tree's lateral roots migrate upward into the top 4 to 8 inches of soil where oxygen exchange is optimal.
According to research published by the Morton Arboretum, surface rooting is exacerbated by heavy foot traffic, vehicular compaction, and improper grading that sheds water away from the root zone. Furthermore, as secondary roots age, they undergo secondary growth (thickening), which naturally pushes them through the topsoil layer over time.
High-Risk Species for Foundation Encroachment
Genetics play a massive role in root architecture. If you are dealing with tree roots above ground near house structures, identify your species immediately. The following species are notorious for shallow, aggressive lateral root systems:
- Silver Maple (Acer saccharinum): Features extremely dense, shallow mat-forming roots that frequently crack sidewalks and invade foundation drainage tiles.
- Sweetgum (Liquidambar styraciflua): Develops massive surface roots in compacted urban soils, often lifting adjacent concrete within 15 feet of the trunk.
- Weeping Willow (Salix babylonica): Highly hydrotropic; roots will aggressively seek out foundation weeping tiles, sewer lines, and basement moisture.
- Poplar and Cottonwood (Populus spp.): Fast-growing with brittle, wide-spreading surface roots that easily disrupt hardscaping.
Diagnostic Framework: Assessing the Threat Level
Before taking a saw to the problem, you must diagnose the structural threat. Not all surface roots are created equal, and improper cutting can lead to catastrophic tree failure or severe canopy dieback.
CRITICAL WARNING: Never sever roots within the Structural Root Zone (the first 3 to 5 feet radiating from the trunk). These roots act as the tree's anchor. Cutting them compromises the tree's mechanical stability, drastically increasing the risk of windthrow (the tree uprooting and falling onto your house).
Evaluate the roots based on their diameter and distance from the trunk. Roots larger than 3 inches in diameter are primary structural and transport roots. Removing them causes massive stress and invites decay pathogens like Armillaria (oak root fungus). Roots under 2 inches are generally secondary or tertiary and can be pruned with minimal long-term impact, provided you respect the Critical Root Zone (CRZ).
The Mathematics of Safe Root Pruning
Arborists use a standardized formula to calculate the Critical Root Zone (CRZ), which dictates the absolute minimum distance from the trunk where you can safely prune roots. The standard calculation is 1 to 1.5 feet of radius per inch of trunk Diameter at Breast Height (DBH).
For example, if you have a mature Red Oak with a 20-inch DBH, the CRZ extends 20 to 30 feet from the trunk in all directions. If the tree roots above ground near house foundations are located within this 30-foot radius, pruning them will cause proportional canopy dieback and stress. As noted by the University of Minnesota Extension, removing roots inside the CRZ reduces the tree's ability to uptake water and synthesize carbohydrates, making it highly susceptible to secondary pests like bark beetles.
Solution Matrix: Pruning, Barriers, and Air Spading
Depending on the root size, proximity to the house, and your budget, choose the appropriate mitigation strategy from the matrix below.
| Method | Best Use Case | Estimated Cost (2026) | Pros & Cons |
|---|---|---|---|
| Selective Root Pruning | Roots under 2 inches, outside the structural zone, lifting walkways. | $150 - $300 (Professional) or DIY ($50 for tools) | Pros: Immediate relief for hardscaping. Cons: Roots may regrow; risks canopy dieback if over-pruned. |
| HDPE Root Barriers | Protecting new foundations, retaining walls, or sewer lines from future encroachment. | $12 - $18 per linear foot (installed) | Pros: Permanent physical block; redirects roots downward. Cons: Requires trenching; labor-intensive installation. |
| Air Spading & Vertical Mulching | Alleviating the soil compaction that forced roots to the surface in the first place. | $150 - $250 per hour (Arborist rate) | Pros: Treats the root cause; improves tree health. Cons: Expensive; does not instantly remove existing surface roots. |
Step-by-Step: Executing a Clean Root Prune
If you determine that the offending roots are safe to prune (under 2 inches in diameter and outside the 5-foot structural anchor zone), follow this precise protocol to prevent pathogen entry.
- Tool Selection and Sterilization: Do not use a reciprocating saw or chainsaw, which tear and fray the root cambium. Use a high-carbon steel folding saw (e.g., Silky F180, approx. $45) for roots up to 3 inches, or heavy-duty bypass loppers (e.g., Felco 200, approx. $85) for roots under 1.5 inches. Wipe the blades with 70% isopropyl alcohol between every single cut to prevent cross-contamination of soil-borne fungi.
- Excavation: Use a hand trowel or an air spade to carefully expose the root. Never pull or yank the root from the soil, as this can tear the internal vascular connections back to the trunk.
- The Cut: Make a clean, perpendicular cut. Do not cut flush against the trunk; leave the root collar intact. If the root is thick, use the three-cut method (undercut, top cut, final clean cut) to prevent the weight of the root from stripping the bark downward.
- Wound Dressing (Myth Busting): Do not apply pruning seal, tar, or paint to the cut root. Modern arboriculture science confirms that sealants trap moisture and accelerate rot. Allow the cut to callus naturally in the oxygenated soil.
- Backfill and Mulch: Backfill the trench with the native soil, lightly tamping it down. Apply a 2-inch layer of coarse arborist wood chips over the area to retain moisture and regulate soil temperature.
Long-Term Soil Remediation: Fixing the Root Cause
Pruning the roots only treats the symptom. If the soil remains compacted, the tree will simply generate new surface roots within 2 to 3 years. To permanently resolve the issue, you must improve subterranean aeration.
Radial Trenching: Using an air spade or a mechanical auger, dig narrow trenches (4 inches wide, 12 inches deep) radiating outward from the edge of the structural root zone to the dripline. Fill these trenches with a mix of expanded shale, pumice, and high-quality compost. This creates permanent macropores in the soil, drawing water, oxygen, and fine feeder roots deeper into the earth and away from your foundation.
"The goal of modern urban forestry is not to fight the tree's natural architecture, but to manipulate the soil profile so the tree doesn't need to fight for oxygen at the surface."
— Board-Certified Master Arborist Guidelines, 2025
By combining selective, mathematically sound root pruning with deep soil aeration and strategic HDPE barriers, you can protect your home's foundation while maintaining the structural integrity and health of your landscape trees.

