
Tree Care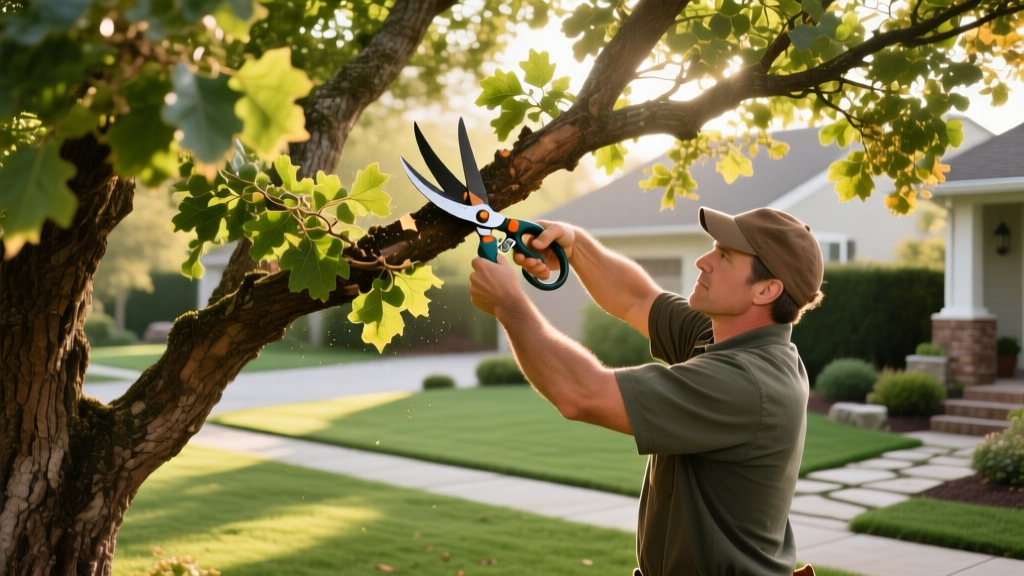
How to Master Tree Shaping: Step-by-Step Pruning Guide
The Physiology of Tree Shaping: Why Cuts Matter
Tree shaping goes far beyond simply hacking away overgrown branches. It is the deliberate manipulation of a tree's architecture to balance structural integrity, light penetration, and aesthetic form. Unlike standard clearance pruning, which merely removes branches interfering with power lines or roofs, shaping requires an understanding of apical dominance and the tree's natural compartmentalization process.
Every cut you make triggers a hormonal response. Removing the terminal (apical) bud of a branch eliminates the source of auxin, a hormone that suppresses lateral growth. By strategically removing these terminal buds, you force the tree to redirect its energy into secondary lateral branches, creating a denser, more controlled canopy. Conversely, leaving the terminal bud while thinning out competing laterals encourages vertical extension. Understanding this biological mechanism is the foundation of all professional tree shaping and pruning practices.
Expert Insight: The CODIT Principle
Trees do not "heal" wounds; they compartmentalize them. The Compartmentalization of Decay in Trees (CODIT) model dictates that a tree builds chemical and physical walls around a wound to stop rot from spreading. Making clean, precise cuts just outside the branch collar allows the tree to form these walls efficiently. Ragged cuts or flush cuts that damage the trunk tissue overwhelm the tree's defense system, leading to internal decay and structural failure.
Essential Tool Loadout for Precision Shaping
You cannot execute precise tree shaping with dull, big-box-store clippers. Professional results require bypass-style blades that slice cleanly without crushing the cambium layer. Below is the essential loadout for shaping trees up to 25 feet tall, reflecting current 2026 retail pricing.
| Tool Category | Recommended Model | Est. Price | Primary Use Case |
|---|---|---|---|
| Hand Pruners | Felco 2 Classic Bypass | $62 | Cuts up to 1 inch; precision bud shaping and tipping |
| Folding Saw | Silky Gomboy 270 | $88 | Cuts 2 to 5 inches; ultra-clean branch removal without tearing |
| Pole Pruner | Fiskars 14 ft. Telescopic | $75 | Canopy shaping up to 12 feet without ladders |
| Loppers | Corona SL 3264 ComfortGEL | $65 | Cuts 1 to 2.5 inches; leverage for thick lateral branches |
Maintenance Rule: Keep a bottle of isopropyl alcohol and a rag in your tool belt. Wipe your blades between trees to prevent the cross-contamination of pathogens like fire blight or verticillium wilt.
Timing Your Cuts: Species-Specific Calendars
Timing is just as critical as technique. Shaping a tree at the wrong time of year can result in excessive sap bleeding, stunted growth, or vulnerability to wood-boring insects.
- Deciduous Trees (Oaks, Maples, Elms): Shape during late winter dormancy (January to early March). The lack of leaves provides a clear view of the branch architecture, and the tree's energy reserves are stored in the roots, ready to push into the newly shaped canopy in spring. Penn State Extension strongly recommends dormant pruning to minimize oak wilt and other vascular disease transmission.
- Spring-Flowering Trees (Dogwoods, Redbuds, Crabapples): Wait until immediately after their spring bloom cycle ends. Shaping them in winter will remove the flower buds formed the previous summer, resulting in a barren spring display.
- Evergreens (Pines, Spruces, Arborvitae): Shape in late spring to early summer when the new "candles" (terminal shoots) have elongated but before the needles fully harden. Snipping these candles in half forces dense, compact growth.
The 3-Step Execution Framework for Tree Shaping
Approach the tree systematically. Never start cutting blindly from the bottom up. Walk a full 360-degree perimeter around the tree to assess its natural form and identify the primary scaffold branches.
Step 1: The 3 Ds (Dead, Damaged, Diseased)
Before any aesthetic shaping occurs, remove all compromised wood. Dead wood is easy to spot (brittle, missing bark, no green cambium when scratched). Damaged wood includes branches split by wind or ice. Diseased wood shows signs of cankers, fungal conks, or oozing sap. Make your cuts at least 12 inches below the visible margin of disease into healthy, green wood to ensure you have removed the active infection.
Step 2: Structural Thinning (The 25% Rule)
Thinning involves removing entire branches back to their point of origin to open the canopy to light and air circulation. Look for three specific targets:
- Crossing Branches: When two branches rub together, they create wounds that invite decay. Remove the weaker branch or the one growing at an awkward angle.
- Included Bark: Branches that form tight, V-shaped crotches often grow bark inside the union, making them structurally weak and prone to splitting. Remove one of the co-dominant stems to leave a strong, U-shaped union.
- Water Sprouts and Suckers: These are rapid, vertical shoots growing from the trunk base or horizontally from lateral branches. They drain energy and ruin the tree's form. Rip them off by hand if they are green and tender, or cut them flush to the collar if they have hardened.
Warning: The 25% Canopy Limit
Current ANSI A300 arboriculture standards dictate that you should never remove more than 25% of a tree's live canopy in a single growing season. Over-thinning triggers a stress response, causing the tree to panic-grow weak, poorly attached water sprouts to replace the lost photosynthetic capacity. If a tree requires heavy reshaping, spread the work over two to three years.
Step 3: Aesthetic Heading and Tipping
Once the structure is sound and the canopy is thinned, you can begin shaping the outer silhouette. Heading cuts involve shortening a branch by cutting it back to a lateral bud.
The Technique: Locate an outward-facing lateral bud (this ensures the new growth grows away from the center of the tree, maintaining an open canopy). Position your Felco 2 pruners exactly one-quarter inch above the bud at a 45-degree angle, sloping away from the bud. If you cut too close, the bud will desiccate and die. If you cut too far away, the stub will die back, creating an entry point for rot.
Troubleshooting Common Shaping Mistakes
Even well-intentioned homeowners can accidentally ruin a tree's architecture. Avoid these three critical errors:
- Lion-Tailing: This occurs when you strip all the inner lateral branches off a main limb, leaving a tuft of foliage only at the very end. This shifts the branch's center of gravity outward, making it highly susceptible to windthrow and sunscald on the newly exposed bark.
- Topping: Cutting the main central leader or primary scaffold branches back to arbitrary stubs. Topping destroys the tree's natural form, causes massive stress, and results in a hydra-like explosion of weakly attached epicormic shoots. Never top a tree; use drop-crotch pruning to reduce height safely.
- Flush Cutting: Cutting a branch perfectly flush with the trunk removes the branch collar (the swollen area at the base of the branch). The collar contains specialized chemicals necessary for wound compartmentalization. Always leave the collar intact.
Frequently Asked Questions
Can I shape a mature tree that has been neglected for decades?
Yes, but it requires patience. You cannot correct decades of poor structure in one afternoon. Focus on removing dead wood and the most dangerous structural defects in year one. In year two, begin selectively reducing co-dominant leaders and thinning the heaviest canopy clusters. Expect a 3- to 5-year rehabilitation timeline for mature, neglected trees.
Should I paint or seal pruning cuts after shaping?
No. Decades of arboricultural research have proven that pruning paints and wound dressings do not prevent decay. In fact, they trap moisture and fungal spores against the exposed wood, accelerating rot. A tree's best defense is a clean, sharp cut made in the correct location, allowing natural compartmentalization to take over.
How do I shape an evergreen hedge without leaving brown dead spots?
When shaping conifers like yews or arborvitae, never cut back into the "dead zone"—the older, inner wood that no longer produces needles. Always make your shaping cuts in the green, actively growing outer foliage. Furthermore, shape the hedge so the base is slightly wider than the top (a subtle A-frame). This ensures the lower branches receive adequate sunlight and do not thin out and die off at the bottom.

