
Tree Care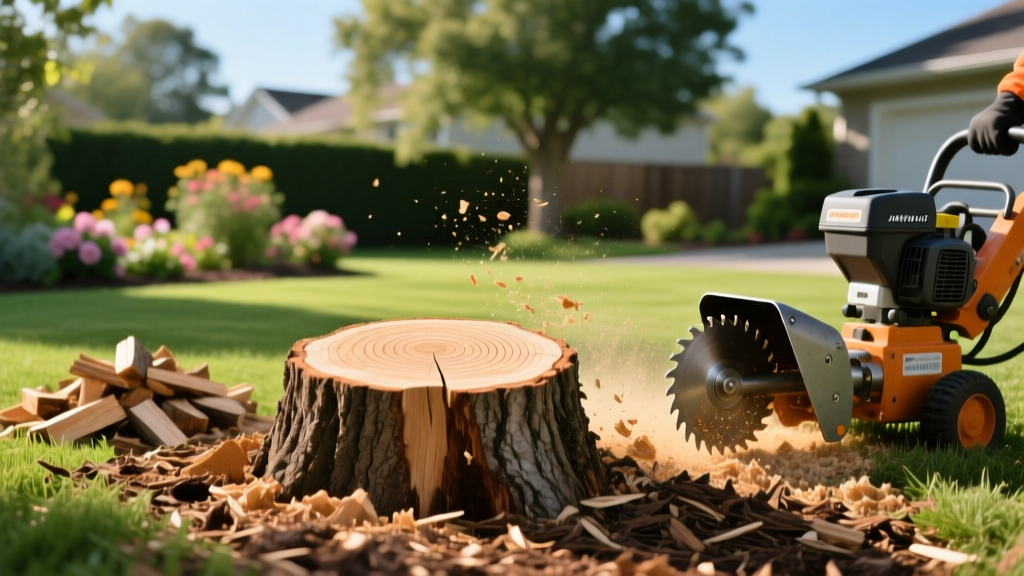
How to Remove a Tree Stub: Grinding, Rotting, and Repurposing
Why Leaving a Tree Stub Causes Long-Term Yard Damage
Cutting down a problematic or dead tree is only half the battle. The remaining tree stub acts as a biological anchor that can cause severe headaches for homeowners if ignored. While it might seem harmless to leave a foot of trunk behind, decaying wood introduces three major liabilities to your landscape:
- Aggressive Suckering: Species like the Bradford Pear, Tree of Heaven, Paulownia, and various Elms will aggressively push out root suckers from the stump for years. These shoots drain energy from the root system and create a dense, unmanageable thicket in your lawn.
- Pest and Fungal Havens: A rotting tree stub attracts carpenter ants, termites, and wood-decaying fungi like Armillaria (honey fungus). According to Clemson University's Home & Garden Information Center, these pathogens can spread through the soil to infect nearby healthy trees and shrubs.
- Mower Hazards: Hidden surface roots and hard wood remnants routinely destroy lawnmower blades and pose a tripping hazard for anyone walking through the yard.
For beginners, deciding how to tackle the tree stub depends entirely on your budget, timeline, and physical capability. Below is a comprehensive breakdown of the three most effective removal and management strategies.
Method 1: Mechanical Tree Stub Grinding (The Fast Track)
If you need to lay sod, plant a new tree in the exact same spot, or simply want the stump gone in a single afternoon, mechanical grinding is the only viable option. You can rent a walk-behind stump grinder from most major hardware stores for roughly $150 to $250 per day.
Step-by-Step Grinding Process
- Call 811 Before You Dig: This is a non-negotiable legal requirement in the US. Utility companies will mark underground gas, water, and fiber-optic lines for free. Striking a line with a grinder's tungsten-teeth wheel can be fatal and financially ruinous.
- Clear the Debris: Remove all rocks, mulch, and soil from the base of the tree stub. Dirt and stones will rapidly dull the grinder's carbide teeth, and replacing a set of teeth can cost upwards of $100.
- Sweep and Pivot: Start at the outer edge of the stub. Engage the wheel and use a slow, side-to-side sweeping motion. Do not force the machine; let the weight of the grinder and the teeth do the work.
- Grind Below Grade: Continue grinding until the entire root flare and main trunk are reduced to woodchips at least 6 to 8 inches below the surrounding soil grade. This ensures you have enough depth to cover the area with topsoil and plant grass.
CRITICAL SAFETY WARNING: Stump grinders throw woodchips and debris at high velocities. You must wear ANSI Z87.1-rated safety goggles, heavy leather work gloves, steel-toed boots, and hearing protection. Never allow children or pets within a 50-foot radius of the operating machine.
Method 2: Chemical Accelerated Decay (The Budget Option)
If you are on a strict budget and do not mind waiting, chemical decay is highly effective. This method does not 'dissolve' the wood instantly; rather, it accelerates the natural rotting process by introducing high concentrations of nitrogen, which feeds the wood-eating microbes.
The Potassium Nitrate Technique
The active ingredient you need is Potassium Nitrate (often sold as Spectracide Stump Remover or similar generic brands, typically costing $10 to $15 per bottle). Avoid products that merely contain 'brush killer' herbicides, as these kill the living tissue but do not accelerate the physical rotting of the dead wood.
- Drill Deep Reservoirs: Using a cordless drill and a 1-inch spade bit or auger bit, drill holes into the top of the tree stub. The holes should be 8 to 12 inches deep and spaced about 3 inches apart in a grid pattern. Angle a few holes outward toward the bark to target the cambium layer.
- Fill and Hydrate: Pour the potassium nitrate granules into each hole until they are nearly full. Follow up by pouring warm water into the holes to dissolve the chemical and carry it deep into the root system.
- Seal the Stump: Cover the entire tree stub with a heavy-duty black plastic tarp and weigh down the edges with bricks or mulch. This traps moisture and heat, creating an ideal incubator for decay fungi.
- Wait and Chop: Check the stub every two weeks, adding more water if it dries out. After 4 to 6 weeks, the wood will become spongy and soft. You can then break it apart with a digging bar or axe and remove the pieces by hand.
Comparing Tree Stub Removal Methods
Choosing the right approach requires balancing your immediate landscape goals with your available resources. The University of Minnesota Extension notes that the species of the tree also dictates how fast natural or chemical decay will work; softwoods like pine rot much faster than dense hardwoods like oak or hickory.
| Method | Estimated Cost | Time to Completion | Physical Effort | Best Use Case |
|---|---|---|---|---|
| Mechanical Grinding | $150 - $300 (Rental) | 2 - 4 Hours | High (Heavy machinery) | Immediate replanting or sod installation |
| Chemical Decay | $15 - $30 | 4 - 8 Weeks | Low (Drilling and waiting) | Budget-friendly removal of softwood stumps |
| Natural Rotting | $0 | 3 - 7 Years | None | Remote wooded areas, wildlife habitats |
| Repurposing | $20 - $50 (Decor) | 1 Weekend | Moderate (Sanding/sealing) | Garden focal points, seating, stumperies |
Post-Removal Soil Remediation: The Nitrogen Robbery
One of the most common mistakes beginners make after grinding a tree stub is immediately planting grass or a new shrub without amending the soil. When you grind a stump, you leave behind a massive volume of woodchips mixed into the topsoil.
The Science of Nitrogen Tie-Up: Wood has a very high Carbon-to-Nitrogen (C:N) ratio, often exceeding 400:1. As soil microbes break down these carbon-heavy woodchips, they consume all the available nitrogen in the surrounding soil to fuel their metabolism. This phenomenon, known as 'nitrogen robbery,' will cause any new grass or plants to turn pale yellow and stunt their growth.
The Fix: Before laying sod or dropping grass seed over the ground-up tree stub, you must heavily amend the soil. Remove as many woodchips as possible by raking them out. Then, mix in a 2-inch layer of high-quality compost and apply a high-nitrogen fertilizer. Look for a fertilizer with a high first number in the N-P-K ratio, such as a 24-4-8 or a 29-0-4 slow-release formula. Apply at a rate of 1 pound of actual nitrogen per 1,000 square feet to offset the microbial nitrogen demand.
Repurposing the Tree Stub (The Eco-Friendly Route)
If the tree stub is in a garden bed rather than the middle of your lawn, removal might be unnecessary. Repurposing the stump adds vertical interest and ecological value to your landscape.
- Create a Stumpery: A popular Victorian gardening technique, a stumpery uses dead wood to grow shade-loving plants. Pack the crevices of the rotting tree stub with a mix of peat moss and loam, then plant ferns, hostas, and mosses. As the wood slowly decays, it provides a continuous source of nutrients to the plants.
- Wildlife Habitat: Dead wood is vital for local ecosystems. Drill various sized holes (from 1/4 inch to 1/2 inch) into the sides of the stub to create a native bee hotel. Solitary bees will use these cavities for nesting, boosting pollination in your surrounding garden.
- Natural Pedestal: Cut the stub perfectly level, sand the top surface, and apply three coats of exterior-grade marine polyurethane. This creates a rustic, weatherproof pedestal for birdbaths, solar lanterns, or potted succulents.

