
Tree Care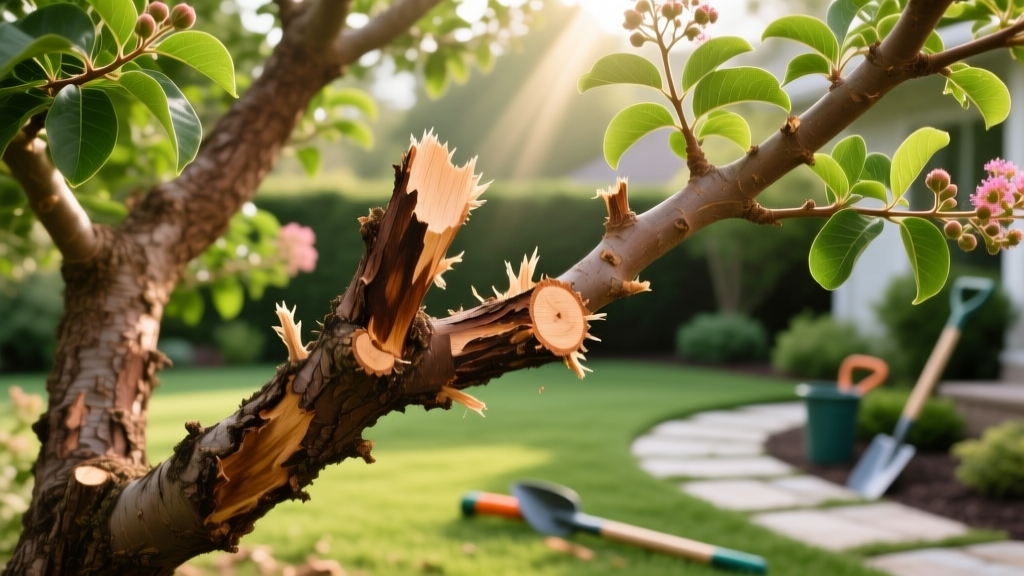
How to Trim a Crepe Myrtle Bush: Diagnosing and Fixing Bad Cuts
Crepe myrtles (Lagerstroemia indica) are exceptionally resilient flowering shrubs, but they are frequently victims of severe mismanagement. When homeowners ask how to trim a crepe myrtle bush, they are often actually looking for ways to fix years of improper topping, hack-and-slash pruning, and structural damage. This aggressive malpractice, colloquially known as 'crepe murder,' results in knobby, unsightly joints, weak epicormic growth (water sprouts), and a heightened susceptibility to fungal pathogens like Botryosphaeria canker.
Diagnosing the specific type of overgrowth or past pruning damage is the first step toward rehabilitation. This guide provides a problem-solution framework to assess your shrub, select the correct arborist tools, and execute precise corrective cuts that restore the plant's natural, multi-stemmed architecture.
Diagnosing Your Crepe Myrtle: Identifying Pruning Damage
Before making a single cut, evaluate the current state of your bush. A healthy crepe myrtle should feature smooth, sinewy trunks that branch out gracefully at a 45- to 60-degree angle. If your plant exhibits the following symptoms, it requires corrective rehabilitation rather than standard maintenance trimming.
Warning: Signs of 'Crepe Murder'
- Knobby, swollen branch ends: Caused by repeatedly cutting back to the same joint, forcing a cluster of weak sprouts to emerge from a single point.
- Pencil-thin water sprouts: Rapid, vertical, whip-like growths that cannot support the weight of summer flower panicles, leading to drooping and breakage.
- Flush cuts or torn bark: Cuts made directly against the main trunk that destroy the branch collar, leaving the tree unable to compartmentalize the wound.
- Delayed or stunted flowering: Topping removes the previous year's wood, which is where the current season's bloom buds are formed.
According to the Clemson University Home & Garden Information Center, topping a crepe myrtle drastically shortens its lifespan and ruins its natural winter silhouette. The solution is not to chop it down, but to initiate a multi-year corrective pruning strategy.
The Precision Tool Kit for Corrective Trimming
Using the wrong tools causes crushing and tearing, which invites wood-rotting fungi. Anvil pruners crush vascular tissue; you must use high-carbon steel bypass blades for clean, healing cuts. Below is the professional-grade toolkit required for rehabilitating an overgrown bush.
| Tool Type & Recommended Model | Target Branch Size | Estimated Cost (2026) | Primary Use Case |
|---|---|---|---|
| Felco F-2 Classic Bypass Pruner | Up to 1 inch | $65 - $75 | Removing water sprouts, dead twigs, and seed pods. |
| Fiskars 28-inch Bypass Loppers | 1 to 2.5 inches | $45 - $55 | Thinning out crossing branches and removing suckers at the base. |
| Silky Gomboy 210mm Folding Saw | 2.5 to 5 inches | $55 - $65 | Executing the 3-cut method on thick, damaged main trunks. |
Expert Insight: Keep a spray bottle of 70% isopropyl alcohol on hand. Wipe your blades between every cut when removing diseased or cankered wood to prevent transmitting Cercospora leaf spot or bacterial blight across the canopy.
Step-by-Step Solution: Executing the 3-Cut Method
When removing large, damaged limbs or reducing the height of a severely topped trunk, you cannot simply saw through the branch. The weight of the wood will cause the bark to tear down the main trunk, stripping the cambium layer and creating a massive, unhealable wound. The University of Florida IFAS Extension mandates the 3-cut method for any branch over 2 inches in diameter.
- The Undercut: Position your Silky folding saw about 6 to 12 inches away from the trunk. Cut upward from the underside of the branch, going about one-third of the way through the wood. This severs the bark fibers and prevents tearing.
- The Relief Cut: Move your saw 1 to 2 inches further out on the branch (away from the trunk). Cut straight down from the top. The weight of the branch will snap it off cleanly at the relief cut, leaving a manageable stub.
- The Final Collar Cut: Locate the branch collar—the swollen, wrinkled ring of bark where the branch meets the trunk. Make your final cut just outside this collar, angling slightly to match the trunk's bark ridge. Never cut flush against the trunk.
Crucial Rule on Wound Sealants: Do not apply pruning paints, asphalt-based sealants, or wax to the fresh cut. Research confirms that wound dressings trap moisture against the exposed wood, accelerating decay and fungal canker infections. A clean cut left exposed to the air will naturally form a callus ridge and compartmentalize the wound within a single growing season.
Rehabilitating a Severely Topped Bush: A 3-Year Timeline
If your crepe myrtle has already been subjected to 'crepe murder' and features massive, ugly knuckles at the top of every trunk, you cannot fix it in one afternoon. Corrective pruning requires a phased approach to re-establish a natural canopy without shocking the root system.
Year 1: Sprout Selection and Basal Sucker Removal
In late February, before bud swell, examine the knobby joints. Select 3 to 5 of the thickest, most vertically oriented water sprouts emerging from each knuckle. Use your Felco F-2 pruners to rub off or cut flush all other competing sprouts. Simultaneously, remove all basal suckers growing from the root flare at the soil line using loppers. This directs the plant's energy into your selected leader branches.
Year 2: Heading Back and Canopy Thinning
The following winter, your selected sprouts will have grown significantly. To encourage lateral branching (which produces the best flowers), head back the tips of your new leaders by about 12 to 18 inches, making the cut just above an outward-facing bud. Thin out any inward-growing branches that cross or rub against the central trunks to improve airflow and reduce powdery mildew risk.
Year 3: The Final Aesthetic Shaping
By year three, the knuckles will begin to smooth out as the selected branches thicken and merge with the main trunk. Perform standard maintenance trimming: remove deadwood, eliminate crossing branches, and elevate the lower canopy by removing limbs that hang below 4 feet from the ground, revealing the beautiful, peeling exfoliating bark of the lower trunks.
Seasonal Timing: When to Execute Your Trimming Strategy
Timing is a critical variable in problem diagnosis and solution. Trimming a crepe myrtle bush at the wrong time of year can trigger a late-season growth flush that is highly vulnerable to frost damage, or it can remove the buds required for summer blooming.
- USDA Zones 7-9 (The Deep South): The optimal window is late February to early March. You want to prune while the bush is fully dormant but just a few weeks before the sap begins to rise and buds swell.
- USDA Zones 6 and North: Wait until mid-to-late March or early April. Pruning too early in colder zones exposes the fresh cuts to freezing temperatures, which can cause dieback down the length of the branch.
- Summer (Deadheading): While major structural trimming is forbidden in summer, you can use hand pruners to snip off spent flower panicles in July. This prevents the plant from wasting energy on seed production and often triggers a second, smaller flush of blooms in early autumn.
By diagnosing the specific structural flaws of your shrub and applying these targeted, multi-year rehabilitation techniques, you will transform a butchered landscape eyesore back into the elegant, flowering centerpiece it was genetically designed to be.

