
Tree Care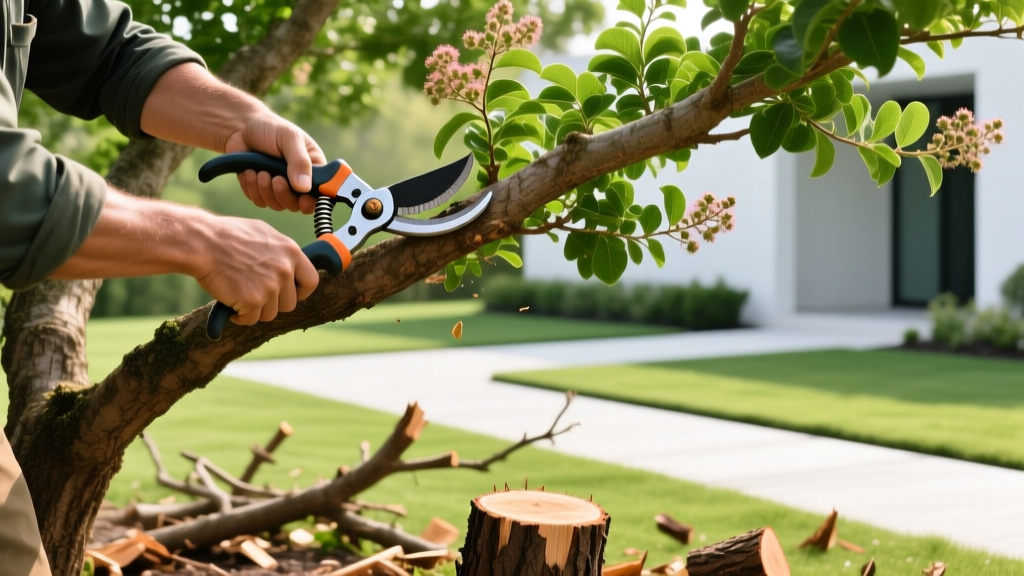
Trimming Crepe Myrtle Shrubs: The Step-by-Step Anti-Murder Guide
The Epidemic of 'Crepe Murder' and How to Stop It
Every late winter, neighborhoods across the southern United States witness a horticultural crime: the severe topping of Lagerstroemia indica. Known colloquially as 'crepe murder,' this practice involves indiscriminately hacking off the top third of crepe myrtle trunks, leaving behind ugly, knobby stumps. While some believe this aggressive chopping promotes larger blooms, it actually destroys the plant's natural architecture, weakens its structural integrity, and invites disease.
When you decapitate a crepe myrtle, you destroy its apical dominance. This forces the tree to push out dozens of weak, whippy epicormic shoots (water sprouts) from the cut scars. These slender shoots lack the caliper strength to support the heavy summer bloom panicles, resulting in branches that flop to the ground or snap in high winds. Furthermore, the dense cluster of new growth severely restricts airflow, creating a microclimate ripe for Cercospora leaf spot and powdery mildew.
Trimming crepe myrtle shrubs properly requires a shift in mindset from 'shaping a hedge' to 'curating a vase.' Whether you are maintaining a dwarf shrub cultivar like 'Chickasaw' or a semi-dwarf like 'Tonto,' the goal is selective thinning that preserves the plant's graceful, multi-stemmed silhouette.
The Essential Tool Loadout for Selective Pruning
Using the wrong tools is the primary reason homeowners resort to topping. Hedge trimmers and reciprocating saws have no place in crepe myrtle maintenance. You need sharp, bypass-style blades that make clean cuts without crushing the vascular cambium. Here is the professional-grade loadout for 2026:
| Tool Category | Recommended Model | Max Cut Diameter | Estimated Cost |
|---|---|---|---|
| Hand Bypass Pruner | Felco 2 Classic | 1/2 inch | $62 |
| Bypass Lopper | Fiskars 32' PowerGear | 2 inches | $48 |
| Pole Pruner/Saw | Silky Hayauchi 3-Section | 4 inches | $135 |
| Sanitizing Spray | 70% Isopropyl Alcohol | N/A | $5 |
CRITICAL WARNING: Never use anvil pruners or hedge shears on crepe myrtles. Anvil blades crush the bark against a flat plate, causing dieback down the stem. Hedge shears create thousands of micro-wounds that trigger chaotic, brush-like growth.
Timing: The Dormant Window
The optimal window for trimming crepe myrtle shrubs is late February through early March, depending on your USDA Hardiness Zone (typically Zones 7-9). You want to prune while the plant is fully dormant but just before the 'silver-tip' bud break stage. Pruning too early in December can stimulate tender new growth if a sudden warm spell hits, which will be killed by a subsequent freeze. Pruning too late in April removes the wood that has already set flower buds, drastically reducing your summer bloom count.
The 4-Step Selective Pruning Framework
Follow this systematic approach to thin and shape your shrubs without sacrificing structural integrity.
Step 1: Base Sucker Eradication
Crepe myrtles are prolific producers of root suckers, especially when stressed or over-mulched. Using your Felco hand pruners, trace every sucker down to its origin point at the root flare or base of the trunk. Make a flush cut directly at the collar. Do not leave stubs, as stubs will simply sprout three new suckers the following spring. Keeping the bottom 12 to 18 inches of the trunk completely clear of foliage prevents soil-borne fungal spores from splashing onto the lower canopy during heavy rains.
Step 2: The 3-Cut Method for Structural Limbs
If you need to remove an entire lateral branch or one of the main trunks to improve the vase shape, use the 3-cut method to prevent bark tearing:
- The Undercut: Make a shallow cut on the underside of the branch, about 6 inches from the trunk collar. This stops the bark from peeling down the trunk when the branch falls.
- The Relief Cut: Cut completely through the branch from the top, an inch further out than the undercut. The branch will snap off cleanly.
- The Collar Cut: Make the final cut just outside the branch collar (the swollen area where the branch meets the trunk). Do not cut flush with the trunk, as this damages the trunk's wound-sealing tissue.
Step 3: Canopy Thinning and the Airflow Protocol
With the structural limbs set, move to the interior canopy. Your objective is to allow enough space for a bird to fly through the center of the shrub. Remove any branches that are:
- Crossing or rubbing: Friction wounds are entry points for wood-decaying fungi.
- Growing inward: Branches growing toward the center trunk block sunlight and trap humidity.
- Blind wood: Remove sections of the branch that lack lateral buds or side shoots, as they will never produce foliage or blooms.
The Pencil Rule: As a general rule of thumb, do not make heading cuts (shortening a branch) on any wood smaller than the diameter of a standard wooden pencil, unless you are removing dead wood. Let the secondary and tertiary twigs remain intact to support the bloom panicles.
Step 4: Seed Pod and Spent Bloom Management
During the growing season, you can deadhead spent blooms to encourage a second, albeit smaller, flush of flowers in late summer. However, in late winter, you should only remove the old, dried seed pods if they are aesthetically bothersome. According to Clemson University Extension, removing seed pods does not significantly impact the next year's bloom volume, but aggressively cutting back the stems to reach those pods is where homeowners accidentally commit crepe murder. Simply snip the pod stem just above the first set of mature buds.
Rehabilitating a Mutilated Crepe Myrtle
If you have recently purchased a home with a severely topped crepe myrtle, or if you made the mistake of hiring a 'mow-and-blow' landscaping crew that hacked your shrubs, all is not lost. Rehabilitation requires patience and a three-year commitment.
'You cannot fix a decade of crepe murder in a single afternoon. You must selectively re-establish dominant leaders while ruthlessly suppressing the chaotic epicormic growth.' — Dr. Greg McLean, Urban Forestry Specialist
The 3-Year Recovery Protocol
Year 1: The Purge. Look at the knobby, swollen 'knuckles' left by previous topping cuts. Select the 3 to 5 strongest, most vertically oriented shoots emerging from each knuckle. Using your pruners, rub out or cut flush every single other whippy shoot. This forces the plant's energy into your selected leaders.
Year 2: Establishing the Collar. As the selected shoots thicken, they will begin to form their own branch collars. Prune away any new lateral growth on the lower 12 inches of these new leaders. If the original knuckle is excessively rotting or hollow, make a clean cut just below the knuckle to healthy wood, and restart the selection process from the new latent buds.
Year 3: Normalizing the Canopy. By the third year, your selected shoots should be thick enough to support heavy blooms. Transition to the standard selective thinning framework outlined above, treating these new trunks as permanent structural limbs.
Disease Prevention During Pruning
Crepe myrtles are highly susceptible to Cercospora leaf spot, a fungal disease that causes premature defoliation in late summer. While selecting resistant cultivars (like those in the Indian Nation series, e.g., 'Natchez' or 'Muskogee') is your first line of defense, pruning practices play a massive role in mitigation. The Texas A&M AgriLife Extension emphasizes that maximizing interior airflow and sunlight penetration through selective thinning dries the canopy faster after morning dew and rain events, effectively starving the fungal spores of the moisture they need to germinate. Always sanitize your pruning blades with 70% isopropyl alcohol between shrubs to prevent the mechanical transmission of pathogens.
Final Thoughts on Shrub Maintenance
Trimming crepe myrtle shrubs is an exercise in restraint. The most beautiful specimens in your neighborhood are likely the ones that look as though they have barely been touched. By investing in high-quality bypass tools, adhering to the dormant pruning window, and strictly following the selective thinning framework, you will reward yourself with a structurally sound, disease-resistant shrub that produces massive, upright bloom panicles year after year.

