
Tree Care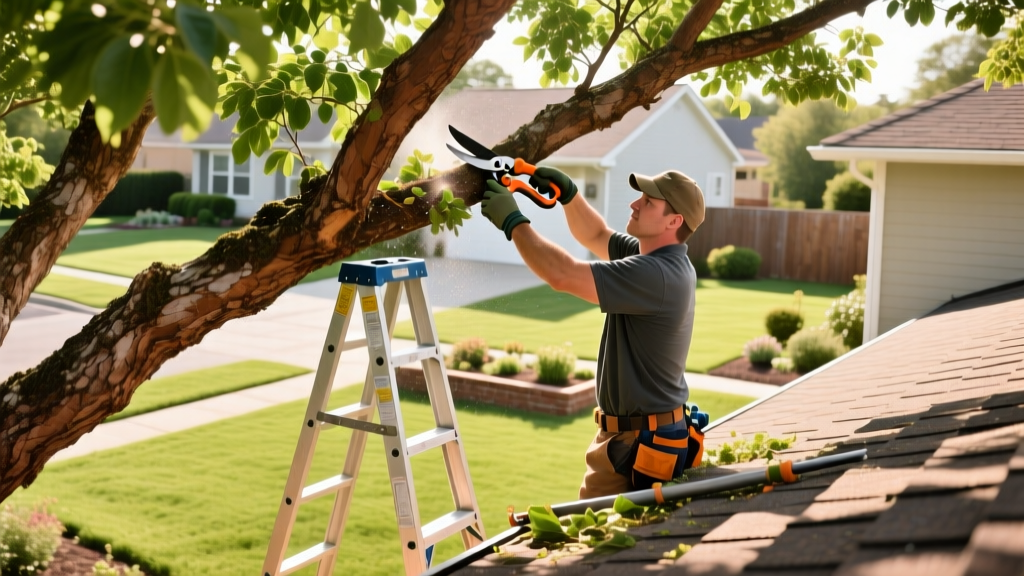
Step-by-Step Guide to Trimming Tree Branches Overhanging Roofs
The Physics of Roof Clearance: Why 3 Feet is the Minimum
When trimming tree branches that extend over your home, the primary objective is preventing mechanical abrasion to your roofing materials. Asphalt shingles are coated with ceramic granules that protect the underlying asphalt from UV degradation. When a branch rests on or repeatedly scrapes against a roof during wind events, it strips these granules, exposing the matting to premature failure.
Arborists and roofing contractors universally recommend a minimum vertical and horizontal clearance of 3 feet between the furthest-reaching foliage and the roofline. This specific measurement accounts for wind sway. During a 40-mph gust, a 20-foot lateral branch can deflect upward and downward by 18 to 24 inches. A 3-foot buffer ensures that even under severe wind loads, the branch will not make contact with your shingles or fascia boards.
⚠️ Critical Safety Warning: Power Line Proximity
If the branches you are trimming are within 10 feet of overhead utility lines, do not attempt this project yourself. The Occupational Safety and Health Administration (OSHA) mandates that only line-clearance certified professionals work within this zone. Contact your local utility provider; many will trim branches interfering with service drops at no cost to the homeowner.
Precision Tool Loadout for Branches Under 4 Inches
For branches up to 4 inches in diameter, you do not need a chainsaw. Chainsaws are heavy, dangerous on ladders, and prone to pinching when cutting suspended wood. Instead, invest in a targeted manual tool kit designed for clean, pathogen-free cuts.
- Silky Gomboy 210mm Folding Saw ($42 - $48): This Japanese pull-saw features impulse-hardened teeth that cut on the pull stroke, requiring less physical exertion and reducing the chance of the blade binding in the kerf. The 210mm blade is ideal for branches between 1.5 and 4 inches thick.
- Fiskars 7.9-12 Foot Telescoping Pruning Stik ($45 - $55): For branches that are high but relatively thin (under 1.25 inches), this pole pruner allows you to maintain both feet firmly on the ground. The bypass blade design slices cleanly without crushing the vascular tissue.
- Corona FL 3470 ComfortGEL Bypass Loppers ($55 - $60): Use these for branches between 1 and 2 inches thick where you have stable ladder access. The compound action provides 3x the cutting power of standard loppers, reducing shoulder strain.
Note: Always use bypass blades, never anvil blades. Anvil pruners crush the wood fibers before cutting, which damages the cambium layer and creates an entry point for fungal pathogens like Armillaria root rot.
Executing the Three-Cut Method to Protect the Branch Collar
The most common mistake homeowners make when trimming tree branches is making a single cut from the top down. The weight of the branch will cause it to snap before the cut is finished, tearing a long strip of bark down the trunk. This 'bark stripping' severely damages the tree's ability to compartmentalize the wound.
To prevent this, use the three-cut method, a standard endorsed by the University of Florida IFAS Extension:
- The Undercut (Notch): Position your saw 6 to 12 inches away from the trunk. Cut upward from the bottom of the branch, going about one-third of the way through the wood. This severs the bark on the underside, preventing it from tearing when the branch falls.
- The Relief Cut (Top Cut): Move your saw 2 to 3 inches further out on the branch (away from the trunk). Cut straight down from the top. The branch will snap cleanly between the two cuts, falling away without pulling any bark from the trunk.
- The Final Collar Cut: Now that the heavy weight of the branch is gone, locate the branch collar (the swollen area where the branch meets the trunk) and the branch bark ridge (the raised line of bark in the crotch). Make your final cut just outside the branch collar, angled slightly away from the trunk. Do not cut flush with the trunk; removing the collar destroys the tree's natural chemical defense zone.
Seasonal Pruning Matrix: Deciduous vs. Evergreen Timing
The timing of your cuts dictates how quickly the tree will seal the wound and whether you will inadvertently remove next year's flower buds. Use this matrix to schedule your trimming.
| Tree Type | Optimal Pruning Window | Physiological Reason | Risk of Off-Season Cutting |
|---|---|---|---|
| Deciduous (Oak, Maple, Elm) | Late Winter (Feb - Early March) | Tree is fully dormant; energy reserves are in the roots, not the branches. | Summer cuts deplete energy; spring cuts cause excessive 'bleeding' (sap loss). |
| Evergreen (Pine, Spruce, Fir) | Early Spring (Before new candle growth) | Allows the tree to push new growth over the cut sites immediately. | Late fall cuts leave open wounds vulnerable to winter desiccation and frost cracking. |
| Spring-Flowering (Dogwood, Magnolia) | Immediately after blooms fade (Late Spring) | Flower buds for next year are set in mid-summer; pruning after bloom preserves them. | Winter pruning removes the flower buds, resulting in a bare spring display. |
The Wound Dressing Myth: Let CODIT Do the Work
For decades, homeowners and even some landscapers believed that applying black tar, pruning paint, or asphalt-based wound dressings to a fresh cut would prevent rot and insect infestation. Modern arboricultural science has thoroughly debunked this practice.
Trees do not 'heal' wounds like human skin; they 'seal' them through a process called Compartmentalization of Decay in Trees (CODIT). When a branch is cut, the tree builds chemical walls around the wound to isolate the decaying wood from the healthy, living tissue. According to research published by the University of Minnesota Extension, applying wound dressings actually interferes with this process.
'Wound dressings do not prevent decay. In fact, they can trap moisture against the wood, accelerating the growth of decay-causing fungi and preventing the formation of the tree's natural protective boundary.'
Leave the cut exposed to the air. The only exception to this rule is in specific regions where oak wilt is highly prevalent; in those zones, a specialized latex-based paint may be applied immediately to fresh oak cuts to mask the scent of the sap from sap-feeding beetles. Otherwise, let the tree's biology handle the sealing.
Cost Analysis: DIY vs. ISA Certified Arborist
Deciding whether to trim the branches yourself or hire a professional depends on the height of the canopy, the diameter of the wood, and the drop zone.
Typical Pricing Breakdown (2026 Estimates)
- DIY Tool Investment: $100 - $150 (One-time cost for high-quality saws, loppers, and safety gear).
- Professional Small Job (1-3 branches under 6 inches): $250 - $450. This covers the arborist's minimum call-out fee, insurance, and debris hauling.
- Professional Canopy Elevation (Clearing entire roofline): $800 - $1,500+. Requires climbing spikes or a bucket truck, rigging ropes to lower heavy wood safely, and chipping services.
If the branch requires you to stand on the top three rungs of a ladder, or if the drop zone includes a fragile structure like a greenhouse, solar panel array, or HVAC condenser, hire an International Society of Arboriculture (ISA) Certified Arborist. You can verify an arborist's credentials and insurance status directly through the Trees Are Good database. Never hire an unlicensed 'tree trimmer' who knocks on your door; they rarely carry the $1 million liability insurance required to protect your property if a miscalculated drop crushes your roof.

