
Landscaping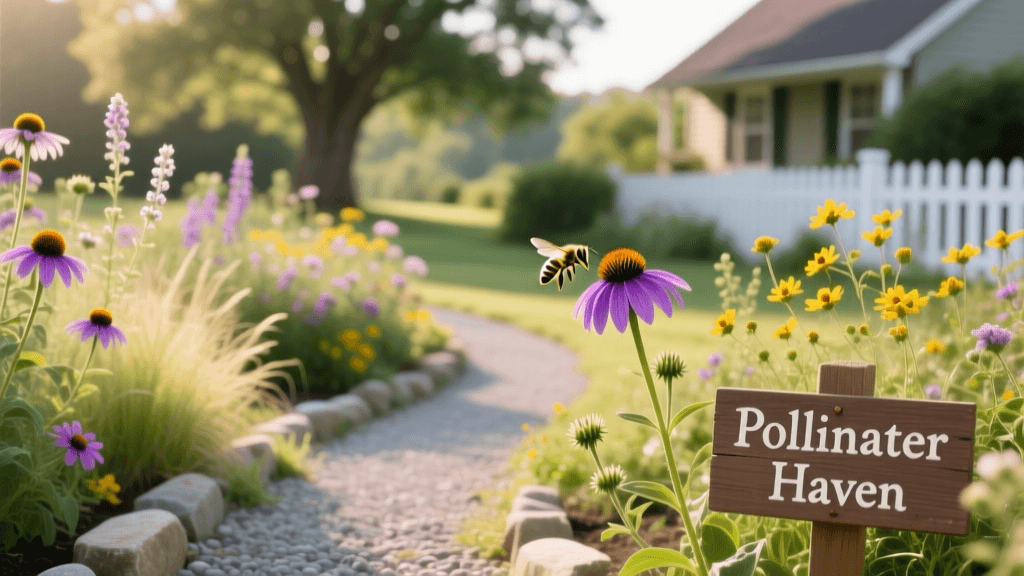
Beginner's Guide to Planting a Native Pollinator Garden
Why Start a Native Pollinator Garden?
Landscaping is no longer just about pristine turf grass and perfectly manicured hedges. Today, sustainable landscaping practices are taking center stage, and one of the most impactful projects you can undertake as a homeowner is planting a native pollinator garden. According to the Xerces Society for Invertebrate Conservation, native bee populations and crucial pollinators like the Monarch butterfly are facing severe habitat loss. By converting even a small portion of your lawn into a native plant haven, you provide essential forage, reduce your landscape's water requirements, and dramatically boost your property's ecological curb appeal.
For beginners, the idea of designing a garden bed from scratch can feel overwhelming. However, native plants are inherently adapted to your local climate, soil, and rainfall patterns. This means that once established, they require significantly less fertilizer, water, and pest management than traditional ornamental landscapes. This beginner-friendly growing guide will walk you through the exact steps, measurements, and plant selections needed to build a thriving, low-maintenance pollinator garden in your own backyard.
Step 1: Choosing the Right Location and Size
The success of your pollinator garden begins with proper site selection. Most native, pollinator-friendly perennials require full sun to produce the nectar and pollen that bees and butterflies rely on.
- Light Requirements: Select a location that receives at least 6 to 8 hours of direct sunlight per day. South-facing or west-facing beds are typically ideal.
- Size and Dimensions: As a beginner, avoid the temptation to dig up your entire yard at once. Start with a manageable 4x8 foot (32 square feet) or 5x10 foot (50 square feet) garden bed. This size is large enough to create a visual impact and support a diverse ecosystem, but small enough to weed and maintain without burning out.
- Proximity to Water: Ensure your new bed is within reach of your garden hose. While native plants are drought-tolerant once established, they will need consistent watering during their first growing season.
Step 2: Soil Preparation and Sheet Mulching
Unlike traditional vegetable gardens that require heavy tilling and rich compost amendments, native perennials often thrive in average or even poor soils. In fact, overly rich soil can cause native wildflowers to produce excess foliage at the expense of blooms, or cause them to flop over.
To prepare your site without using harsh chemical grass killers, utilize a sustainable landscaping technique called sheet mulching (or solarization). Here is how to do it:
- Mow Low: Mow the existing turf grass as short as your mower will allow.
- Lay Cardboard: Cover the entire 4x8 foot area with overlapping layers of plain, uncoated brown cardboard. Remove any plastic tape or staples. This blocks sunlight and smother the grass naturally.
- Add Mulch: Apply a 3 to 4-inch layer of organic mulch (such as shredded hardwood or arborist wood chips) directly on top of the cardboard.
- Wait: If you do this in the fall, the grass will be completely decomposed and ready for spring planting. If you are in a rush, you can cut X-shaped slits into the cardboard to plant directly into the soil beneath.
Step 3: Selecting Beginner-Friendly Native Plants
When shopping for plants, always prioritize species that are native to your specific ecoregion. The Pollinator Partnership's Ecoregional Planting Guides are an excellent, free resource for finding plants native to your exact zip code. For a general beginner-friendly foundation that thrives across much of North America, consider the following resilient perennials.
Below is a comparison chart of five highly adaptable, beginner-friendly native plants that provide continuous blooms from early summer through late fall.
| Common Name | Botanical Name | Sun Needs | Bloom Season | Mature Height | Est. Plug Cost |
|---|---|---|---|---|---|
| Purple Coneflower | Echinacea purpurea | Full Sun | Summer | 3 - 4 ft | $3.50 - $5.00 |
| Black-Eyed Susan | Rudbeckia hirta | Full Sun | Summer - Fall | 2 - 3 ft | $3.00 - $4.50 |
| Swamp Milkweed | Asclepias incarnata | Sun / Part | Mid-Summer | 3 - 4 ft | $4.00 - $6.00 |
| New England Aster | Symphyotrichum novae-angliae | Full Sun | Early Fall | 3 - 5 ft | $4.00 - $6.00 |
| Wild Bergamot (Bee Balm) | Monarda fistulosa | Sun / Part | Summer | 2 - 4 ft | $3.50 - $5.50 |
Pro-Tip for Beginners: Purchase plants as 'plugs' (small, deep-rooted starter plants in 3-inch trays) rather than seeds or massive 1-gallon pots. Plugs are cost-effective, establish root systems faster, and are easier to plant in tight spaces.
Step 4: Planting and Spacing Guidelines
Timing is crucial. The best time to plant your pollinator garden is in the early spring, after the last frost date when soil temperatures have reached at least 60°F, or in the early fall, at least six weeks before the first hard freeze.
Spacing and Layout
Pollinators prefer large 'drifts' or clumps of the same plant rather than single, scattered specimens. Group your plants in clusters of three or five. Space your plugs approximately 12 to 18 inches apart. This close spacing mimics natural prairie ecosystems, helps retain soil moisture, and naturally chokes out aggressive weeds as the plants mature.
The Planting Process
- Use a specialized tool like a ProPlugger or a standard Hori Hori garden knife to dig a hole slightly deeper and wider than the plug's root ball.
- Gently tease the roots at the bottom of the plug to encourage outward growth.
- Place the plant in the hole so the crown (where the stems meet the roots) is level with the surrounding soil surface. Planting too deep can cause crown rot.
- Backfill with native soil, pressing down gently to eliminate air pockets.
- Water immediately using a gentle shower setting to settle the soil.
Step 5: First-Year Maintenance and Watering
The golden rule of perennial landscaping is the 'Sleep, Creep, Leap' cycle. In the first year (Sleep), your plants will focus entirely on establishing deep root systems and may not bloom heavily. In the second year (Creep), they will expand in size. By the third year (Leap), they will reach their full, glorious potential.
Watering Schedules
During the first growing season, your pollinator garden will need about 1 inch of water per week. Use a rain gauge to track natural precipitation. When you do water, use a Dramm watering wand to deliver a slow, deep soaking at the base of the plants. Avoid overhead sprinklers, which can promote fungal diseases like powdery mildew on plants like Bee Balm and Aster.
Weeding and Mulching
Apply a 2-inch layer of organic mulch around the base of your plants, keeping it a few inches away from the stems to prevent rot. Mulch regulates soil temperature and suppresses weeds. Hand-pull weeds every two weeks during the first year to prevent them from stealing water and nutrients from your young natives.
Winter Care: The Importance of Leaving the Stems
One of the most common mistakes beginners make is 'cleaning up' their garden beds too aggressively in the autumn. In a traditional landscape, deadheading and cutting back perennials is standard practice. In a sustainable pollinator garden, this is highly detrimental.
Expert Insight: 'Native bees and butterflies rely on the hollow stems of dead wildflowers to overwinter. Cutting your garden back in the fall destroys crucial habitat. Leave your garden standing all winter, and wait until late spring—when daytime temperatures are consistently above 50°F—to cut back dead stems to about 12 inches tall.' — National Wildlife Federation's Garden for Wildlife
The dried seed heads of Purple Coneflowers and Black-Eyed Susans also provide a vital, high-fat food source for overwintering birds like goldfinches and chickadees. Embracing a little winter 'messiness' is a hallmark of modern, eco-conscious landscaping.
Conclusion
Starting a native pollinator garden is one of the most rewarding landscaping projects a beginner can tackle. By selecting the right sunny location, preparing the soil with sustainable sheet mulching, choosing regionally appropriate native plugs, and practicing patient, eco-friendly maintenance, you will transform a patch of turf into a vibrant, living ecosystem. Not only will you reduce your weekend yard work and water bills, but you will also play a vital role in conserving local wildlife for years to come.
