
Landscaping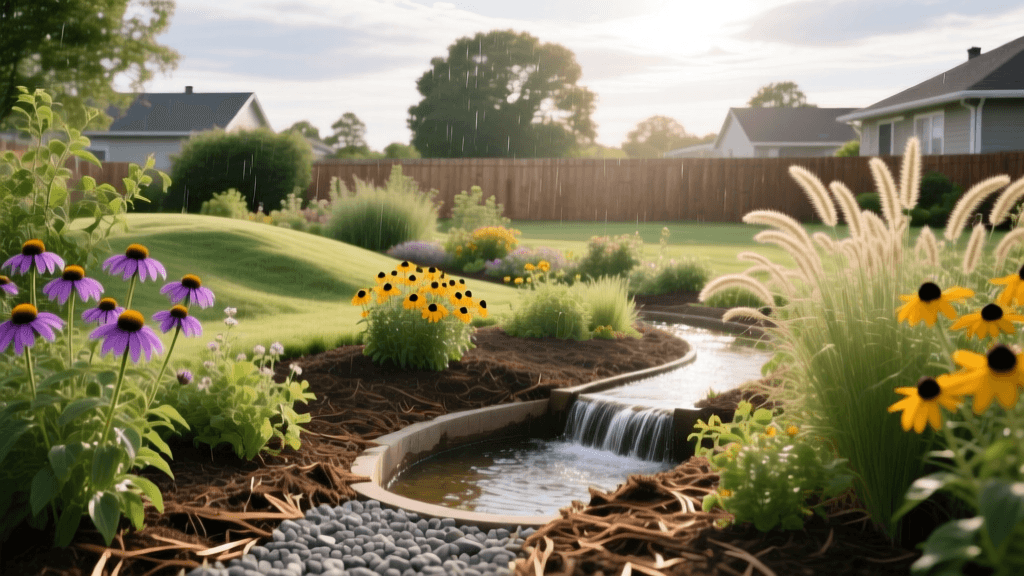
How to Build a Rain Garden for Sustainable Landscaping
Transforming Stormwater Runoff into an Eco-Friendly Oasis
Urban and suburban landscapes generate millions of gallons of stormwater runoff every year. When rain hits impervious surfaces like driveways, roofs, and compacted lawns, it picks up pollutants such as motor oil, heavy metals, synthetic fertilizers, and pet waste. This contaminated water flows directly into local storm drains and eventually into our rivers, lakes, and oceans. As a sustainable landscaping solution, the rain garden offers a beautiful, functional, and highly effective way to combat this environmental crisis right in your own backyard.
A rain garden is a shallow, planted depression designed to capture, filter, and slowly absorb stormwater runoff. By mimicking the natural hydrological cycle, rain gardens reduce the burden on municipal sewer systems, recharge local groundwater aquifers, and create vital micro-habitats for pollinators and local wildlife. Whether you are looking to solve a persistent drainage issue or simply want to reduce your ecological footprint, building a rain garden is one of the most impactful eco-friendly landscaping projects you can undertake.
The Environmental Impact of Bioretention
The science behind rain gardens falls under the umbrella of bioretention. According to the Environmental Protection Agency (EPA), green infrastructure solutions like bioretention cells can remove up to 90% of heavy metals, 60% to 80% of nutrients (like nitrogen and phosphorus), and significantly reduce the volume of runoff entering local waterways. By utilizing specific soil mixes and deep-rooted native plants, a rain garden acts as a living water filter. The microbial life in the soil breaks down organic pollutants, while the plant roots uptake excess nutrients that would otherwise cause toxic algae blooms in nearby lakes and ponds.
Step 1: Site Selection and Sizing
Proper placement is critical for the success and safety of your rain garden. You want to capture runoff from a downspout, driveway, or patio, but you must keep the garden at least 10 to 15 feet away from your home’s foundation to prevent basement flooding or structural damage. Avoid placing your rain garden over septic systems, underground utilities, or in areas with a slope greater than 10%.
To determine the ideal size, calculate the square footage of the impervious surface draining into the garden. A general rule of thumb for sustainable residential landscaping is to size the rain garden at roughly 15% to 20% of the total drainage area. For example, if you are capturing runoff from a 500-square-foot section of your roof, your rain garden should be approximately 75 to 100 square feet.
The Percolation Test
Before excavating, you must ensure your soil can absorb water efficiently. Dig a test hole about 12 inches deep and 8 inches wide. Fill it with water and let it drain completely to saturate the soil. Refill it, and measure how much the water level drops over a 12-hour period. If the water drops less than 2 inches in 12 hours, your soil has a high clay content, and you will need to amend the soil heavily or install an underdrain system to prevent stagnant water, which can become a breeding ground for mosquitoes.
Step 2: Excavation and Eco-Friendly Soil Engineering
Once your site is marked, excavate the basin to a depth of 4 to 8 inches. Use the excavated soil to build a berm on the downhill side of the garden to help retain water. The Penn State Extension recommends removing the native topsoil if it is heavily compacted or clay-rich, and replacing it with a specialized bioretention soil mix. This mix is engineered to maximize drainage while retaining enough moisture and nutrients to support plant life without the need for synthetic fertilizers.
| Soil Component | Volume Percentage | Ecological Purpose |
|---|---|---|
| Coarse Washed Sand | 50% | Ensures rapid drainage, prevents soil compaction, and creates pore space for oxygen and microbial activity. |
| Native Topsoil | 25% | Provides structural integrity, moisture retention, and a base matrix for root penetration. |
| Organic Compost | 25% | Supplies slow-release natural nutrients, supports beneficial mycorrhizal fungi, and aids in pollutant breakdown. |
Note: Never use chemical wetting agents or synthetic peat moss (which is harvested unsustainably). Stick to locally sourced, certified organic compost.
Step 3: Zoning and Selecting Native Plants
A rain garden is divided into three distinct hydrological zones, each requiring specific plant adaptations. The University of Minnesota Extension emphasizes the importance of using native species. Native plants have evolved deep, extensive root systems (sometimes reaching 10 feet deep) that act as natural conduits, driving water deep into the soil profile. Furthermore, they require zero synthetic pesticides or fertilizers once established, keeping your garden 100% eco-friendly.
Zone 1: The Basin (Bottom)
This area holds water the longest and experiences the most extreme fluctuations between flooding and drought. Plants here must tolerate temporary submersion.
- Blue Flag Iris (Iris versicolor): Thrives in standing water and provides stunning purple blooms.
- Swamp Milkweed (Asclepias incarnata): Essential for Monarch butterfly caterpillars and handles heavy saturation.
- Cardinal Flower (Lobelia cardinalis): Attracts hummingbirds with vibrant red tubular flowers.
Zone 2: The Slopes
The sides of the garden experience moderate moisture and help slow down incoming water, preventing erosion.
- New England Aster (Symphyotrichum novae-angliae): Provides crucial late-season nectar for migrating pollinators.
- Wild Bergamot (Monarda fistulosa): Highly drought-tolerant on the upper slopes, attracts native bees.
Zone 3: The Berm (Top Edge)
The highest point of the garden drains quickly and acts like a standard upland garden bed.
- Purple Coneflower (Echinacea purpurea): Deep taproots stabilize the berm; seed heads feed goldfinches in winter.
- Little Bluestem (Schizachyrium scoparium): A native ornamental grass that provides winter cover for beneficial insects.
Step 4: Sustainable Mulching and Eco-Friendly Maintenance
After planting, apply 2 to 3 inches of mulch to retain moisture and suppress weeds. For an eco-friendly approach, use double-shredded hardwood mulch or arborist wood chips sourced from local tree trimming services. Avoid dyed mulches (which contain chemical colorants) and rubber mulch (which leaches microplastics and heavy metals into the groundwater). Place larger river rocks or flat stones at the entrance of the garden where the downspout enters to dissipate the energy of the flowing water and prevent soil erosion.
Maintenance Without Chemicals
Sustainable landscaping requires a shift in maintenance philosophy. During the first year, your primary task is watering the plants deeply once a week to help them establish their root systems. Weed manually; do not use herbicides like glyphosate, as these will wash into the basin and defeat the purpose of your eco-friendly water filter. In the fall, leave the plant stalks and seed heads standing. They provide vital overwintering habitat for native bees and a food source for birds. Cut them back in early spring only after temperatures have consistently stayed above 50°F (10°C) to allow overwintering insects to emerge safely.
Cost Breakdown and Return on Investment
Building a rain garden is an investment in your property and the local ecosystem. The costs can vary based on your soil type, plant maturity, and whether you do the labor yourself.
| Expense Category | DIY Cost (100 sq. ft.) | Professional Installation |
|---|---|---|
| Excavation & Labor | $0 (Sweat Equity) | $500 - $800 |
| Bioretention Soil Mix | $75 - $120 | $150 - $250 |
| Native Plants & Plugs | $150 - $250 | $300 - $500 |
| Mulch & River Rock | $50 - $80 | $100 - $150 |
| Total Estimated Cost | $275 - $450 | $1,050 - $1,700 |
While the upfront cost of professional installation is higher, many local municipalities and watershed districts offer eco-friendly rebates or grants for homeowners who install rain gardens, effectively offsetting a significant portion of the cost. Furthermore, by reducing the volume of water entering municipal treatment facilities, you are contributing to lower community water treatment costs over time.
Conclusion
A rain garden is much more than a landscaping feature; it is a functional piece of green infrastructure that bridges the gap between human habitation and environmental stewardship. By carefully selecting your site, engineering a porous soil mix, and planting deep-rooted native species, you can transform a problematic runoff zone into a thriving, sustainable ecosystem. Not only will you protect local waterways from pollution, but you will also enjoy a dynamic, ever-changing garden that supports birds, butterflies, and beneficial insects for years to come.
