Core Aeration and Overseeding: The DIY Fall Lawn Guide
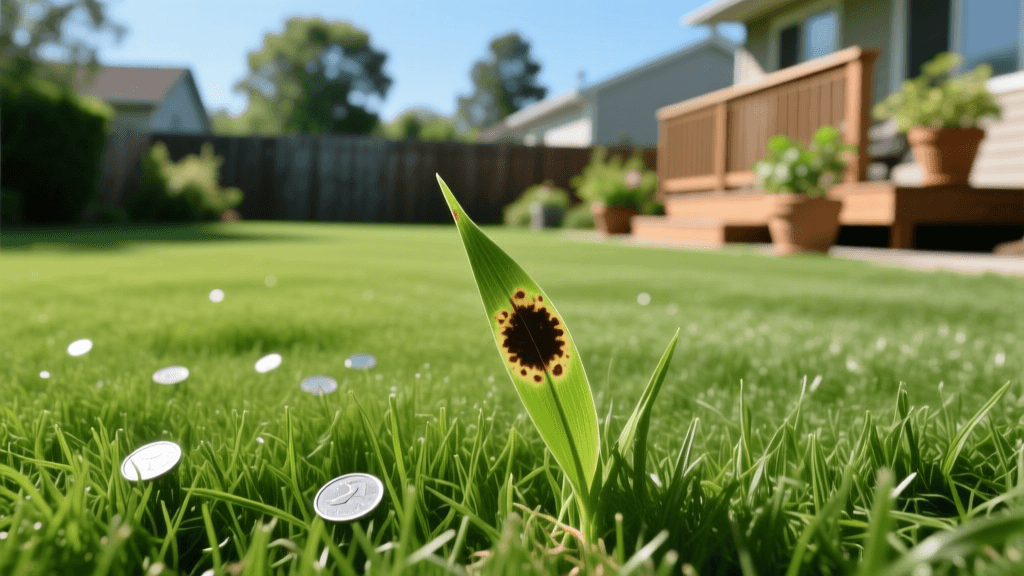
A lush, vibrant lawn is the foundational element of any beautiful outdoor living space. Whether you are setting up a new patio dining set, creating a safe play area for kids, or simply enjoying a morning coffee in your garden, the health of your grass matters immensely. Over time, however, foot traffic, heavy equipment, and natural settling lead to soil compaction. This compaction, combined with thatch buildup, chokes grassroots and prevents water, oxygen, and essential nutrients from reaching the soil profile. To combat this and maintain a pristine landscape, homeowners must embrace the powerful combination of core aeration and overseeding.
Why Core Aeration and Overseeding Work Together
Core aeration involves using a specialized machine to physically remove small plugs of soil and thatch from your lawn. Unlike spike aeration, which merely pokes holes and can actually worsen compaction by pressing soil outward, core aeration relieves compaction and creates vital channels for air and water. According to the University of California Agriculture and Natural Resources, reducing thatch and alleviating compaction are critical steps for maintaining deep, drought-tolerant root systems.
Overseeding is the process of sowing new grass seed directly into existing turf without tearing up the soil. When you combine these two techniques, the aeration holes provide the perfect, protected micro-environment for grass seed to germinate. The seeds fall into the aeration cores, ensuring excellent seed-to-soil contact, which is the single most important factor for successful germination. Together, these practices thicken the turf, crowd out weeds, and introduce newer, more disease-resistant grass cultivars to your yard.
Timing is Everything: When to Perform Lawn Renovation
For cool-season grasses—such as Kentucky Bluegrass, Tall Fescue, Fine Fescue, and Perennial Ryegrass—early fall is the undisputed best time for aeration and overseeding. Aim for a window between late August and mid-October, depending on your specific hardiness zone. The goal is to seed when daytime air temperatures are cooling down (between 60°F and 75°F), but more importantly, when soil temperatures are resting comfortably between 50°F and 65°F. These conditions are ideal for cool-season seed germination, and the cooler air reduces the stress on young seedlings while minimizing weed competition.
Step-by-Step DIY Aeration and Overseeding Guide
Step 1: Soil Testing and Preparation
Before renting equipment, conduct a soil test to determine your pH and nutrient levels. Grass thrives in a pH range of 6.0 to 7.0. If your soil is too acidic, you will need to apply pelletized lime; if it is too alkaline, elemental sulfur is required. Addressing pH imbalances ensures that the starter fertilizer you apply later will actually be absorbed by the new roots.
Step 2: Mowing and Moisture Management
Mow your lawn shorter than usual, aiming for a height of about 1.5 to 2 inches. Bag the clippings to remove excess thatch and ensure the seeds can reach the soil surface. Two days before you plan to aerate, water your lawn deeply. The soil needs to be moist but not saturated. If the soil is too dry, the aerator tines will not penetrate deeply enough; if it is muddy, the machine will clog and tear the turf.
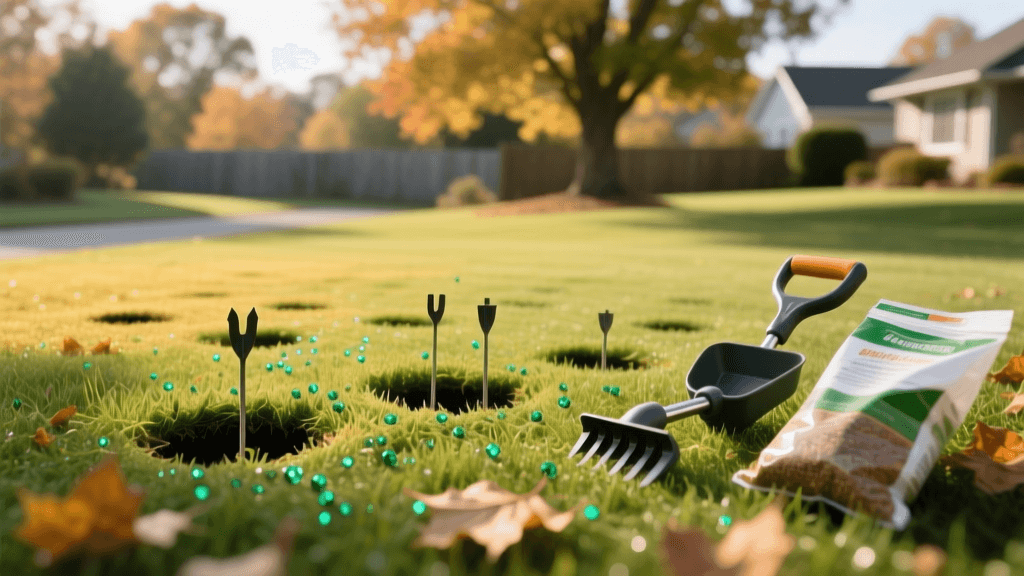
Step 3: The Aeration Process
Rent a walk-behind core aerator from a local home improvement or equipment rental store. Expect to pay between $80 and $120 for a four-hour or daily rental. Operate the aerator much like a lawnmower, walking at a steady pace. For heavily compacted areas or clay-heavy soils, make two passes: one in a north-south direction and a second in an east-west direction. Leave the extracted soil plugs on the lawn; they will break down naturally over the next few weeks and return beneficial microorganisms to the thatch layer.
Step 4: Overseeding and Fertilizing
Immediately after aerating, spread your grass seed using a broadcast or drop spreader. Follow the overseeding rates on the seed bag, which are typically lower than the rates used for establishing a brand-new lawn. After seeding, apply a high-quality starter fertilizer. Starter fertilizers are rich in phosphorus (the middle number in the N-P-K ratio), which is crucial for early root development. A ratio like 10-18-10 is highly recommended. Avoid standard weed-and-feed products, as the herbicides will prevent your new grass seed from germinating.
Grass Seed Rates and Aeration Specifications
Choosing the right seed and applying it at the correct rate prevents overcrowding and fungal diseases. Below is a reference chart for common cool-season grasses.
| Grass Type | Overseeding Rate (lbs / 1,000 sq ft) | Ideal Aeration Depth | Germination Time |
|---|---|---|---|
| Tall Fescue | 3 - 5 lbs | 2 - 3 inches | 7 - 12 days |
| Kentucky Bluegrass | 1.5 - 2.5 lbs | 2 - 3 inches | 14 - 30 days |
| Perennial Ryegrass | 3 - 4 lbs | 2 - 3 inches | 5 - 10 days |
| Fine Fescue | 2 - 3 lbs | 1.5 - 2 inches | 7 - 14 days |
Aftercare and Smart Irrigation Integration
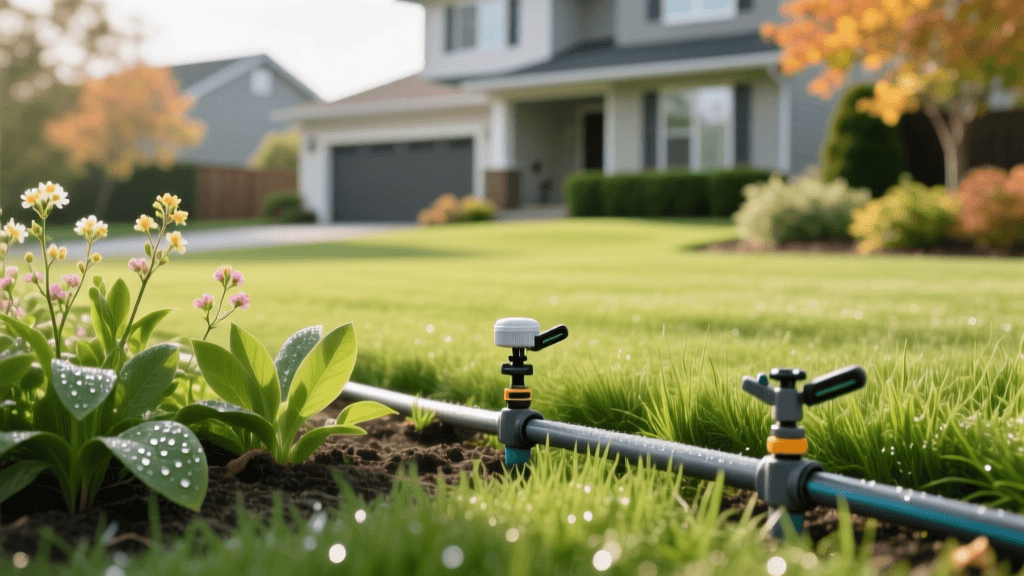
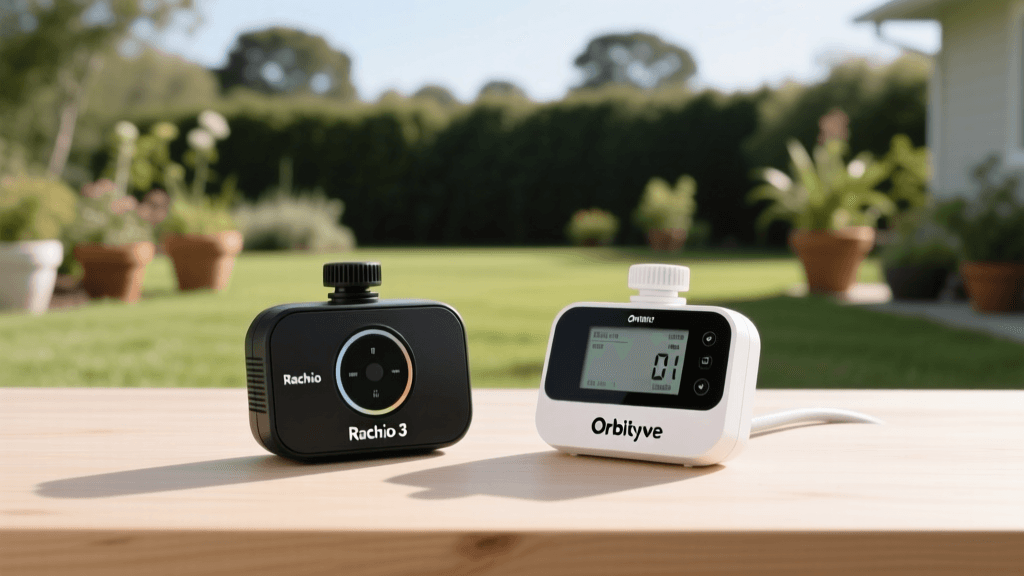
The most critical phase of overseeding is the first three weeks. The top inch of soil must remain consistently moist, which means watering lightly two to three times a day. This is where smart home integration becomes a massive asset for modern lawn care. Instead of manually adjusting your sprinkler timer, consider upgrading to a smart irrigation controller like the Rachio 3 or B-hyve. These devices connect to your Wi-Fi and allow you to program multiple short watering intervals (e.g., 4 minutes at 7:00 AM, 12:00 PM, and 4:00 PM) specifically tailored for seed germination.
Furthermore, smart controllers can be linked to local weather stations to automatically skip watering cycles if rain is detected, preventing seed rot and water waste. According to the EPA WaterSense program, utilizing smart irrigation technologies and soil moisture sensors can reduce outdoor water use by up to 20%, making your lawn renovation both eco-friendly and cost-effective. Once the new grass reaches mowing height (usually around 3 inches), transition your smart controller back to a deep, infrequent watering schedule—about 1 to 1.5 inches of water per week—to encourage deep root growth.
Topdressing: The Secret Professional Step
If you want to elevate your DIY results to professional standards, consider topdressing immediately after seeding. Topdressing involves spreading a thin layer (about 1/4 inch) of finely screened compost or a specialized topsoil blend over the lawn. This layer protects the seeds from birds and harsh sun, retains vital moisture, and introduces organic matter into the aeration holes. You can use a push broom or a leveling rake to gently work the compost into the turf canopy, ensuring the grass blades are not completely smothered.
Common Mistakes to Avoid
- Using Spike Aerators: As noted by the University of Minnesota Extension, spike aerators do not remove soil and can increase compaction around the holes. Always rent a core aerator.
- Burying the Seed: Grass seed needs sunlight to germinate. If you topdress, ensure the layer is incredibly thin. Never cover new seed with more than 1/4 inch of soil or compost.
- Skipping the Starter Fertilizer: Existing soil rarely has the immediately available phosphorus required for rapid seedling root establishment. Skipping this step leads to weak, spindly grass that dies off during the first winter freeze.
- Mowing Too Early: Wait until the new grass has been mowed at least two or three times before applying any broadleaf weed control. Applying herbicides too early will stunt or kill the young turf.
Conclusion
Integrating core aeration and overseeding into your seasonal home maintenance routine is an investment that pays dividends in the form of a thick, resilient, and beautiful lawn. By leveraging proper timing, precise seed rates, and modern smart irrigation technology, you can transform a tired, compacted yard into the ultimate outdoor living oasis. Grab your soil test kit, reserve your aerator, and prepare to revitalize your landscape this fall.