Fall Core Aeration and Overseeding: A DIY Homeowner Guide
Why Fall is the Magic Window for Lawn Rejuvenation
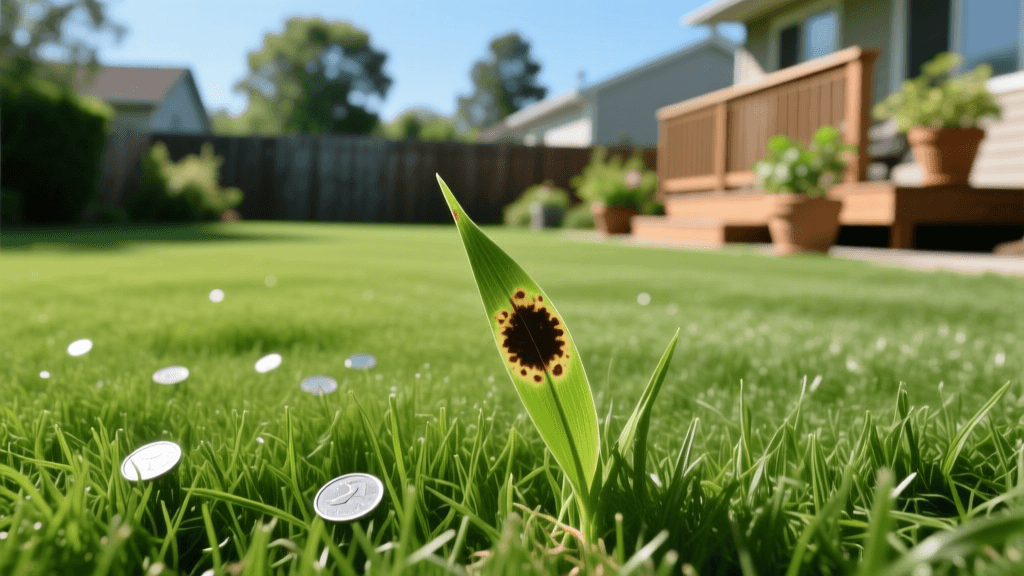
As the scorching heat of summer fades and the crisp air of autumn settles in, homeowners are presented with a critical window of opportunity to transform their outdoor living spaces. For those maintaining cool-season grasses like Kentucky Bluegrass, Tall Fescue, or Perennial Ryegrass, fall is not just a time for raking leaves; it is the ultimate season for lawn rehabilitation. Summer takes a severe toll on turf, leaving behind compacted soil, thatch buildup, and thinning grass blades from heavy foot traffic and outdoor furniture placement. To bridge the gap between a tired summer yard and a lush spring oasis, mastering the dual techniques of core aeration and overseeding is essential. This seasonal home maintenance task ensures your garden-to-table entertaining space remains vibrant and usable year-round.
Core Aeration vs. Spike Aeration: Why Plugs Matter
Before firing up the equipment, it is vital to understand the difference between core aeration and spike aeration. According to turfgrass experts at Penn State Extension, core aeration involves physically removing small plugs of soil and thatch from the lawn, typically two to three inches deep. This process alleviates soil compaction, enhances water and nutrient uptake, and creates micro-environments for new seeds to germinate. Spike aeration, which merely pokes holes into the ground using solid tines, can actually worsen compaction by pressing soil outward and downward around the holes. For lasting results and a truly healthy root zone, always choose a core aerator over a spike aerator or aerator sandals.
Your Step-by-Step DIY Aeration and Overseeding Guide
Step 1: Prep the Lawn (Mowing and Hydration)
Proper preparation dictates the success of your aeration project. Begin by mowing your lawn shorter than your usual maintenance height, aiming for about 1.5 to 2 inches. This reduces competition for the new grass seedlings and allows the aerator tines to penetrate the soil more effectively. Bag the clippings to expose the soil surface. Next, hydration is key. The University of Minnesota Extension recommends watering your lawn deeply 24 to 48 hours before aerating. The soil should be moist but not saturated; if it is too dry, the aerator tines will bounce off the surface, and if it is too muddy, the machine will clog and tear the turf.
Step 2: Renting and Operating the Core Aerator
While you can purchase a manual aerator for small patches, for standard suburban lawns, renting a gas-powered walk-behind core aerator is the most efficient route. Expect to pay between $70 and $100 for a four-hour rental from a local hardware store or equipment rental yard. These machines are heavy and self-propelled, so exercise caution and wear sturdy boots. Operate the aerator much like you would mow the lawn, making one pass in a single direction, and then a second pass perpendicular to the first. Your goal is to achieve roughly 20 to 40 holes per square foot. Leave the extracted soil plugs on the lawn; they will break down naturally over the next few weeks, returning valuable microorganisms and nutrients to the topsoil.
Step 3: Choosing and Applying the Right Seed
With the soil freshly opened, it is time to overseed. Selecting the right seed is paramount for a resilient outdoor space. Avoid cheap, generic seed mixes that contain high percentages of weed seeds or annual ryegrass. Instead, invest in premium, certified Tall Fescue or Kentucky Bluegrass blends suited to your specific USDA hardiness zone. For overseeding an existing lawn, apply seed at a rate of 4 to 8 pounds per 1,000 square feet, depending on the thickness of your current turf. Use a calibrated broadcast spreader to ensure an even distribution, splitting your seed application into two perpendicular passes to avoid striping and ensure uniform coverage.
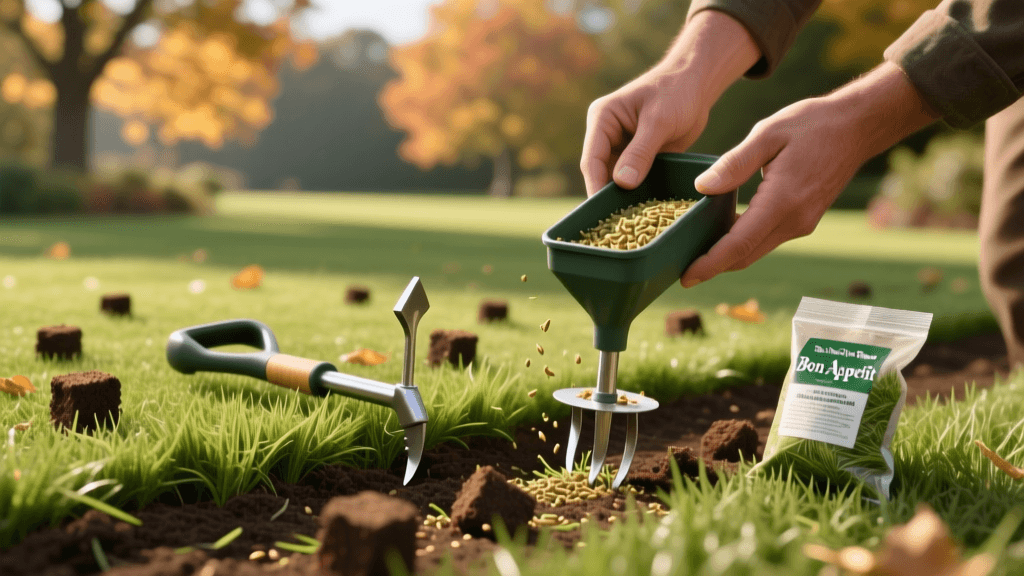
Step 4: Topdressing and Fertilizing for Success
Seed-to-soil contact is the secret to high germination rates. After spreading the seed, apply a thin layer of topdressing—about a quarter-inch of finely screened compost or peat moss. This protects the seeds from birds and drying winds while retaining crucial moisture. Follow this immediately with a high-quality starter fertilizer. Look for a product with a higher middle number (phosphorus), such as a 10-18-10 NPK ratio, which is specifically formulated to stimulate rapid root development in new grass seedlings. Avoid weed-and-feed products during this stage, as the herbicides will prevent your new grass seed from germinating.
Cost Breakdown: DIY vs. Professional Landscaping Services
Deciding whether to tackle this DIY garden project or hire a professional depends on your budget, physical capability, and available time. Below is a comparative cost breakdown for an average 5,000 square foot lawn.
| Service / Material | DIY Cost (Estimated) | Professional Cost (Estimated) |
|---|---|---|
| Core Aeration (Equipment vs Labor) | $85 (4-hour rental) | $150 - $200 |
| Premium Grass Seed (25 lbs) | $110 - $140 | Included in service |
| Starter Fertilizer | $40 | Included in service |
| Compost Topdressing | $60 (bulk delivery) | $250 - $400 |
| Total Estimated Cost | $295 - $325 | $450 - $750+ |
Integrating Smart Irrigation for Seed Germination
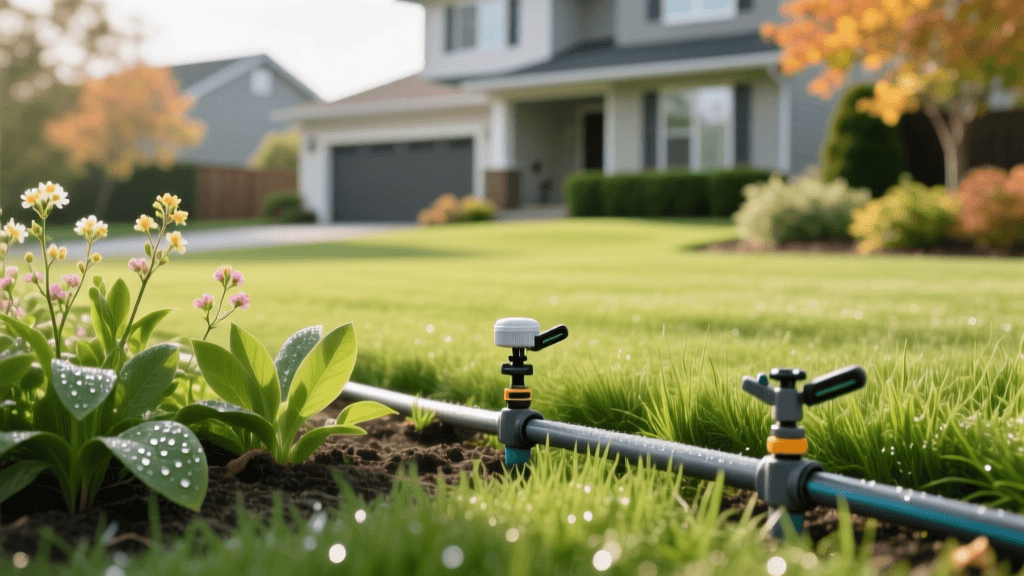
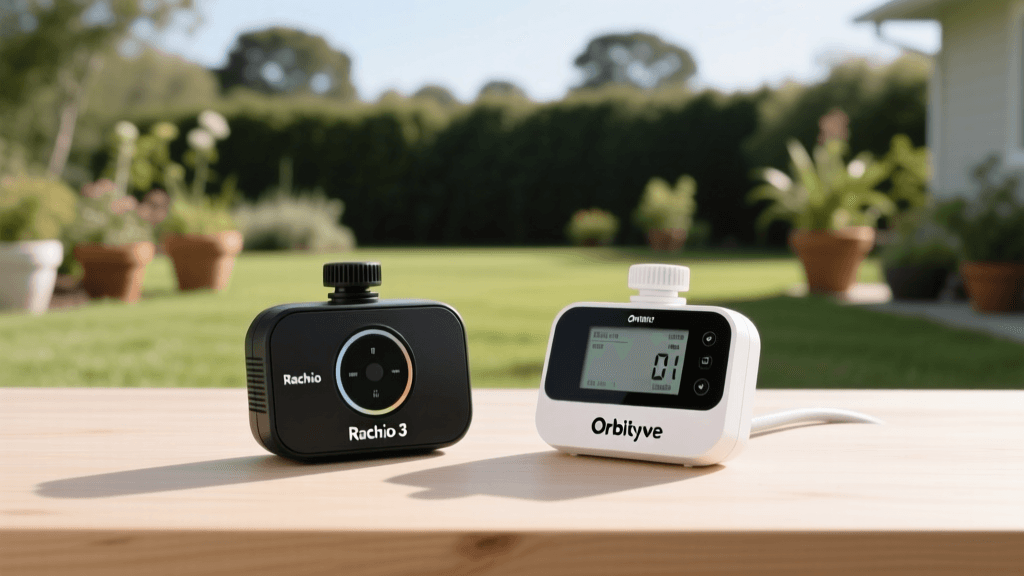
The final and most demanding step is watering. New grass seed requires consistent moisture in the top inch of soil to germinate, which typically means watering lightly two to three times a day for the first two to three weeks. This is where smart home integration shines, bridging the gap between manual labor and automated efficiency. Instead of manually turning hoses on and off, utilize a smart irrigation controller. Devices like the Rachio 3 or B-hyve can be programmed for multiple short watering cycles per day, ensuring the seed never dries out.
Furthermore, the EPA WaterSense program notes that smart controllers use local weather data to automatically skip watering if rain is in the forecast, preventing seed rot and conserving water. Once the seedlings reach mowing height (usually around 3 inches), gradually transition your smart controller to deeper, less frequent watering schedules to encourage drought-tolerant, deep root systems.
Preparing Your Outdoor Living Space for the Next Season
Aerating and overseeding is not just about curb appeal; it is about creating a durable, comfortable surface for your outdoor living areas. A thick, healthy lawn acts as a natural carpet for your patio furniture, provides a safe play area for children and pets, and helps cool the ambient temperature around your home, contributing to energy-efficient landscaping. By taking the time to rehabilitate your turf in the fall, you ensure that when spring arrives, your garden-to-table dining area and outdoor lounge spaces are ready to be enjoyed immediately, without the need for costly sod replacement or extensive spring repairs.
Pro Tip: Timing is everything. Aim to aerate and overseed at least 4 to 6 weeks before your area's first average hard frost. This gives the new grass seedlings enough time to establish a robust root system capable of surviving the winter freeze.
Conclusion
Core aeration and overseeding are foundational practices for any homeowner looking to maintain a pristine, resilient lawn. By understanding the science behind soil compaction, selecting premium materials, and leveraging smart home technology for precise irrigation, you can achieve professional-grade results on a DIY budget. Embrace the crisp autumn air, rent that aerator, and invest a weekend into your yard. Your future self—and your guests—will thank you when you step out onto a lush, vibrant lawn next spring.