
Landscaping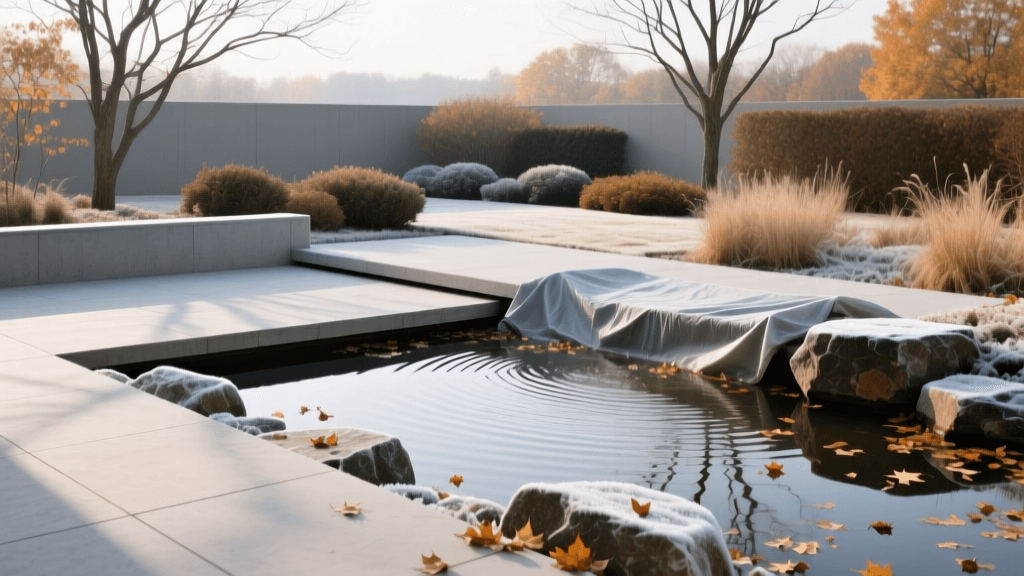
Winterizing Landscape Hardscapes and Water Features
The Hidden Threat of the Freeze-Thaw Cycle
As autumn progresses and temperatures begin their inevitable descent, landscape maintenance must shift from growth promotion to structural preservation. The primary enemy of outdoor living spaces during the winter months is the freeze-thaw cycle. When water absorbs into porous hardscape materials and subsequently freezes, it expands by approximately 9%. This expansion exerts immense internal pressure, leading to spalling, cracking, and structural heaving. According to the Interlocking Concrete Pavement Institute (ICPI), proactive fall maintenance is the most cost-effective way to prevent catastrophic hardscape failures. This comprehensive guide details the exact steps, products, and timing required to winterize your patios, retaining walls, and water features.
Winterizing Pavers, Patios, and Retaining Walls
Deep Cleaning and Joint Stabilization
Before applying any protective treatments, hardscapes must be thoroughly cleaned. Remove all organic debris, as decaying leaves and moss trap moisture against the surface. Use a pressure washer equipped with a surface cleaner attachment, keeping the pressure between 1,500 and 2,000 PSI. Exceeding 2,000 PSI risks blowing out the joint sand, which is critical for structural interlock. Once the surface is completely dry, inspect the joints. If sand has washed away, refill them with polymeric sand. A standard 50-pound bag of polymeric sand costs between $30 and $40 and covers roughly 100 square feet for standard paver joints. Sweep the sand into the joints and lightly mist with water to activate the polymers, creating a flexible, water-resistant bond that prevents winter ice from wedging the pavers apart.
Applying Penetrating Sealers
Film-forming sealers can trap moisture and become slippery when wet, making them hazardous for winter walkways. Instead, opt for a penetrating silane-siloxane sealer (such as Armor SX5000 or similar professional-grade products). These sealers react chemically with the silica in concrete and natural stone to form a hydrophobic barrier beneath the surface, reducing water absorption by up to 95%. Application timing is critical: the National Association of Landscape Professionals (NALP) recommends applying sealers in late October or early November when daytime temperatures are consistently above 50°F (10°C) and no rain is forecasted for 48 hours. Expect to spend between $0.30 and $0.60 per square foot for high-quality penetrating sealers. Apply using a low-pressure pump sprayer, ensuring even coverage without pooling.
Protecting Water Features and Ponds
Water features require specialized winterization protocols depending on their design. The University of Minnesota Extension emphasizes that failing to properly winterize water gardens can result in cracked liners, shattered concrete basins, and destroyed plumbing.
Pondless Waterfalls and Fountains
For pondless features, the goal is complete drainage. Turn off the pump and drain the basin entirely using a submersible utility pump. Disconnect all PVC or flexible tubing and blow out residual water using a shop vac or air compressor to prevent frozen expansion from splitting the pipes. Remove the main feature pump, clean the impeller housing, and soak the exterior in a 10% bleach solution for 15 minutes to kill algae and bacteria. Crucially, store the pump indoors in a bucket of water. Allowing the pump to dry out over the winter will cause the internal rubber O-rings and seals to crack and fail upon spring startup.
Koi Ponds and Living Water Gardens
Unlike pondless features, living ponds should never be drained. Fish and beneficial bacteria require the water volume to survive the winter. Instead, focus on aeration and gas exchange. As surface ice forms, it traps toxic gases produced by decaying organic matter at the bottom of the pond. Install a pond de-icer (such as the Farm Innovators 1,250-Watt model, typically costing $60 to $80) or an outdoor-rated aeration kit to keep a small hole open in the ice. Never use a hammer or sharp object to break the ice manually, as the shockwaves can fatally damage the swim bladders of overwintering fish. Additionally, drape a heavy-duty pond net over the surface in late fall to catch dropping leaves before they sink and decompose.
Hardscape Material Vulnerability Chart
Not all hardscape materials react to freezing temperatures equally. The table below outlines specific vulnerabilities and required fall actions based on material type.
| Material Type | Frost Vulnerability | Primary Winter Threat | Recommended Fall Action |
|---|---|---|---|
| Natural Flagstone | High | Delamination and flaking due to porous layering | Apply breathable siloxane sealer; avoid salt de-icers |
| Poured Concrete | Medium | Surface spalling and control joint cracking | Seal control joints with flexible polyurethane caulk |
| Clay Brick | High | Moisture absorption leading to shattering | Ensure proper base drainage; replace cracked units immediately |
| Interlocking Pavers | Low | Heaving from compromised base or joint sand | Replenish polymeric sand; verify edge restraint integrity |
Snow Removal and De-Icing Strategies
When winter arrives, the methods used to clear hardscapes can cause as much damage as the weather itself. Always use snow shovels with polyethylene blades. Metal shovels will scrape and gouge paver surfaces and strip away protective sealers. When pushing snow, lift the shovel slightly to avoid catching the lip of uneven pavers.
Choosing the Right Ice Melt
Sodium chloride (traditional rock salt) is highly detrimental to hardscapes. It draws moisture into the concrete matrix and causes severe scaling and spalling. Furthermore, it is toxic to surrounding landscape beds. Instead, utilize Calcium Magnesium Acetate (CMA) or Magnesium Chloride. CMA is a biodegradable, chloride-free de-icer that works effectively down to 20°F (-6°C) and is safe for concrete, natural stone, and pets. While CMA is more expensive upfront (roughly $35 to $50 for a 20-pound bucket), it saves thousands of dollars in premature hardscape replacement and landscape bed remediation.
Fall Drainage Maintenance
Hardscapes are only as durable as the base beneath them. If water pools under a patio or behind a retaining wall, the saturated soil will freeze, expand, and push the hardscape upward—a process known as frost heave. In late autumn, inspect all catch basins, channel drains, and French drain exits. Flush the drainage lines with a high-pressure garden hose to clear out silt, mud, and root intrusions. Ensure that downspout extensions are discharging at least 4 feet away from retaining walls and patio edges. By combining meticulous fall cleaning, chemical sealing, and strategic drainage management, you ensure your landscape architecture remains pristine and structurally sound for decades.
