
Landscaping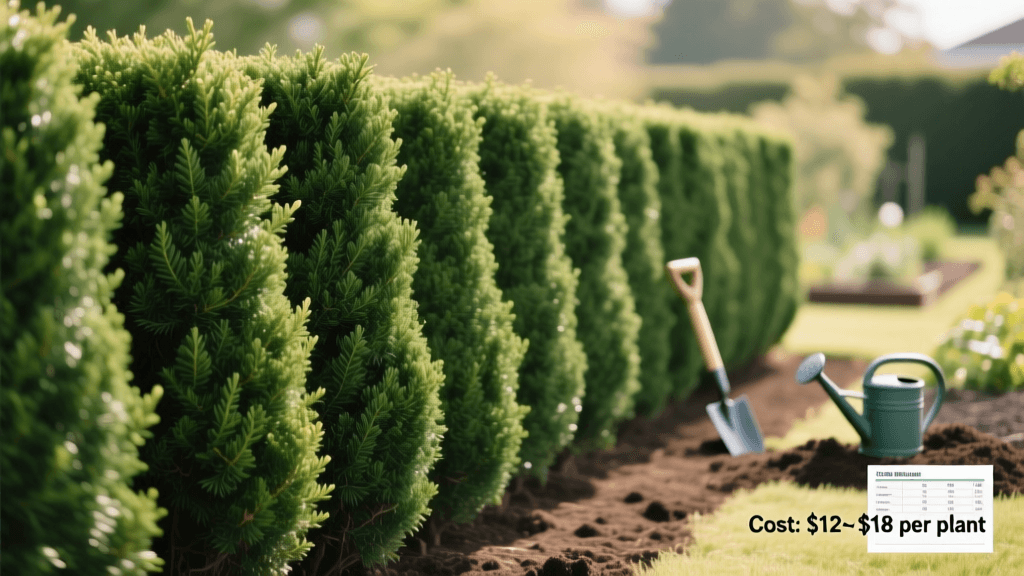
Beginner Guide to Growing a Green Giant Privacy Hedge
Why Choose the Green Giant Arborvitae?
When it comes to creating a natural privacy screen, blocking unsightly views, or reducing neighborhood noise, few landscaping solutions are as effective as a well-planted evergreen hedge. For beginners and seasoned landscapers alike, the Green Giant Arborvitae (Thuja standishii x plicata 'Green Giant') stands out as the undisputed champion. Unlike the notoriously disease-prone Leyland Cypress, the Green Giant boasts exceptional resistance to common pests like bagworms and is largely ignored by deer, making it a robust, low-maintenance choice for your yard.
According to the Clemson University Cooperative Extension, the Green Giant is a vigorous grower that can add up to 3 feet of height per year under optimal conditions. Its dense, rich green foliage stays vibrant year-round, even in harsh winters, and its natural pyramidal shape requires minimal pruning to look neat. Whether you are looking to enclose a backyard oasis or create a windbreak, this beginner-friendly growing guide will walk you through every step of planting and establishing a thriving Green Giant privacy hedge.
Planning and Sourcing Your Trees
Before you start digging, you need to determine how many trees you need and what size to purchase. The Golden Rule for privacy hedges is spacing: plant your Green Giants 5 to 6 feet apart, measured from the center of one trunk to the center of the next. Planting them closer than 5 feet will cause them to compete for water and nutrients, while spacing them further apart will delay the formation of a solid privacy wall.
When sourcing your trees, you will encounter several size options. While it is tempting to buy the largest trees available for instant privacy, larger trees suffer from greater transplant shock and are significantly more expensive. Below is a comparison chart to help you balance your budget with your timeline.
| Tree Size (Container/B&B) | Average Cost per Tree | Time to Full Privacy | Root Establishment Time |
|---|---|---|---|
| 3-Gallon (2 to 3 ft tall) | $25 - $35 | 3 to 4 Years | 1 Year |
| 7-Gallon (4 to 5 ft tall) | $60 - $85 | 2 to 3 Years | 1 to 2 Years |
| 15-Gallon (6 to 8 ft tall) | $120 - $160 | 1 to 2 Years | 2 to 3 Years |
| B&B (8 to 10 ft tall) | $250 - $400+ | Immediate to 1 Year | 3+ Years |
For most homeowners, the 7-gallon or 15-gallon sizes offer the best compromise between cost, ease of planting, and growth speed. Always inspect trees at the nursery for healthy, green foliage and avoid any with brown, crispy tips or visible webbing, which could indicate spider mites.
Site Preparation and Layout
Proper site preparation is the difference between a hedge that thrives and one that struggles. First, call 811 before you dig to have your local utility companies mark any underground lines. This is a free service and an absolute necessity for your safety.
Next, use a garden hose to lay out the curve or straight line of your hedge. Once you are happy with the layout, use landscaping spray paint to mark the exact center point for each tree, ensuring they are spaced exactly 5 to 6 feet apart. The Green Giant thrives in full sun to partial shade, requiring at least 6 hours of direct sunlight daily for the densest growth. If your soil is heavy clay, consider top-dressing the planting area with a 2-inch layer of organic compost and tilling it into the top 12 inches of soil to improve drainage.
Step-by-Step Planting Guide
The Missouri Botanical Garden emphasizes that proper planting depth is critical for the survival of evergreens. Follow these actionable steps to ensure your trees get the best possible start:
- Step 1: Dig the Hole. Use a sharpshooter shovel to dig a hole that is 2 to 3 times wider than the root ball, but no deeper than the root ball itself. The hole should have sloping sides and a flat, undisturbed bottom.
- Step 2: Check the Root Flare. Before placing the tree in the hole, locate the root flare (the point where the trunk widens at the base and meets the roots). This flare must sit slightly above or exactly at ground level.
- Step 3: Remove the Container. Gently slide the tree out of its nursery pot. If the roots are circling tightly around the root ball, use a soil knife or pruning saw to make three or four vertical slices down the sides of the root ball. This encourages roots to grow outward into your native soil rather than strangling the tree.
- Step 4: Backfill. Place the tree in the hole and backfill with the native soil you just dug out. Do not amend the backfill with heavy potting soils or excessive fertilizers, as this can create a 'bathtub effect' where water pools inside the hole and rots the roots.
- Step 5: Tamp and Water. As you backfill, gently tamp the soil with your hands to remove large air pockets. Once the hole is filled, create a 3-inch-high soil berm around the outer edge of the planting hole to form a water basin.
Watering and Mulching for First-Year Success
The most common reason newly planted hedges fail is improper watering. The Arbor Day Foundation recommends deep, infrequent watering to encourage deep root growth. During the first growing season, your Green Giants will need approximately 10 gallons of water per week for every inch of trunk diameter. Instead of a light daily sprinkle, use a soaker hose or a slow-trickling garden hose placed at the base of the tree for 30 to 45 minutes, twice a week.
Pro Tip: To check if your tree needs water, push a 6-inch screwdriver into the soil near the root ball. If it goes in easily, the soil has adequate moisture. If it meets resistance, it is time to water.
After watering, apply a 2 to 3-inch layer of organic hardwood mulch over the planting area to retain moisture and regulate soil temperature. Crucially, keep the mulch at least 3 inches away from the trunk of the tree. Piling mulch against the bark (a practice known as 'volcano mulching') traps moisture against the trunk, inviting fungal diseases and rot.
Long-Term Care and Pruning
Once established (usually after the second year), Green Giant Arborvitae are remarkably drought-tolerant and require minimal maintenance. To keep your hedge looking its best, apply a slow-release, balanced evergreen fertilizer (such as a 10-10-10 or 14-14-14 NPK formula) in early spring just before new growth begins. Products like Espoma Holly-tone are also excellent organic options that provide essential micronutrients.
While Green Giants naturally maintain a beautiful pyramidal form, light annual pruning will encourage a denser, more formal privacy screen. In late spring or early summer, after the initial flush of new growth has hardened off, use a pair of sharp bypass pruners or manual hedge shears to lightly trim the top third of the tree. Never cut back into old, brown wood, as arborvitae will not regenerate foliage from bare branches. Always ensure the base of the hedge is slightly wider than the top; this allows sunlight to reach the lower branches, preventing them from thinning out and dying off.
Common Beginner Mistakes to Avoid
- Planting Too Deep: Burying the root flare suffocates the root system and is the number one killer of newly planted trees.
- Spacing Too Close: Planting trees 3 feet apart might give you instant privacy, but within five years, they will compete for resources, leading to stunted growth and increased susceptibility to fungal diseases due to poor air circulation.
- Ignoring Winter Winds: In northern climates, winter winds can cause 'desiccation' (drying out) of evergreen foliage. Ensure your trees are well-watered in late fall before the ground freezes, and consider applying an anti-desiccant spray like Wilt Pruf in November to protect the foliage.
Conclusion
Planting a Green Giant privacy hedge is one of the most rewarding landscaping investments you can make. By taking the time to properly space your trees, prepare the soil, and establish a consistent watering routine, you will be rewarded with a lush, vibrant, and impenetrable green wall that enhances your property value and provides peace and privacy for decades to come.
