
Landscaping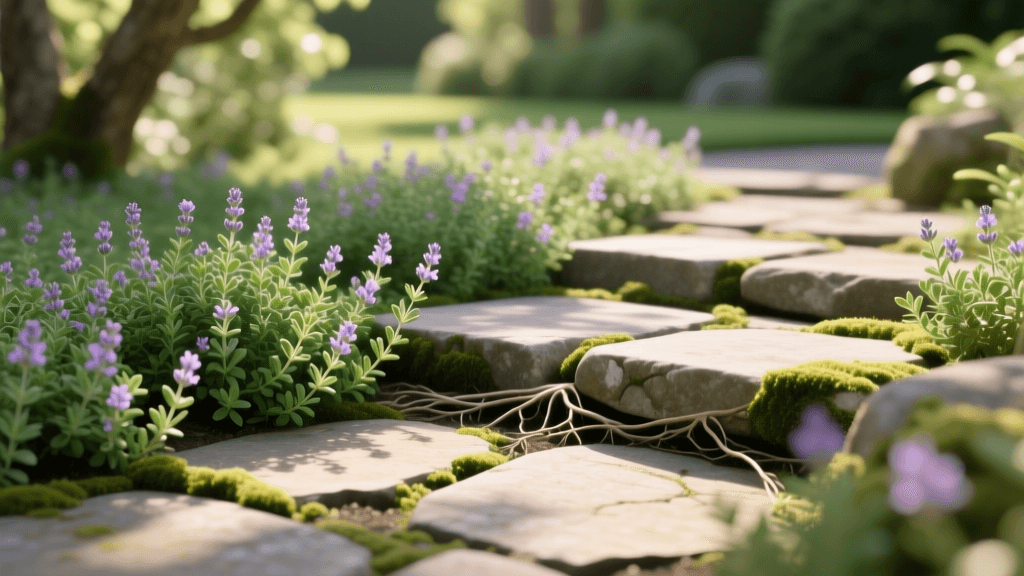
Beginner Guide to Growing Creeping Thyme Between Pavers
Transforming Hardscapes with Creeping Thyme
Landscaping is an art form that balances the rigid, structural elements of hardscaping with the soft, dynamic beauty of living plants. One of the most common challenges beginners face when installing patios, walkways, and stepping stones is deciding what to do with the gaps between the stones. Leaving them empty invites stubborn weeds, while using polymeric sand can sometimes look sterile and artificial. The perfect solution is growing creeping thyme (Thymus serpyllum) between your pavers. This beginner-friendly growing guide will walk you through the design principles, soil preparation, planting techniques, and long-term maintenance required to cultivate a lush, aromatic, and low-maintenance thyme carpet in your hardscape joints.
Why Choose Creeping Thyme for Hardscaping?
Creeping thyme is a woody, perennial groundcover that thrives in the challenging microclimates created by stone pathways. Pavers absorb and radiate heat, creating a hot, dry environment that would scorch delicate plants. Thyme, however, is exceptionally drought-tolerant and heat-resistant once established. According to the Penn State Extension, utilizing tough groundcovers like thyme in landscape gaps not only suppresses aggressive weeds but also reduces soil erosion and minimizes the heat-island effect of expansive stone patios.
Beyond its practical benefits, creeping thyme offers immense aesthetic and ecological value. When brushed against or lightly stepped on, it releases a delightful, soothing fragrance. Furthermore, it produces tiny, nectar-rich flowers in early summer that attract vital pollinators. As noted in the Missouri Botanical Garden database, Thymus serpyllum is highly regarded for its ability to form a dense, weed-choking mat that requires minimal supplemental watering, making it an ideal choice for sustainable landscaping practices.
Choosing the Right Variety for Your Pavers
Not all thymes are created equal. Some grow too tall and will obscure the edges of your beautiful stonework, while others are too delicate to handle foot traffic. When selecting a variety, you must consider the width of your hardscape gaps, the amount of sunlight the area receives, and the expected foot traffic. Below is a comparison chart of the best creeping thyme varieties for landscaping joints.
| Variety | Mature Height | Flower Color | Foot Traffic Tolerance | Best Hardscape Application |
|---|---|---|---|---|
| Elfin Thyme | 1 to 2 inches | Lavender | Moderate to Heavy | Tight joints (1 to 2 inches), high-traffic walkways |
| Woolly Thyme | 2 to 3 inches | Pale Pink | Light | Wide gaps (3+ inches), dry retaining wall crevices |
| Red Creeping Thyme | 2 to 4 inches | Deep Magenta | Moderate | Stepping stones, patio borders, wide flagstone joints |
| Lemon Thyme | 3 to 6 inches | Pale Lilac | Light | Decorative garden beds, non-walkway borders |
For most beginner hardscape projects involving standard flagstone or concrete pavers, Elfin Thyme or Red Creeping Thyme are the safest and most visually striking choices.
Tools and Materials Needed
Before you begin planting, gather the following tools and materials to ensure a smooth process:
- Hori-hori knife or narrow trowel: Essential for digging in tight, narrow hardscape gaps without disturbing the stone base.
- Stiff-bristle brush: For cleaning out debris and old sand from the joints.
- Coarse sand and perlite: To improve drainage in the planting pockets.
- Organic compost: A small amount to provide initial nutrients.
- Thyme plugs or seeds: Plugs (small starter plants) are highly recommended for beginners over seeds, as they establish faster and compete better with weeds. Expect to pay between $0.75 and $1.25 per plug.
- Organic starter fertilizer: Such as Espoma Organic Bio-tone Starter Plus to encourage rapid root growth.
Step 1: Preparing the Hardscape Gaps
Proper preparation is the most critical step in this growing guide. If your pavers were recently installed, the gaps might be filled with crushed gravel, polymeric sand, or compacted clay. You need to remove this material to a depth of at least 3 to 4 inches to make room for the thyme's root system and amended soil.
Use your stiff-bristle brush and hori-hori knife to scrape out the joints. If the gaps are narrower than 1.5 inches, consider widening them slightly with a masonry chisel, or opt for a very low-profile variety like Elfin Thyme. Ensure that the base beneath the soil pocket still allows for water percolation; if water pools in the gaps after a rainstorm, the thyme roots will rot. The University of Minnesota Extension emphasizes that excellent drainage is the single most important factor for the survival of perennial groundcovers in confined landscape spaces.
Step 2: Soil Amendment and Mixing
Creeping thyme is native to rocky, Mediterranean environments. It despises heavy, waterlogged clay. To create the perfect planting medium for your paver gaps, mix a custom soil blend in a wheelbarrow or bucket. Use the following ratio:
- 40% existing soil (if it is relatively loose) or topsoil
- 30% coarse builder's sand or perlite
- 20% organic compost
- 10% crushed gravel or fine pumice
Mix these components thoroughly. This blend ensures that water drains rapidly away from the crown of the plant while retaining just enough moisture and organic matter to support initial growth. Fill the cleaned hardscape gaps with this mixture, leaving about 1 inch of space below the top of the pavers to prevent soil washout during heavy rains.
Step 3: Planting Plugs vs. Seeds
While growing thyme from seed is inexpensive (a packet costs around $4 to $6), it requires meticulous weeding and can take up to a year to form a solid mat. For immediate curb appeal and weed suppression, planting nursery plugs is the superior method.
Planting Plugs:
- Remove the plug from its plastic cell gently, teasing out the bottom roots if they are circling.
- Dig a small hole in the prepared gap soil, just deep enough to accommodate the root ball.
- Place the plug in the hole so that the crown (where the stems meet the roots) is perfectly level with the surrounding soil. Burying the crown will cause rot.
- Space the plugs 6 to 8 inches apart. They will spread and fill in the gaps within one to two growing seasons.
- Backfill with your custom soil mix and press down gently to eliminate air pockets.
Timing: The best time to plant creeping thyme is in early spring, a few weeks after your last frost date, or in early fall. Fall planting is particularly advantageous as the cooler temperatures reduce transplant shock, and autumn rains help establish the root system before winter dormancy.
Step 4: Watering and Establishment Schedule
Despite its reputation for drought tolerance, newly planted creeping thyme requires consistent moisture until its roots anchor into the surrounding soil. Follow this beginner-friendly watering schedule:
- Weeks 1 to 2: Water lightly every day or every other day, depending on the weather. Use a watering can with a rose attachment or a hose with a mist nozzle to avoid washing the soil out of the narrow joints.
- Weeks 3 to 6: Reduce watering to twice a week. Allow the top half-inch of soil to dry out between waterings to encourage deeper root growth.
- After Establishment (Month 3+): Once the plants are actively spreading and rooting deeply, you can cease supplemental watering entirely, relying solely on natural rainfall. Only water during severe, prolonged summer droughts.
Long-Term Maintenance and Pruning
One of the greatest joys of incorporating creeping thyme into your landscape design is the minimal maintenance it requires. However, a few seasonal tasks will keep your hardscape joints looking pristine.
Spring Cleanup: In early spring, use a stiff rake or a specialized thatch rake to gently comb through the thyme. This removes dead winter foliage, improves air circulation, and stimulates fresh, dense growth. If the thyme has become woody or leggy, you can safely mow over it with a lawn mower set to a high blade (about 2 inches) or use garden shears to give it a light haircut.
Weed Management: In the first year, before the thyme forms a solid mat, weeds will inevitably try to claim the bare soil. Hand-pull weeds carefully to avoid uprooting the young thyme. Avoid using broad-spectrum chemical herbicides like glyphosate near your hardscape, as drift can easily kill the thyme and stain your pavers. Instead, use a targeted, organic herbicide containing horticultural vinegar for spot treatments, or rely on manual extraction.
Fertilization: Creeping thyme thrives in poor soils. Over-fertilizing will lead to excessive, weak, and leggy growth that is prone to fungal diseases. A single, light application of an organic, slow-release fertilizer in early spring is more than enough to sustain the plants for the entire year.
Troubleshooting Common Issues
Even with the best preparation, beginners may encounter a few hurdles. Here is how to troubleshoot common problems:
- Yellowing Leaves and Rot: This is almost always a sign of poor drainage. If water pools in the joints after a storm, you may need to remove the plants, dig deeper, and add more coarse sand and gravel to the base.
- Bare Spots from Heavy Foot Traffic: If a specific stepping stone is used heavily and the thyme dies back, simply purchase a few replacement plugs in the fall and insert them into the bare patches. Keep foot traffic diverted for a few weeks while they establish.
- Fungal Issues (Botrytis or Root Rot): If the center of the thyme mat turns brown and mushy, it is suffering from a fungal infection due to high humidity and poor air flow. Prune the affected areas aggressively to open up the canopy and allow sunlight to penetrate to the soil level.
Conclusion
Integrating creeping thyme into your hardscaping is a brilliant way to elevate your landscape design from ordinary to extraordinary. It softens the harsh lines of stone, suppresses weeds naturally, and rewards you with beautiful blooms and a wonderful fragrance. By selecting the right variety, ensuring impeccable drainage, and following a disciplined establishment watering schedule, even a beginner can cultivate a stunning, living tapestry between their pavers that will thrive for years to come.
