
Landscaping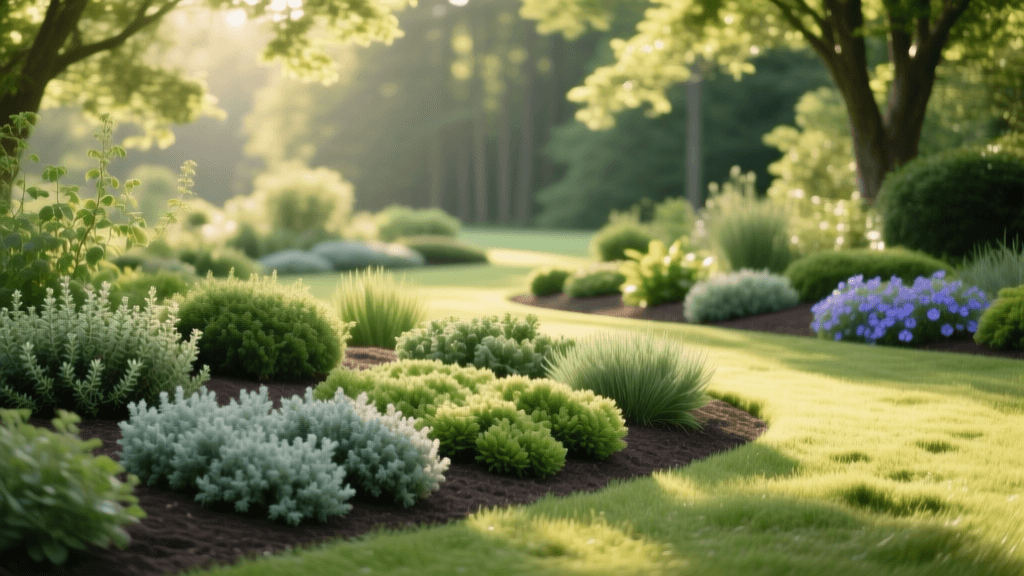
Growing Ground Cover Plants: A Beginner Landscaping Guide
When planning a landscape transformation, many beginners default to planting vast expanses of turfgrass. However, maintaining a traditional lawn requires significant time, water, and chemical inputs. For a more sustainable, visually dynamic, and low-maintenance alternative, landscaping with ground cover plants is an excellent strategy. Ground covers act as living mulches, suppress weeds, prevent soil erosion, and add beautiful textures to your garden beds.
This beginner-friendly growing guide will walk you through everything you need to know about selecting, spacing, and establishing ground cover plants in your landscape.
Why Choose Ground Covers for Your Landscape?
Ground covers are low-growing plants that spread horizontally to form a dense mat over the soil. They are particularly useful in areas where mowing is difficult, such as steep slopes, narrow pathways, or heavily shaded zones under large trees. According to Penn State Extension, utilizing groundcovers as living mulches significantly reduces soil moisture evaporation, moderates soil temperature, and naturally suppresses weed germination.
Furthermore, replacing turfgrass with drought-tolerant ground covers can drastically reduce your outdoor water usage. Once established, many perennial ground covers require only natural rainfall to thrive, saving you money on utility bills and reducing your environmental footprint.
Top Beginner-Friendly Ground Cover Plants
Choosing the right plant for your specific microclimate is the most critical step in landscaping success. Below is a comparison chart of five highly resilient, beginner-friendly ground covers that thrive in various conditions.
| Plant Name | Light Requirement | USDA Hardiness Zones | Spacing | Best Landscape Use |
|---|---|---|---|---|
| Creeping Thyme (Thymus serpyllum) | Full Sun | 4 - 9 | 8 - 12 inches | Between stepping stones, rock gardens |
| Creeping Juniper (Juniperus horizontalis) | Full Sun | 3 - 9 | 24 - 36 inches | Steep slopes, large open areas |
| Stonecrop (Sedum spurium) | Full Sun to Part Shade | 3 - 9 | 12 - 18 inches | Xeriscaping, poor soil areas |
| Big Blue Lilyturf (Liriope muscari) | Full Sun to Deep Shade | 5 - 10 | 12 - 18 inches | Tree rings, shaded borders, edging |
| Sweet Woodruff (Galium odoratum) | Part to Full Shade | 4 - 8 | 9 - 12 inches | Woodland gardens, underplanting trees |
Step-by-Step Guide to Planting Ground Covers
Establishing a ground cover bed requires patience and proper site preparation. While these plants are low-maintenance once mature, their first year in the ground dictates their long-term vigor.
Step 1: Site Preparation and Weed Eradication
Never plant ground covers directly into existing weeds or turf. The University of Minnesota Extension emphasizes that thorough site preparation is non-negotiable for preventing future weed competition. You have two main options for clearing the area:
- Solarization: Cover the area with clear painter's plastic for 4 to 6 weeks during the hottest part of summer. This uses the sun's heat to cook weed seeds and pathogens in the top layer of soil. Cost: roughly $25 for a 10x10 foot area.
- Smothering (Sheet Mulching): Lay down overlapping layers of plain cardboard, wet them thoroughly, and cover with 3 inches of compost. Wait 8 to 12 weeks before planting. This method improves soil structure while killing grass.
After clearing, conduct a basic soil test. You can purchase a reliable DIY soil test kit from your local garden center for around $15 to $30, or send a sample to your local university cooperative extension for a comprehensive analysis. Most ground covers prefer a slightly acidic to neutral pH (6.0 to 7.0). Amend heavy clay soils with organic compost to improve drainage, as root rot is a primary killer of young ground covers.
Step 2: Spacing and Layout Strategy
Calculating how many plants you need depends on the mature spread of the species and how quickly you want the area to fill in. As noted by the Clemson University Cooperative Extension, planting in a staggered or diamond grid pattern ensures faster, more uniform coverage compared to planting in straight rows.
Quick Spacing Formula:
If your plant requires 12-inch spacing, you will need approximately 100 plants to cover 100 square feet. If you choose a wider spacing (e.g., 18 inches) to save money upfront, you will need about 45 plants for the same area, but it will take an extra year or two to achieve full coverage.
Step 3: Planting and Mulching Techniques
Dig a hole that is exactly as deep as the plant's root ball but twice as wide. Gently tease out any circling roots at the bottom of the nursery pot before placing it in the hole. Backfill with native soil, tamping down gently with your hands to eliminate air pockets.
Apply a 2-inch layer of shredded hardwood mulch between the new plants. Mulch retains moisture and blocks weeds while the plants are filling in. Crucially, keep the mulch at least 2 inches away from the base (crown) of each plant to prevent stem rot.
Step 4: Pruning and Edging for Long-Term Health
While ground covers are selected for their low-maintenance traits, they do require occasional boundary management. Once a year, typically in early spring, use a half-moon edger or a spade to cut a clean trench between your ground cover bed and adjacent lawn or walkways. This prevents aggressive spreaders like Liriope from creeping into unwanted areas. Additionally, if your ground cover suffers from winter burn or looks leggy, you can give it a light shearing with garden snips or a string trimmer set on high to encourage fresh, dense spring growth.
Watering and First-Year Maintenance Schedule
The myth that ground covers are entirely "plant and forget" is a common beginner trap. During the first growing season, your plants are focusing on establishing deep root systems rather than spreading horizontally.
- Weeks 1-4: Water deeply every 2 to 3 days. The soil should remain consistently moist but not waterlogged.
- Months 2-6: Transition to watering 1 inch per week, preferably in one or two deep sessions rather than daily shallow sprinklings. Use a standard rain gauge to measure your sprinkler output. Deep watering encourages roots to grow downward, increasing drought tolerance.
- Fertilizing: Most ground covers require little to no fertilizer. If growth is stunted, apply a balanced, slow-release 10-10-10 granular fertilizer in early spring at a rate of 1 pound per 100 square feet.
Common Beginner Mistakes to Avoid
Even with the best intentions, novice landscapers often make a few key errors when growing ground covers:
- Ignoring Invasive Tendencies: Plants like English Ivy (Hedera helix) or Periwinkle (Vinca minor) are often sold as easy ground covers, but they can escape garden beds and choke out native woodland ecosystems. Always verify that a plant is not listed as invasive in your specific state before purchasing.
- Planting Too Deeply: Burying the crown of the plant (where the stems meet the roots) under soil or heavy mulch will suffocate the plant and invite fungal diseases. Always plant at the exact same depth it was growing in the nursery container.
- Overwatering Established Plants: Once a drought-tolerant ground cover like Sedum or Creeping Thyme is established (usually after year one), supplemental watering is rarely needed. Overwatering mature succulent ground covers will quickly lead to fatal root rot.
Final Thoughts on Landscaping with Ground Covers
Transitioning from high-maintenance turf to a lush carpet of ground covers is one of the most rewarding landscaping projects a beginner can undertake. By carefully selecting plants suited to your light and soil conditions, investing time in proper site preparation, and utilizing a staggered planting layout, you will create a resilient, eco-friendly landscape that looks beautiful year-round with minimal upkeep.
