
2026 Guide: String Lights With Guide Wire Over Mulched Beds
The Intersection of Hardscape Lighting and Softscape Mulch
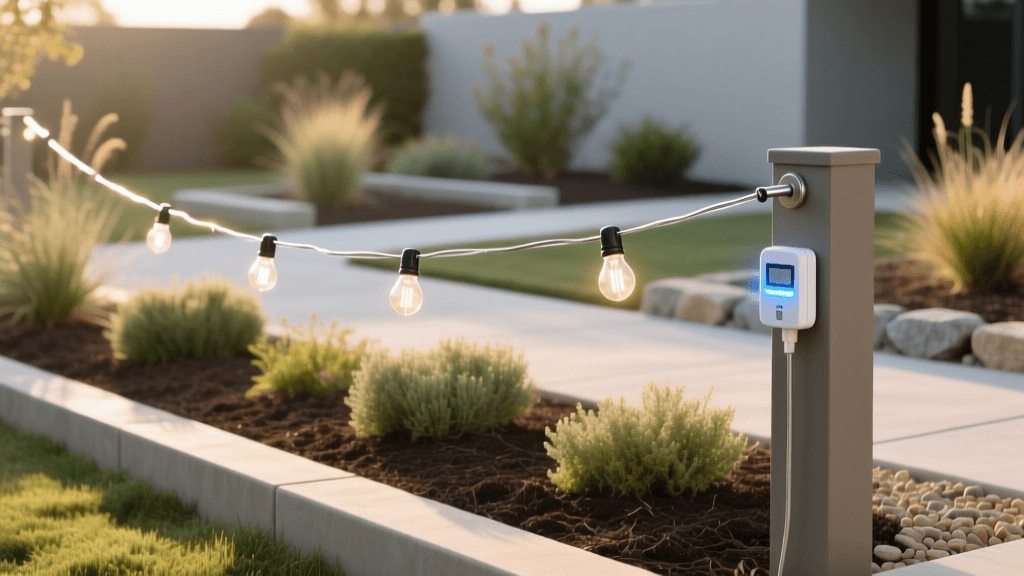
As we move through 2026, the trend of extending indoor living spaces into the backyard has reached new heights, with outdoor string lights becoming a staple for ambiance and functionality. However, installing these lights over pristine, freshly mulched garden beds presents a unique landscaping challenge. Homeowners and DIY enthusiasts must balance the structural requirements of guide wire installations with the horticultural and safety needs of softscape mulching methods. Dropping heavy poles into freshly laid cedar bark or trenching power cables through delicate pine needle beds can ruin months of soil preparation and landscape design.
This comprehensive guide bridges the gap between electrical hardscaping and organic mulching methods. We will explore how to properly install commercial-grade string lights using a tensioned guide wire system while preserving the integrity, fire safety, and aesthetic appeal of your mulched garden beds. By integrating modern smart timers and adhering to 2026 landscape safety standards, you can create a breathtaking, low-maintenance outdoor oasis.
Selecting the Right Mulch Material for Lighting Zones
Not all mulch is created equal, especially when electrical wiring, transformers, and heat-emitting bulbs are involved. When planning your string light layout, you must consider the flammability, drainage, and decomposition rate of your chosen mulch material. According to the University of Minnesota Extension, proper mulch application protects soil moisture and regulates temperature, but placing highly flammable organic materials too close to electrical junctions poses a severe fire hazard.
For 2026 landscape designs, the best practice is to use a hybrid mulching method: utilizing inorganic, non-flammable materials directly beneath electrical connections and transformers, while using organic mulches for the broader garden bed. Below is a comparison chart of common mulching materials and their compatibility with outdoor lighting installations.
| Mulch Material | Fire Resistance | Drainage | Best Use Case for Lighting Zones |
|---|---|---|---|
| Pea Gravel / River Rock | Excellent | Excellent | Directly under transformers, smart plugs, and wire drop points. |
| Cedar Wood Chips | Moderate | Good | General bed coverage; keep 12 inches away from electrical splices. |
| Pine Needles (Straw) | Low (Highly Flammable) | Moderate | Avoid completely in zones with guide wire anchors or power drops. |
| Rubber Mulch | Low (Melts/Emits Toxins) | Good | Not recommended near any wiring or commercial LED heat sinks. |
| Shredded Hardwood | Moderate | Good | Safe for general pathways and around concrete-set anchor poles. |
Step-by-Step Guide Wire Installation Over Garden Beds
Hanging string lights directly from tree branches or fencing often leads to sagging, wind damage, and harm to living trees. Using a galvanized steel guide wire is the professional standard for 2026. Here is how to install it without destroying your mulched beds.
Step 1: Setting the Anchor Poles
To span a guide wire across a wide mulched garden bed, you will need heavy-duty metal or treated wooden anchor poles. Instead of driving spikes directly through your landscape fabric and mulch, dig a precise 18-inch deep hole using a post-hole digger. Set the pole in quick-drying concrete. Crucially, maintain a 3-inch clearance between the concrete base and your organic mulch. This mulching method prevents moisture from wicking into wooden poles (causing rot) or trapping acidic organic compounds against metal poles (causing corrosion). Once the concrete cures, backfill the surrounding area with your chosen mulch, ensuring it does not mound up against the pole itself.
Step 2: Threading the Guide Wire and Turnbuckles
Use a 1/16-inch or 3/32-inch galvanized steel aircraft cable for your guide wire. Attach an eye bolt to the top of each anchor pole, followed by a turnbuckle and a carabiner or wire rope clip. The turnbuckle is essential; it allows you to tighten the cable after the weight of the lights is applied. String the cable across your mulched bed, ensuring it hangs at least 8 to 10 feet above the ground to allow for seasonal plant growth and mulch replenishment.
Step 3: Hanging the Lights
Modern 2026 commercial-grade S14 LED string lights are lightweight and weather-resistant. Use zip ties or specialized snap hooks to attach the light strand's built-in support wire to your tensioned guide wire. Never hang the lights by their electrical sockets, as this will stress the wiring and expose internal connections to moisture.
Trenching and Cable Management in Mulched Areas
One of the most common mistakes in outdoor lighting is leaving extension cords draped across mulched beds, which creates tripping hazards, traps moisture, and invites rodent damage. Proper cable management requires trenching, but you must do so in a way that respects your mulching methods.
When running power from your home's exterior outlet to the first anchor pole, dig a shallow 6-inch trench through the mulch and topsoil. Lay down a flexible, UV-resistant liquid-tight conduit or direct-burial low-voltage wiring. Before covering the conduit, ensure all electrical splices are housed in IP68-rated waterproof junction boxes. As noted by the U.S. Department of Energy, proper outdoor electrical management not only ensures safety but also prevents energy loss and short circuits caused by moisture intrusion.
Once the conduit is secured, backfill the trench with soil and replace the landscape fabric. Finally, apply a 2-to-3-inch layer of mulch over the trench. To make future maintenance easier, consider placing a subtle, decorative landscaping border or a line of inorganic pea gravel directly over the buried conduit line. This acts as a visual marker for you or your landscaper, ensuring that future aeration or deep mulching does not accidentally slice into your power lines.
Smart Timer Integration for 2026 Landscapes
In 2026, manually plugging in outdoor lights or relying on cheap mechanical dial timers is a thing of the past. Smart home integration allows your outdoor lighting to adapt to the changing seasons, preserving energy and enhancing security. When installing your string lights, plug the main power drop into an outdoor-rated smart plug that supports the Matter protocol.
The Connectivity Standards Alliance (CSA) has pushed the Matter standard to ensure seamless communication between different smart home ecosystems, whether you use Apple HomeKit, Amazon Alexa, or Google Home. By utilizing a Matter-compatible outdoor smart plug, you can set up advanced automations based on local sunset times. This is particularly useful for garden beds that undergo seasonal changes; as the sun sets earlier in the winter, your smart timer will automatically adjust the lighting schedule without requiring manual reprogramming.
Furthermore, smart plugs allow you to monitor energy consumption. If a string light bulb shorts out or a wire is damaged by landscaping equipment, the smart plug will often detect the anomalous power draw and shut off the circuit, preventing potential fires in dry mulch beds.
Maintaining Mulch Around Anchor Points
Annual or bi-annual mulch replenishment is a necessary landscaping chore, but it can complicate your guide wire setup. When adding fresh cedar or hardwood mulch to your beds, practice the 'donut method' around your anchor poles and electrical junction boxes. Leave a 2-to-3-inch ring of bare soil or pea gravel around the base of any hardscape lighting element. Piling fresh, moist mulch directly against electrical conduits or wooden poles accelerates decay and creates a haven for insects that may chew through wire insulation.
Additionally, when using leaf blowers to clear autumn debris from your mulched beds, be mindful of the guide wire turnbuckles and low-hanging drop cables. High-velocity air can easily snag on carabiners or dislodge lightweight smart plugs from their outdoor housing. By combining thoughtful mulching materials with robust hardscape installation techniques, your outdoor string lights will remain a safe, stunning focal point of your garden for years to come.

