Lawn Care
The Ultimate Beginner's Guide to Lawn Care: Essential Tips for a Lush Yard
Achieving a thick, vibrant, and weed-free lawn might seem like a closely guarded secret reserved for landscaping professionals, but the truth is that a beautiful yard is entirely within your reach. For new homeowners or anyone taking over their first yard, the sheer volume of advice regarding soil pH, aeration, fertilizer ratios, & mowing heights can feel incredibly overwhelming. However, successful lawn care is not about complex chemistry or expensive professional services; it is about understanding a few fundamental principles and applying them consistently.
Whether you are starting from scratch with a newly seeded yard or trying to revive a patchy, neglected lawn, establishing a solid routine is the key to long-term success. By breaking down the process into manageable, actionable steps, you can save time & money while dramatically improving your curb appeal. In this comprehensive guide, we will walk you through the essential lawn care tips for beginners, covering everything from identifying your grass type to mastering your seasonal calendar.
Step 1: Know Your Grass and Soil (The Foundation)
Before you buy a single bag of fertilizer or adjust your sprinkler system, you must understand what you are working with. The foundation of any great lawn lies beneath the surface and in the specific blade of grass you are growing. Grasses are broadly categorized into two main types, and treating them identically is the most common mistake beginners make.
Identify Your Grass Type
Grasses are divided into cool-season grasses and warm-season grasses. Cool-season grasses, such as Kentucky Bluegrass, Tall Fescue, & Perennial Ryegrass, thrive in regions with cold winters and moderate summers. They grow most vigorously in the spring and fall, often going dormant or turning brown during the peak heat of summer. Conversely, warm-season grasses like Bermuda, Zoysia, & St. Augustine flourish in southern climates with hot summers and mild winters. They peak in the middle of summer and will naturally go dormant and turn brown after the first hard frost in autumn.
Knowing your grass type dictates your entire care schedule, from when you should fertilize to how short you should mow. If you are unsure what is growing in your yard, take a sample to your local university extension office or a reputable garden center for identification.
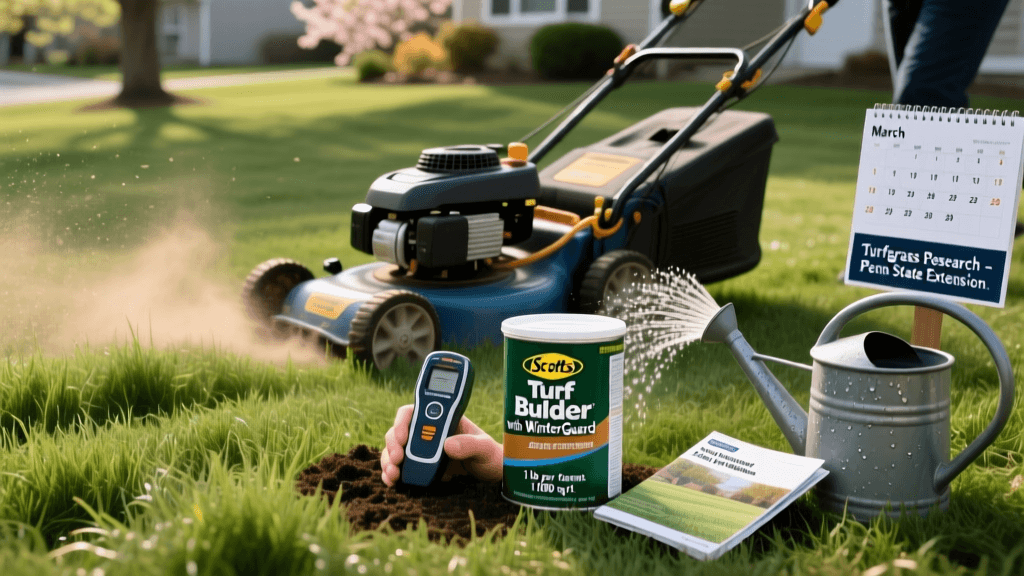
Test Your Soil
Your soil is the stomach of your lawn. If the soil is severely compacted, overly acidic, or lacking in essential micronutrients, no amount of watering or premium seed will fix your yard. We highly recommend purchasing a basic DIY soil test kit or sending a core sample to a local lab. A soil test will reveal your pH level and nutrient deficiencies.
- Acidic Soil (Low pH): If your pH is below 6.0, your grass cannot efficiently absorb nutrients. You will need to apply pelletized garden lime to raise the pH.
- Alkaline Soil (High pH): If your pH is above 7.5, you may need to apply elemental sulfur to lower it.
- Compacted Soil: If water pools on the surface and the ground feels like concrete, your soil is compacted. This requires core aeration to pull small plugs of dirt from the ground, allowing oxygen, water, & nutrients to reach the root zone.
Step 2: Master the Art of Mowing
Mowing is the most frequent lawn care chore you will perform, and doing it incorrectly can cause immense stress to your turf. Proper mowing encourages deep root growth, shades out weed seeds, & creates that pristine, manicured look.
The One-Third Rule
The golden rule of mowing is never to remove more than one-third of the grass blade in a single pass. If your ideal lawn height is three inches, you should mow when the grass reaches about four and a half inches. Cutting the grass too short, a practice known as "scalping," shocks the root system, exposes the soil to weed seeds, & makes the turf highly susceptible to drought stress and disease. During the peak heat of summer, it is actually beneficial to raise your mower deck an extra half-inch to provide more shade to the soil and retain moisture.
Keep Your Mower Blades Sharp
A dull mower blade does not cut the grass; it tears and shreds it. This leaves a ragged, frayed edge on the grass blade that quickly turns brown and creates an open wound where fungal diseases can enter. You should sharpen your mower blades at least twice a season, or whenever you notice the tips of your grass looking whitish and ragged a day after mowing. You can do this yourself with a metal file and a socket wrench, or take the blade to a local hardware store for a quick professional sharpening.
Mulch Your Clippings
Beginners often assume they need to bag their grass clippings to prevent thatch buildup and keep the yard looking neat. In reality, leaving your clippings on the lawn—a practice called mulching or "grasscycling"—is incredibly beneficial. Grass clippings are roughly 80% water and decompose rapidly, returning valuable nitrogen and organic matter directly back into the soil. As long as you are following the one-third rule, your clippings will be small enough to filter down to the soil surface without smothering the living grass.
Step 3: Watering Wisely for Deep Roots
Watering seems straightforward, but improper irrigation is responsible for a vast majority of lawn problems, including shallow root systems, fungal outbreaks, & weed invasions. The goal of watering is to encourage roots to grow as deep into the soil as possible, which makes your lawn drought-tolerant and resilient.
Deep and Infrequent Watering
Rather than watering your lawn for 15 minutes every day, you should aim for deep, infrequent soakings. A standard lawn requires about one to one and a half inches of water per week, either from rainfall or irrigation. By applying this amount in one or two heavy watering sessions per week, you force the roots to chase the moisture deep into the earth. Shallow, daily watering keeps the roots near the surface, where they are easily burned by the sun and outcompeted by weeds.
The Tuna Can Test
How do you know if you are applying one inch of water? Use the tuna can test. Place several empty, shallow tuna cans at different distances from your sprinkler. Turn the sprinkler on and time how long it takes for the cans to fill up with one inch of water. This gives you a precise baseline for how long you need to run your irrigation system each week.
Timing is Everything
The absolute best time to water your lawn is in the early morning, ideally between 4:00 AM and 8:00 AM. Watering in the morning allows the grass blades to dry out quickly once the sun rises, which prevents fungal diseases like brown patch and dollar spot. Watering in the middle of the day is inefficient due to high evaporation rates, and watering at night leaves the grass wet for hours, creating a perfect breeding ground for destructive fungi. Investing in a simple digital sprinkler timer or a smart irrigation controller is one of the best tool recommendations for beginners looking to automate this process.
Step 4: Fertilizing and Weed Control
Even with perfect mowing and watering, your lawn will eventually deplete the natural nutrients in the soil. Fertilizing replenishes these nutrients, while a proactive weed control strategy ensures your grass does not have to compete for space, water, & sunlight.
Understanding Fertilizer (N-P-K)
When shopping for best lawn fertilizers, you will see three numbers on the bag, such as 16-4-8. This represents the N-P-K ratio: Nitrogen, Phosphorus, & Potassium.
- Nitrogen (N): Promotes lush, green, leafy growth. This is the most critical macronutrient for established lawns.
- Phosphorus (P): Stimulates strong root development. It is crucial for new seed or sod but often restricted in established lawns to protect local waterways from runoff.
- Potassium (K): Acts like an immune system for your grass, helping it withstand drought, cold, & disease.
For beginners, a slow-release granular fertilizer is the safest and most effective choice. It feeds the lawn gradually over several weeks, preventing the massive growth spurts that require constant mowing and reducing the risk of "fertilizer burn."
Proactive Weed Management
The best defense against weeds is a thick, healthy lawn that naturally chokes them out. However, when weeds do appear, understanding how to treat them is vital. Our guide to weed control basics breaks this down into two main categories:
- Pre-emergent Herbicides: Applied in early spring and early fall, these create an invisible barrier in the soil that prevents weed seeds (like crabgrass) from germinating. Timing is critical; it must be applied before soil temperatures reach 55 degrees.
- Post-emergent Herbicides: Used to kill weeds that are already actively growing in your yard. For beginners, a selective liquid herbicide that targets broadleaf weeds (like dandelions and clover) without harming your grass is the most practical tool to keep on hand.
Step 5: Your Seasonal Lawn Care Calendar
Lawn care is not a one-size-fits-all endeavor; it changes with the seasons. Here is a quick-reference seasonal calendar to keep your yard on track throughout the year.
Spring: Awakening and Protection
Spring is about cleaning up winter debris and setting the stage for the growing season. Rake away dead leaves to prevent snow mold, apply your spring pre-emergent to stop crabgrass, & give your mower a thorough tune-up. Wait until the grass is actively growing and has been mowed a few times before applying your first round of spring fertilizer.
Summer: Maintenance and Stress Management
Summer is the most stressful time for cool-season grasses. Your primary focus should be on deep watering and keeping your mower blade high. Avoid heavy fertilization during peak heat, as this can burn the lawn and force tender new growth that will quickly scorch in the sun. If you have warm-season grass, however, summer is its peak growing time, and it will appreciate regular feeding and watering.
Fall: The Most Critical Season
Many beginners are surprised to learn that fall is the most important season for lawn care, especially for cool-season grasses. The cool air and warm soil create the perfect environment for root growth. This is the time for core aeration and overseeding to fill in bare patches. Apply a high-quality fall "winterizer" fertilizer to help the grass store up carbohydrates for the long winter dormancy.
Winter: Rest and Preparation
When the grass goes dormant, your job is mostly to stay off it. Avoid walking on a frost-covered lawn, as the frozen blades will shatter and die. Use this downtime to service your equipment, sharpen tools, & plan your strategy for the upcoming spring.
Frequently Asked Questions
How often should I water my lawn?
Most lawns require one to one and a half inches of water per week. Rather than watering a little bit every day, it is much healthier to water deeply one or two times a week. This encourages the roots to grow deep into the soil, making your lawn more resilient to heat and drought. Always adjust your watering schedule based on recent rainfall and local water restrictions.
Should I bag or mulch my grass clippings?
You should mulch your grass clippings whenever possible. Leaving the clippings on the lawn returns valuable nitrogen and organic matter back into the soil, acting as a free, natural fertilizer. As long as you are mowing frequently enough that you are only cutting off the top one-third of the grass blade, the clippings will be small enough to decompose quickly without contributing to thatch buildup or smothering the turf.
When is the best time to aerate my lawn?
The best time to aerate your lawn depends on your grass type. For cool-season grasses like Fescue and Kentucky Bluegrass, early fall is the ideal time, as the grass is entering its peak growing season and can quickly recover from the stress. For warm-season grasses like Bermuda and Zoysia, late spring or early summer is best, right as the grass is coming out of dormancy and entering its most vigorous growth phase.
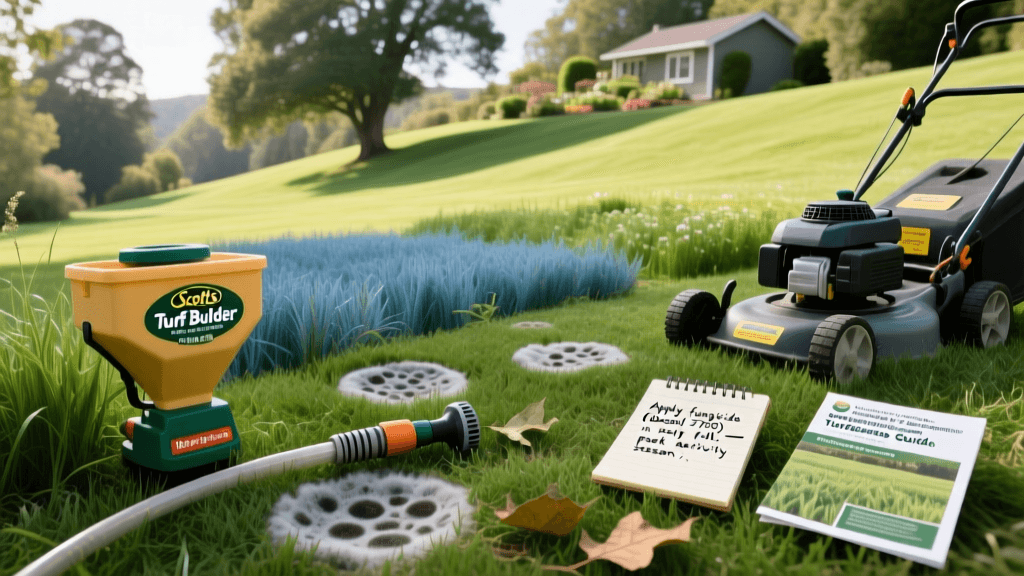
How do I fix brown patches in my yard?
Brown patches can be caused by several factors, including fungal diseases, insect damage (like grubs), dog urine, or compacted soil. First, diagnose the root cause. If it is a fungal issue, you may need to apply a lawn fungicide. If it is simply a dead spot from traffic or pet damage, rake out the dead debris, loosen the top inch of soil, and sprinkle a high-quality grass seed that matches your existing lawn. Keep the patched area consistently moist until the new seeds germinate and establish.
What is the best fertilizer for beginners?
For beginners, a slow-release granular fertilizer is the safest and most effective option. Slow-release formulas feed the lawn gradually over a period of six to eight weeks, which prevents the rapid, weak growth spurts associated with cheap, fast-release fertilizers. It also drastically reduces the risk of "fertilizer burn," which happens when too many salts are applied to the soil at once, drawing moisture out of the grass roots and turning the lawn yellow or brown.