Mastering Core Aeration and Overseeding for Thick Lawns
The Synergy of Aeration and Overseeding
A lush, vibrant lawn is the cornerstone of outdoor living, providing a beautiful landscape for garden-to-table gatherings and a soft surface for outdoor recreation. However, over time, even the most meticulously maintained lawns can become thin, patchy, and prone to weed invasion. The secret to reviving a tired lawn lies in the powerful combination of two seasonal maintenance techniques: core aeration and overseeding. While overseeding introduces new, vigorous grass genetics to your turf, core aeration ensures those seeds have the perfect environment to germinate and thrive.
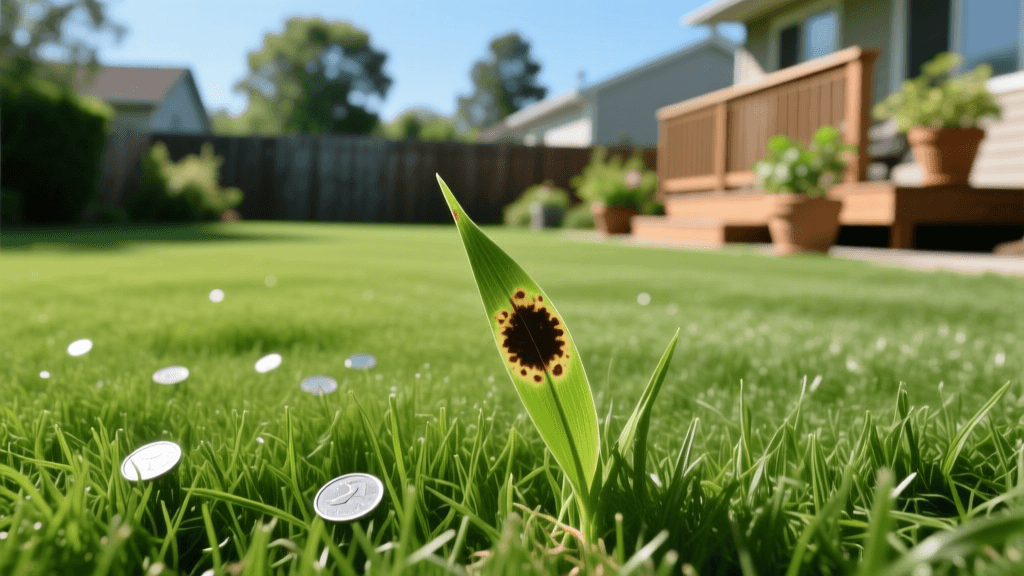
Soil compaction is the silent killer of turfgrass. Foot traffic, heavy mowing equipment, and natural settling compress the soil particles, squeezing out the oxygen and water that grassroots desperately need. According to the University of Minnesota Extension, core aeration alleviates this compaction by physically removing small plugs of soil, creating channels for air, water, and nutrients to penetrate the root zone. When you pair this with overseeding, the seeds fall directly into these aeration holes, ensuring perfect seed-to-soil contact, which is the most critical factor for successful germination.
Timing Your Lawn Renovation
Timing is everything when it comes to turfgrass renovation. For cool-season grasses like Kentucky Bluegrass, Tall Fescue, and Perennial Ryegrass, early fall is the undisputed best time to aerate and overseed. You should aim to perform this task when soil temperatures have cooled to between 50°F and 65°F. In most northern and transitional zones, this window falls between late August and mid-October. The autumn air is cool, reducing heat stress on young seedlings, while the soil retains enough summer warmth to stimulate rapid germination.
For warm-season grasses such as Bermuda, Zoysia, and Centipede, the timing shifts to late spring or early summer, just as the grass enters its peak growing season. Soil temperatures should be consistently above 65°F. However, because warm-season lawns are typically established via sod or sprigs rather than seed, overseeding is less common unless you are introducing a cool-season winter colorant like annual ryegrass.
Equipment Comparison: Choosing the Right Aerator
Not all aerators are created equal. To achieve the deep soil penetration required for true compaction relief, you must choose the right tool for the job. Below is a comparison of the most common aeration methods available to homeowners.
| Aerator Type | Mechanism | Effectiveness | Estimated Cost |
|---|---|---|---|
| Walk-Behind Core Aerator | Extracts 2-3 inch deep soil plugs using hollow tines. | Excellent. Relieves compaction and provides holes for seed. | $80 - $120 / day (Rental) |
| Tow-Behind Core Aerator | Pulled by a riding mower; uses weighted hollow tines. | Good for large, flat properties. Requires heavy weights. | $150 - $300 (Purchase) |
| Spike Aerator (Manual/Shoes) | Pokes solid holes into the ground without removing soil. | Poor. Can actually worsen compaction by pressing soil outward. | $20 - $50 (Purchase) |
| Liquid Aerator | Surfactant sprayed to break down soil surface tension. | Fair. Good for minor maintenance, but won't fix severe compaction. | $30 - $60 (Purchase) |
For the vast majority of residential lawns, renting a walk-behind core aerator from a local hardware store is the most effective and economical choice.
Step-by-Step Execution Guide
Step 1: Lawn Preparation
Before the aerator touches your lawn, proper preparation is required. Mow your grass shorter than usual, aiming for a height of about 1.5 to 2 inches. This prevents the grass blades from tangling in the aerator tines and allows the overseeded grass to reach the sunlight without being smothered by existing tall turf. Next, water your lawn deeply 24 to 48 hours before aerating. The soil should be moist but not muddy. If the ground is too dry, the aerator tines will bounce off the surface; if it is too wet, the machine will tear up the turf and create a muddy mess. Finally, use brightly colored landscaping flags to mark all shallow sprinkler heads, valve boxes, and invisible dog fence wires to prevent costly damage.
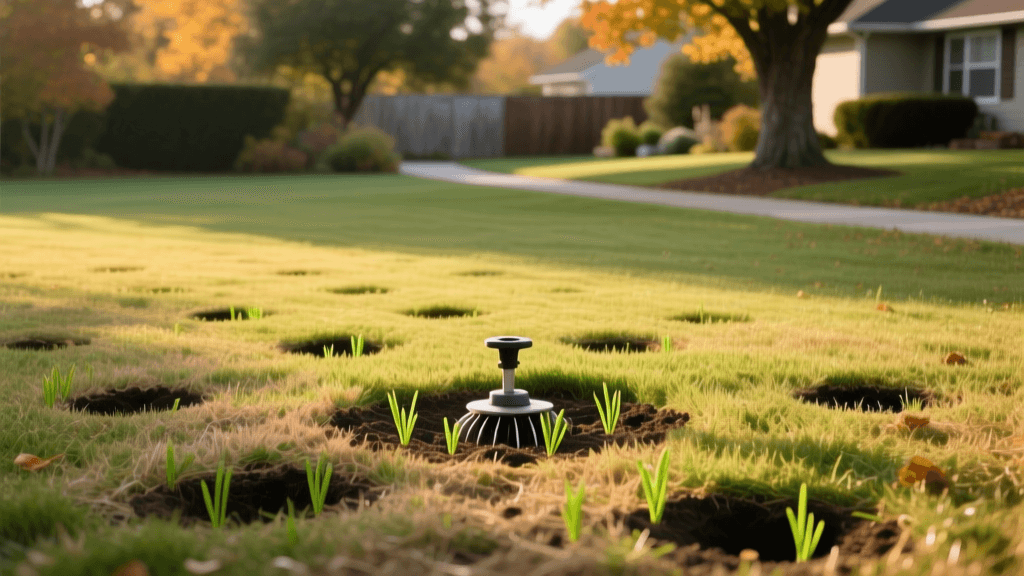
Step 2: Core Aeration Technique
When operating the walk-behind core aerator, treat it like a heavy lawnmower. Make your first pass in one direction, and then make a second pass perpendicular to the first (a crisscross pattern). This double-pass technique ensures you achieve the recommended 20 to 40 holes per square foot. The machine should pull plugs that are 2 to 3 inches deep and spaced 2 to 4 inches apart. Do not rake up the soil plugs. Leave them on the lawn; they will break down naturally over the next few weeks with rain and mowing, depositing beneficial soil microorganisms back onto the thatch layer to aid in decomposition.
Step 3: Seed Selection and Application
Selecting the right seed is paramount. Avoid cheap, generic seed mixes that contain high percentages of annual ryegrass or weed seeds. Look for premium blends with a germination rate of 90% or higher and zero weed seed content. As noted by Penn State Extension, matching the seed to your specific microclimate (sun vs. shade) and traffic levels is vital for long-term survival.
Apply the seed using a broadcast spreader for even coverage, splitting your total application rate in half and walking in two perpendicular directions. Use the following standard seeding rates for overseeding existing lawns:
- Tall Fescue: 4 to 6 lbs per 1,000 sq. ft.
- Kentucky Bluegrass: 1 to 1.5 lbs per 1,000 sq. ft.
- Perennial Ryegrass: 3 to 5 lbs per 1,000 sq. ft.
- Fine Fescue (Shade areas): 3 to 4 lbs per 1,000 sq. ft.
Step 4: Topdressing and Starter Fertilizer
After seeding, apply a high-quality starter fertilizer. Starter fertilizers are uniquely formulated with a higher middle number (Phosphorus), such as a 10-18-10 N-P-K ratio, which is essential for rapid root development in new seedlings. Be sure to check your local state laws, as some regions restrict phosphorus applications unless a soil test proves a deficiency or you are actively establishing new grass. For an added boost, consider a light topdressing of screened compost (about 1/4 inch thick). Raking the compost lightly will help push the seed into the aeration holes and provide a moisture-retentive canopy for germination.
Step 5: The Germination Watering Schedule
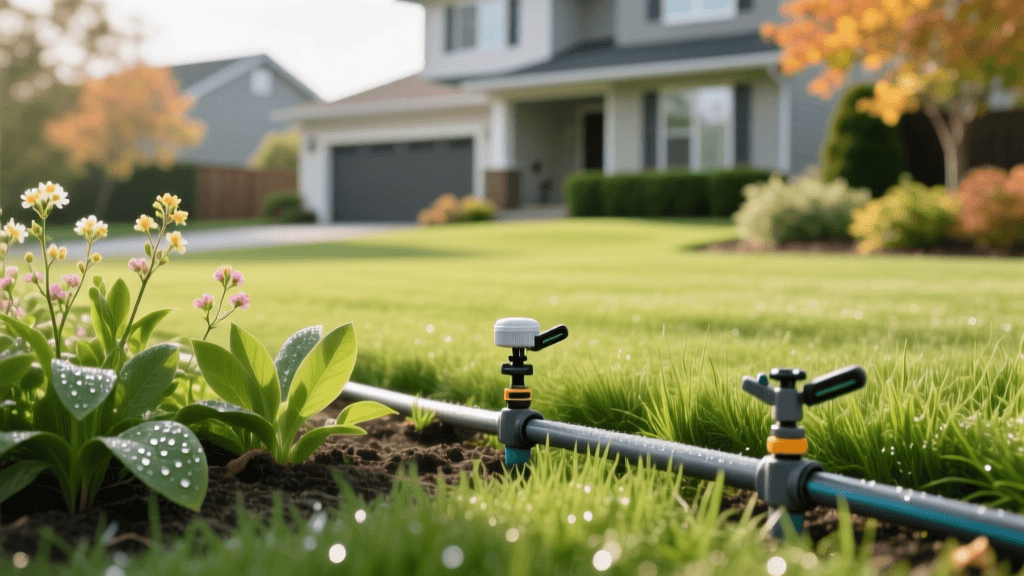
Watering is where most DIY overseeding projects fail. Grass seed must remain consistently moist until it germinates. This requires a shift from your normal deep-and-infrequent watering schedule to a light-and-frequent approach. Set your smart irrigation controller or sprinkler timers to water the lawn 2 to 3 times a day for 10 to 15 minutes per zone. The goal is to keep the top half-inch of soil damp, not flooded. Once the new grass reaches about 1.5 inches tall (usually 14 to 21 days), gradually reduce the frequency of watering while increasing the duration, eventually returning to the standard 1 inch of water per week applied in a single deep session.
Cost Breakdown: DIY vs. Professional Services
Deciding whether to tackle this project yourself or hire a professional lawn care service depends on your budget, physical ability, and available time. Core aerators are heavy, weighing between 200 and 300 pounds, and can be difficult to maneuver and transport.
| Expense Category | DIY Approach (Average 5,000 sq. ft. lawn) | Professional Service |
|---|---|---|
| Aeration | $90 (Machine Rental) + $30 (Truck Rental/Gas) | $150 - $250 |
| Seed (Premium) | $80 - $120 (25 lb bag) | Included in service |
| Starter Fertilizer | $40 - $60 | Included in service |
| Total Estimated Cost | $240 - $300 | $250 - $450 |
While the DIY route can save you a modest amount of money, hiring a professional eliminates the physical strain of hauling heavy equipment and guarantees commercial-grade seed and fertilizer application.
Common Mistakes to Avoid
Even with the best intentions, homeowners often make critical errors during the aeration and overseeding process. The NC State Extension warns against applying pre-emergent crabgrass preventers in the fall if you plan to overseed. Pre-emergent herbicides create a chemical barrier in the soil that stops all seeds from germinating, including your expensive new grass seed. Always read product labels carefully.
Another common mistake is mowing the new grass too early or too short. Wait until the new turf has been mowed at least three times before you consider bagging the clippings or lowering your mowing deck back to its normal height. Furthermore, avoid heavy foot traffic on the newly seeded areas for at least four weeks to prevent compacting the soil around the fragile new root systems.
Conclusion
Integrating core aeration and overseeding into your annual seasonal home maintenance routine is the single most effective way to bridge the gap between a mediocre yard and a spectacular outdoor living space. By relieving soil compaction, introducing resilient modern grass cultivars, and following a strict watering and fertilization protocol, you will cultivate a dense, weed-resistant turf that serves as the perfect foundation for your home and garden lifestyle. Plan ahead, rent the right equipment, and watch your lawn transform.