
Landscaping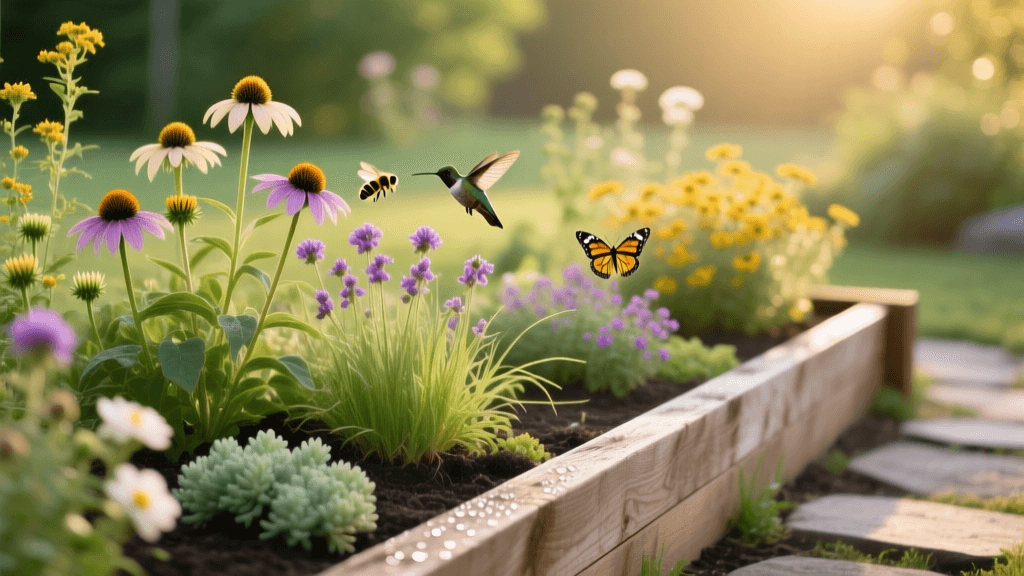
Beginner Guide to Planting a Native Pollinator Garden Bed
Transform Your Landscape with a Native Pollinator Garden
When most homeowners think of landscaping, they picture perfectly manicured turfgrass, rigid hedges, and high-maintenance annual flower beds. However, modern landscape design is shifting toward sustainable, ecologically beneficial spaces that still offer stunning curb appeal. For beginners looking to merge gardening with purposeful landscape design, a native pollinator garden bed is the perfect entry point. Not only does it provide vibrant seasonal color and texture, but it also supports local ecosystems, improves soil drainage, and drastically reduces the need for chemical fertilizers and excessive watering.
This beginner-friendly growing guide will walk you through the exact steps to design, prepare, and plant a 4x8-foot native pollinator garden bed. Whether you are converting a forgotten corner of your lawn or replacing a high-maintenance foundation planting, this structured approach will ensure your new landscape feature thrives from day one.
The Landscaping Benefits of Native Plant Beds
Before breaking ground, it is important to understand why native plants are the cornerstone of sustainable landscaping. According to the National Wildlife Federation, native plants have evolved over thousands of years in your specific region, meaning they are naturally adapted to your local climate, soil conditions, and rainfall patterns.
From a landscaping perspective, this translates to several massive benefits:
- Deep Root Systems: Many native prairie and woodland plants have root systems that extend 3 to 5 feet deep. This naturally aerates compacted soil and acts as a biological sponge, significantly improving yard drainage and reducing stormwater runoff.
- Lower Maintenance Costs: Once established (usually after the first growing season), native beds require minimal supplemental watering and zero synthetic fertilizers.
- Pest and Disease Resistance: Native flora has natural defenses against local pests, reducing the need for harmful pesticides that can disrupt your local ecosystem.
- Year-Round Curb Appeal: Unlike traditional annuals that die off in autumn, native perennials offer architectural seed heads, colorful autumn foliage, and structural stems that provide vital winter interest.
Tools and Materials Needed
To keep your first landscaping project manageable, we recommend starting with a 4x8-foot garden bed (32 square feet). Here is a breakdown of the materials and estimated costs for a beginner setup:
- Cardboard (Free): Sourced from appliance or grocery stores for sheet mulching.
- Organic Compost (2 cubic yards): $60 to $80, delivered or picked up from a local landscape supply yard.
- Shredded Hardwood Mulch (3 cubic feet): $10 to $15 per bag.
- Native Plants (15 to 20 plants): $150 to $300. You can save money by buying 'plugs' (small starter plants at $4-$8 each) instead of 1-gallon pots ($15-$25 each).
- Rain Gauge: $10 to monitor natural precipitation.
Step 1: Site Selection and Turf Removal
Most native pollinator plants require full sun, which is defined as at least 6 to 8 hours of direct sunlight per day. Observe your yard over a full weekend to map the sun patterns before choosing your bed's location. Avoid placing the bed directly against the foundation of your home to prevent moisture issues; leave at least a 3-foot buffer zone.
The Sheet Mulching Method
Beginners often make the mistake of using a rototiller to remove grass, which brings dormant weed seeds to the surface and destroys the soil structure. Instead, use the 'sheet mulching' or 'lasagna gardening' method. This is a highly effective, low-effort landscaping technique to smother turfgrass.
- Mow the existing grass as short as your mower will allow.
- Lay down overlapping sheets of plain brown cardboard directly over the grass. Wet the cardboard thoroughly with a hose so it conforms to the soil and begins to decompose.
- Cover the cardboard with 3 to 4 inches of organic compost.
- Let this sit for 4 to 6 weeks. The grass will die and decompose, enriching the soil with organic matter while the cardboard blocks sunlight from weeds.
Step 2: Choosing the Right Native Plants
A successful landscape design relies on selecting plants that offer a succession of blooms from early spring to late fall. This ensures a constant food source for pollinators and continuous color in your yard. The Xerces Society for Invertebrate Conservation highly recommends planting a diverse array of native flowering species to support various bee, butterfly, and hummingbird species throughout their life cycles.
Below is a beginner-friendly plant palette that thrives in most North American full-sun landscapes:
| Common Name | Botanical Name | Sun Needs | Bloom Time | Mature Height | Est. Cost (1-Gal Pot) |
|---|---|---|---|---|---|
| Purple Coneflower | Echinacea purpurea | Full Sun | Summer | 3 - 4 feet | $18 - $22 |
| Black-Eyed Susan | Rudbeckia hirta | Full Sun | Mid-Summer | 2 - 3 feet | $15 - $20 |
| Bee Balm | Monarda didyma | Full to Part Sun | Early Summer | 2 - 4 feet | $20 - $25 |
| Butterfly Weed | Asclepias tuberosa | Full Sun | Early Summer | 1 - 2 feet | $22 - $28 |
| Blazing Star | Liatris spicata | Full Sun | Late Summer | 2 - 3 feet | $18 - $24 |
Step 3: Landscape Design and Spacing Rules
One of the most common beginner mistakes in garden bed planning is planting in straight rows or spacing plants too far apart, which leaves room for aggressive weeds to take over. Professional landscape designers use a technique called 'drift planting' or 'massing'.
As recommended by Penn State Extension, grouping plants in odd numbers (3, 5, or 7) and planting them closely together mimics how plants grow in nature. This creates a lush, unified look that drastically reduces weeding.
Design Layout Tips:
- Layering: Place taller plants like Purple Coneflower and Bee Balm toward the back of the bed (or the center if the bed is viewed from all sides). Place shorter plants like Butterfly Weed toward the front edges.
- Spacing: Space 1-gallon native perennials about 12 to 18 inches apart. They will fill in the gaps completely by their second year.
- Host Plants: Ensure you include host plants for caterpillars, such as Butterfly Weed (Asclepias), which is the sole food source for Monarch butterfly larvae.
Step 4: Planting, Mulching, and Watering
Once your bed is prepped and your design is mapped out, it is time to plant. The ideal timing for planting native perennials is in early spring after the last frost, or in early fall, which gives roots time to establish before the summer heat or winter freeze.
Planting Technique
Dig a hole that is twice as wide as the plant's root ball but no deeper. You want the 'root flare' (where the stems meet the roots) to sit slightly above or exactly at the soil grade. Planting too deep will cause the crown to rot. Backfill with the native soil you removed from the hole; avoid adding heavy fertilizers, as native plants prefer lean, unamended soil.
The Importance of Mulch
Apply a 2 to 3-inch layer of shredded hardwood mulch over the exposed compost and soil. Mulch is critical for retaining soil moisture, regulating soil temperature, and suppressing weed seeds. Crucial Landscaping Rule: Keep the mulch pulled back 2 inches from the base (crown) of each plant to prevent rot and deter rodents from nesting against the stems.
First-Year Watering Schedule
While native plants are drought-tolerant once established, they have small root systems when first planted. For the first 12 weeks, provide 1 to 1.5 inches of water per week. Use your rain gauge to track natural precipitation so you only irrigate when necessary. Water deeply at the soil level rather than overhead to prevent fungal diseases on the foliage.
First-Year Maintenance and Winter Interest
A native pollinator garden requires a different mindset than a traditional landscape. Your goal in the first year is root establishment, not massive floral displays. If your plants bloom heavily in year one, consider 'deadheading' (pinching off the flowers) to force the plant to direct its energy into growing deep roots.
As autumn approaches, resist the urge to 'clean up' the garden bed. Leave the dead stalks, dried seed heads, and fallen leaves in place. Hollow stems provide essential overwintering habitat for native solitary bees, and seed heads from coneflowers and black-eyed Susans provide vital winter forage for birds like goldfinches and chickadees. Wait until early spring, when temperatures consistently stay above 50°F, to cut back the dead stalks.
Conclusion
Designing and planting a native pollinator garden bed is one of the most rewarding landscaping projects a beginner can undertake. By following these steps, you are not just improving your home's curb appeal; you are creating a sustainable, low-maintenance outdoor living space that supports local biodiversity. Start small with a 4x8-foot bed, choose regionally appropriate plants, and let nature do the heavy lifting as your garden establishes its deep, resilient root systems.
