When to Install and Schedule Your Smart Irrigation System
Mastering the Timing of Smart Irrigation
Watering a lawn seems simple, but bridging the gap between traditional sprinkler systems and modern smart home integration requires a precise understanding of timing. From the exact week you should trench your yard for new PVC lines to the specific hour your sprinklers should activate, timing is the difference between a lush, drought-resistant landscape and a waterlogged, disease-prone lawn. According to the EPA WaterSense program, upgrading to a smart irrigation controller can save the average home nearly 7,600 gallons of water annually. However, simply buying a smart controller is not enough; you must know exactly when to install, schedule, and maintain the system to maximize both efficiency and turf health.
When to Install Your Smart Irrigation System
The optimal window for installing an in-ground smart irrigation system is during the early spring or late fall. You must avoid the peak heat of summer when cool-season grasses are stressed and dormant, as well as the dead of winter when the ground is frozen solid.
Soil Temperature and Frost Line Considerations
Before trenching, ensure the soil temperature is consistently above 40 degrees Fahrenheit. Trenching frozen or heavily saturated soil can damage existing root systems and complicate the laying of polyethylene or PVC pipes. For most northern climates, late April to early May is ideal, while southern climates can schedule installations as early as February. Trenches should be dug between 6 to 12 inches deep, depending on your local frost line and whether you are using rigid PVC or flexible poly tubing. Proper depth timing ensures that the pipes are protected from aeration core dethatching and minor landscaping shifts.
Equipment Selection and Cost Timing
Timing your purchase of smart controllers can also save money. Retailers often discount smart home landscaping gear during Earth Day sales in April and end-of-season clearances in October.
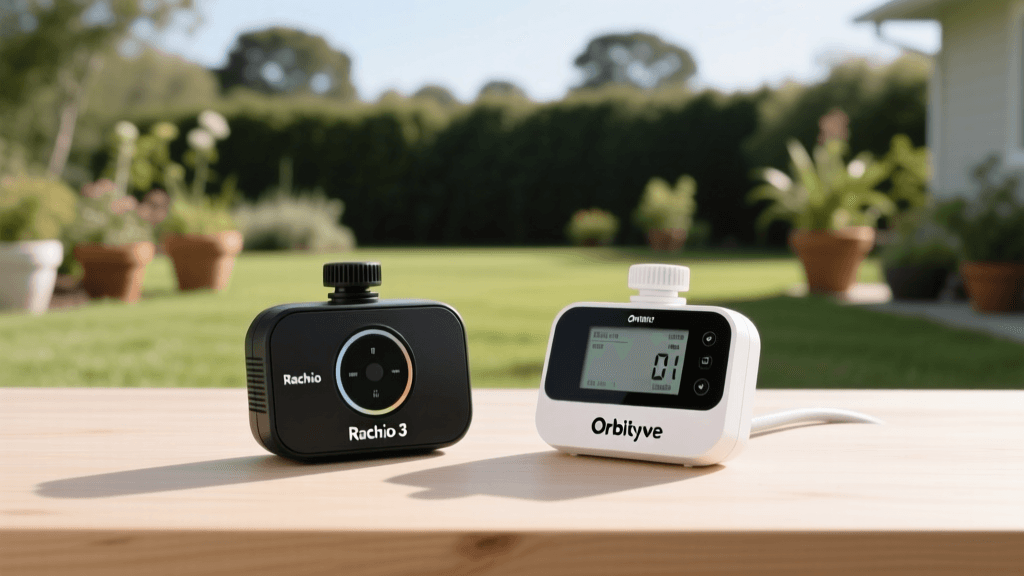
- Rachio 3 Smart Sprinkler Controller: Typically retails around $229. Best for deep integration with Alexa, Google Home, and Apple HomeKit ecosystems.
- Rain Bird ST8I-2.0 Smart Indoor WiFi Controller: Averages $105. Excellent for budget-conscious homeowners wanting reliable weather-based adjustments without a steep learning curve.
- Orbit B-hyve Smart Timer: Around $85. Ideal for drip irrigation, raised bed gardens, and hose-end setups.
Professional installation for an average 5,000-square-foot yard ranges from $2,500 to $4,500, depending on the number of zones, soil composition, and the complexity of the smart valve manifold.
When to Schedule Daily Watering Cycles
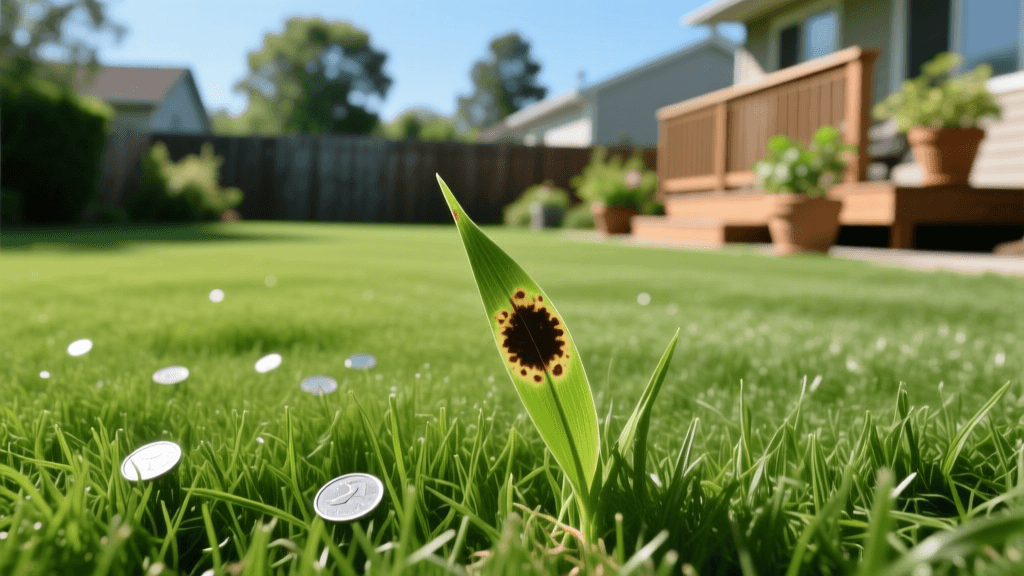
The most critical timing element of your smart system is the daily watering window. You should always schedule your irrigation cycles to run between 4:00 AM and 8:00 AM. Watering during this early morning window minimizes evaporation losses caused by the sun and reduces the impact of afternoon winds, which can distort spray patterns and waste water. Furthermore, watering early allows grass blades to dry out during the day, significantly reducing the risk of fungal diseases like brown patch and dollar spot.
The Cycle and Soak Method
Smart controllers excel at the 'cycle and soak' method. Instead of watering a zone for 30 continuous minutes—which leads to runoff on clay soils or sloped terrain—program your smart controller to water for three 10-minute intervals, spaced an hour apart. This timing allows the water to penetrate deeply into the root zone rather than pooling on the surface and evaporating.
Seasonal Smart Irrigation Timing Chart
Your smart controller should automatically adjust to seasonal Evapotranspiration (ET) rates, but you must verify that the baseline schedules are correctly programmed for your specific microclimate. The United States Geological Survey (USGS) notes that landscape irrigation accounts for massive residential water consumption, making seasonal adjustments vital for municipal conservation efforts.
| Season | Watering Window | Baseline Frequency | Smart Controller Feature to Enable |
|---|---|---|---|
| Early Spring | 5:00 AM - 7:00 AM | 1 to 2 days per week | Soil Moisture Sensor Delay |
| Peak Summer | 4:00 AM - 6:00 AM | 3 to 4 days per week | Weather Intelligence (ET Adjustments) |
| Early Fall | 5:00 AM - 7:00 AM | 2 days per week | Seasonal Shift Reduction |
| Winter | N/A (System Off) | N/A | Freeze Sensor Override |
When to Integrate Soil Moisture Sensors
While weather-based smart controllers use local meteorological data to predict watering needs, soil moisture sensors provide ground-truth data. You should install wireless soil moisture sensors in both the sunniest and shadiest zones of your lawn during the initial system setup. Place the sensor probes at a depth of 3 to 4 inches, directly within the primary root zone of your turfgrass.
Set your smart controller to skip scheduled watering cycles if the soil volumetric water content (VWC) exceeds 25 percent for heavy clay soils, or 15 percent for fast-draining sandy soils. Timing the integration of these sensors during the rainy spring season ensures your system learns the baseline drainage rate of your yard before the high-demand summer months arrive.
When to Winterize and Blow Out the System
Perhaps the most time-sensitive maintenance task for your smart irrigation system is winterization. If water remains in the PVC pipes, valves, or sprinkler heads when temperatures drop below freezing, the expanding ice will shatter the components, leading to thousands of dollars in spring repairs.
According to guidelines published by the Colorado State University Extension, the irrigation blow-out process must be completed before the first hard freeze. In most northern and midwestern zones, this timing falls strictly between mid-October and mid-November.
Timing the Compressed Air Blow-Out
Winterizing requires forcing compressed air through the irrigation lines to expel residual water. This is not a DIY task for most homeowners, as improper timing and pressure can cause severe injury or destroy the smart valves.
- Air Compressor Requirements: You need a commercial compressor capable of delivering 20 to 25 cubic feet per minute (CFM). Standard home garage compressors usually only provide 2 to 5 CFM and are entirely insufficient for clearing mainlines.
- Pressure Timing: The air pressure must never exceed 50 PSI for polyethylene pipe systems, or 80 PSI for rigid PVC systems. Exceeding these limits can cause pipes to explode underground or shatter the smart control valves.
- Zone Timing: Run each zone for 2 to 3 minutes, or until only a fine mist is emitted from the sprinkler heads. Running the air too long will generate friction heat, melting the plastic internal components of your smart valves and spray heads.
Hiring a licensed irrigation professional for the annual blow-out typically costs between $75 and $150, a small price to pay compared to the cost of replacing shattered smart manifolds and backflow preventers.
When to Perform Spring Start-Up
Just as critical as winterization is the timing of your spring start-up. Do not turn your smart irrigation system back on simply because the calendar says April. You must wait until the soil has completely thawed and nighttime temperatures are consistently above freezing. Turning the system on too early can trap water in the lines, which will freeze at night and crack the brass backflow preventer.
Step-by-Step Spring Timing
- Week 1: Slowly open the main water valve to a quarter-turn. This allows water to fill the pipes gradually, preventing a destructive water hammer effect that can blow apart your smart valve diaphragms and pressure sensors.
- Week 2: Manually test each zone via your smart controller app. Check for sunken sprinkler heads, clogged nozzles, and misaligned spray patterns caused by winter frost heave and snowplow damage.
- Week 3: Update the Wi-Fi firmware on your smart controller and verify that the local weather station API is accurately syncing with your zone schedules before the first heatwave hits.
Conclusion
Mastering the timing of your smart irrigation system bridges the gap between outdoor landscaping and indoor smart home convenience. By carefully selecting the right season for installation, programming precise early-morning watering windows, utilizing cycle-and-soak methodologies, and strictly adhering to seasonal winterization and spring start-up schedules, you protect your financial investment and conserve vital water resources. A smart controller is only as intelligent as the timing parameters and seasonal maintenance routines you provide it. Take control of your landscape's schedule today, and enjoy a resilient, vibrant lawn year-round.