Lawn Care
Smart Lawn Design: Shapes and Borders for Easy Mowing
The Hidden Cost of Poor Lawn Design
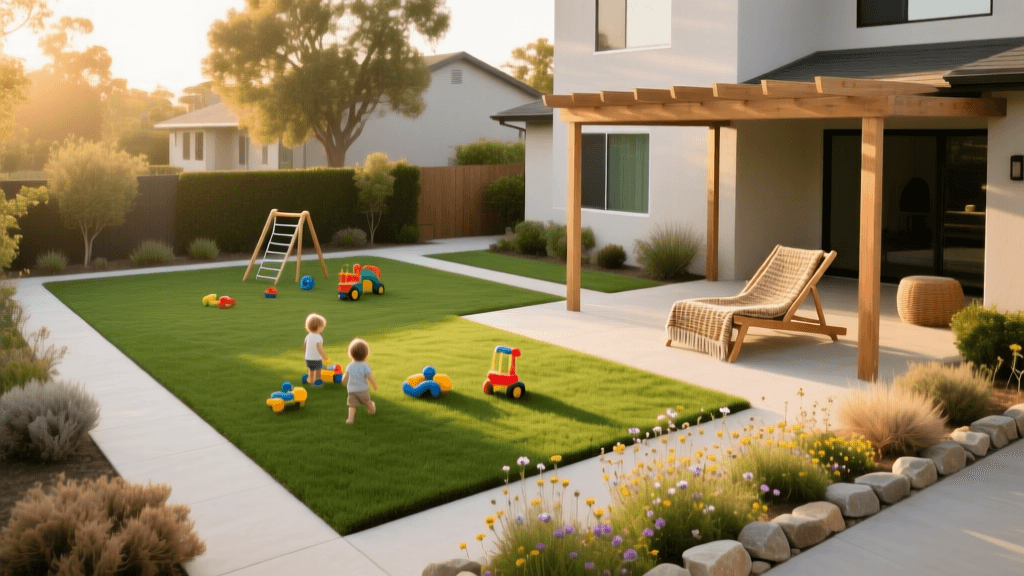
A beautifully manicured lawn is the pride of any homeowner, but the time spent maintaining it can quickly turn from a relaxing weekend hobby into a grueling chore. When we think about lawn care, we often focus on fertilization schedules, aeration, and weed control. However, the underlying geometry of your landscape plays a massive role in your weekly maintenance burden. Poorly designed lawn shapes, narrow grass corridors, and improperly edged planting beds can add hours of unnecessary 'weed whacking' and string trimming to your routine.
Every time you have to dismount your riding mower or maneuver a push mower into a tight, acute corner, you are wasting time, fuel, and equipment lifespan. Furthermore, aggressive turfgrasses like Kentucky Bluegrass or Bermuda grass will quickly invade poorly bordered flower beds, leading to endless hand-pulling sessions. By approaching your yard with a 'Design Ideas and Planning' mindset, you can fundamentally restructure your landscape to work with your equipment, not against it. According to the EPA's WaterSense program, thoughtful landscape planning not only reduces maintenance time but also promotes water efficiency by grouping plants with similar needs and minimizing impractical turf strips.
Core Principles of Efficient Lawn Shaping
The 'Right Angle' Rule
Standard rotary mowers have cutting decks that typically range from 21 inches for push mowers to 42 or 54 inches for riding tractors. These machines are designed to move in straight lines and broad, sweeping arcs. When your lawn features acute angles (corners sharper than 90 degrees), the mower deck cannot reach the very tip of the grass. This leaves you with two choices: perform a tedious multi-point turn to nibble away at the tip, or return later with a string trimmer. To eliminate this, design your lawn borders using 90-degree angles or broad, continuous curves. If a corner is necessary, round it off with a minimum radius of 3 feet to allow a riding mower to glide through without stopping.
Consolidating Turf and Eradicating Islands
Grass islands—small patches of turf surrounded by hardscapes, driveway extensions, or isolated tree rings—are the enemy of efficient mowing. Navigating a mower around a solitary oak tree's mulch ring requires slowing down, overlapping passes, and inevitably trimming the perimeter by hand. The University of Minnesota Extension recommends consolidating scattered turf areas into single, expansive zones. Instead of maintaining three separate small grass patches around your front yard trees, merge the tree rings into one large, sweeping, kidney-shaped planting bed. This reduces the total perimeter footage you must edge and creates a much more visually striking landscape design.
Designing Borders for Zero-Trim Maintenance
The ultimate goal of smart lawn planning is the 'zero-trim' landscape. This means designing your borders so that the mower's wheels can ride on a hard surface, allowing the deck to overhang the grass slightly and cut it flush against the edge. Achieving this requires installing the correct physical borders.
The Mowing Strip
A mowing strip is a flat, hardscape border installed flush with the soil grade. When laid correctly, one mower wheel rides on the strip while the deck cuts the grass perfectly flush, eliminating the need for a string trimmer. For a standard 21-inch push mower, a 12-inch wide strip of brick or pavers is sufficient. For larger riding mowers, an 18-inch to 24-inch wide strip provides a safer margin of error. Bullnose pavers, poured concrete, or flagstone set on a 4-inch compacted gravel base are ideal materials. Expect to spend between $4.00 and $8.00 per linear foot for professional installation, or roughly $2.50 per linear foot if you excavate and lay the pavers yourself.
Edging Materials Comparison Chart
Choosing the right edging material is critical for long-term maintenance. Below is a comparison of common landscape edging options based on cost, mower compatibility, and upkeep.
| Edging Type | Avg. Cost (Per Linear Ft) | Mower-Friendly? | Maintenance Level | Best Application |
|---|---|---|---|---|
| Concrete/Paver Mowing Strip | $4.00 - $8.00 | Yes (Zero Trim) | Low | Permanent beds, fences, patios |
| Spade-Cut Trench Edge | $0.50 - $1.00 (Labor) | No (Requires Trim) | High (Monthly recut) | Budget-friendly curves, natural look |
| Steel Landscape Edging | $3.00 - $5.00 | Somewhat | Medium | Tight curves, modern aesthetics |
| Plastic/Rubber Edging | $1.50 - $2.50 | No (Wheels slip) | High (Warps/heaves) | Temporary fixes, small garden plots |
Mastering Curves and Straight Lines
When planning your lawn's perimeter, you must choose between formal straight lines and informal sweeping curves. Both can be highly efficient if planned correctly.
For Straight Lines: Use a mason's string line and wooden stakes to map out your edges. Straight lines are incredibly fast to mow and provide a crisp, architectural feel to the landscape. However, they require precise installation. If a straight border wavers even slightly, it becomes glaringly obvious and forces you to slow down your mowing pace to avoid scalping the adjacent garden bed.
For Sweeping Curves: Never attempt to 'freehand' a curve with a shovel or spray paint. Instead, use a flexible garden hose to lay out the proposed border. Walk away and look at the hose from your kitchen window or the second story of your home. A well-designed curve should look like a segment of a massive circle, not a wavy, erratic line. Once you are satisfied with the hose placement, use a half-moon edging spade to cut along the inside edge. Curves are more forgiving than straight lines and naturally guide the eye through the landscape.
Transition Zones and Hardscape Integration
Where turf meets hardscape (like patios, retaining walls, or gravel paths), transition zones require special planning. Grass rhizomes will relentlessly seek out the moisture and warmth trapped beneath paved surfaces. To prevent turf from creeping under your patio pavers and lifting them over time, install a physical rhizome barrier. A 6-inch deep, heavy-duty steel or thick plastic barrier driven into the ground between the turf and the hardscape will save you hours of prying grass out of patio joints with a screwdriver.
Alternatively, consider a 'gravel trench' border. By excavating a 6-inch wide, 8-inch deep trench between the lawn and the planting bed, and filling it with 3/4-inch crushed angular gravel, you create a natural mowing strip that also acts as a French drain. The mower wheels can ride on the gravel, and the angular stones prevent grass stolons from crossing the gap. This is an exceptionally cost-effective solution, typically costing less than $1.00 per linear foot in materials.
'A well-designed lawn should work with your mower, not against it. If you are constantly hitting the brakes to navigate a corner, your landscape geometry needs a redesign.'
Step-by-Step Planning Your Lawn Redesign
Redesigning your lawn borders is a highly rewarding project that pays dividends in time saved for years to come. Follow this actionable timeline to execute your plan:
- Step 1: The Audit (Late Summer / Early Fall): Walk your property while mowing. Note every location where you have to stop, reverse, or return with a string trimmer. Mark these 'friction points' with landscape flags.
- Step 2: The Hose Test (Weekend Project): Lay out garden hoses to connect the flagged friction points into broad, sweeping curves or rigid straight lines. Live with the hose layout for a week to ensure it fits your aesthetic and functional needs.
- Step 3: Excavation and Bed Preparation (Early Spring): Once the ground thaws but before the heavy spring growth begins, use a half-moon spade to cut the new lines. Strip the sod from the new planting bed areas (which can be composted or relocated to patch bare spots elsewhere).
- Step 4: Hardscape Installation (Mid-Spring): Dig a 4-inch trench for your mowing strips. Lay down a base of crushed gravel, compact it with a hand tamper, and lay your pavers or pour your concrete flush with the surrounding soil grade.
- Step 5: Mulch and Plant (Late Spring): Fill the newly expanded beds with a 2-inch to 3-inch layer of hardwood mulch, keeping it an inch below the grade of your new mowing strip to prevent mulch from washing onto the turf during heavy rains.
Conclusion
Transitioning from a high-maintenance, patchwork lawn to a smartly designed, easily navigable landscape is one of the best investments you can make in your property. By eliminating acute angles, consolidating grass islands, and installing flush mowing strips, you reclaim your weekends and reduce the wear and tear on your expensive lawn equipment. Whether you opt for the formal elegance of straight brick borders or the natural flow of sweeping, trench-edged curves, planning your lawn's geometry is the ultimate lawn care hack.