
Planting Trees For String Light Guide Wires & Timers 2026
The Intersection of Landscape Architecture and Ambient Lighting
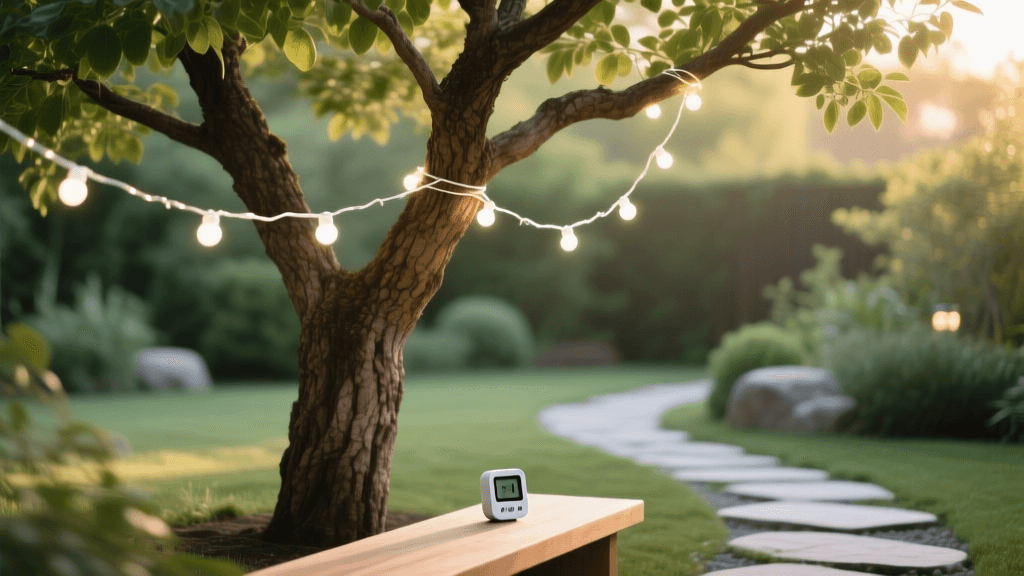
As outdoor living spaces continue to evolve in 2026, the seamless integration of landscape architecture and ambient lighting has become a top priority for homeowners and landscape designers alike. One of the most elegant ways to illuminate a patio, dining area, or garden lounge is by suspending commercial-grade string lights over the space. However, without a pergola, roofline, or pre-existing wooden posts, you need sturdy anchor points. This is where strategic tree selection and planting come into play. By planting specific tree species to act as living anchor points for guide wires, you can create a breathtaking, energy-efficient canopy of light that matures and improves alongside your garden.
In this comprehensive 2026 guide, we will explore how to select the right trees for guide wire tension, how to plant and space them for optimal lighting geometry, and how to install the hardware and smart timers without harming the tree's delicate biology.
Why Tree Selection Matters for Guide Wire Lighting
Not all trees are created equal when it comes to supporting the physical tension of a guide wire and the weight of outdoor lighting. A standard 48-foot run of commercial LED string lights, complete with a stainless steel guide wire, can exert significant lateral pull on an anchor point, especially during high winds or when snow and ice accumulate on the cables in winter. If you select a tree with brittle wood or a shallow root system, the tension can split the trunk, uproot the tree, or cause severe bark damage.
You must avoid fast-growing but structurally weak species like the Silver Maple, Bradford Pear, or Willow. Instead, you need slow-to-moderate growing trees with dense, flexible wood, deep taproots, and a mature height that naturally positions the canopy between 10 and 20 feet above the ground. This height is the sweet spot for outdoor string lights, providing enough clearance for tall guests and umbrellas while keeping the light source intimate and warm.
Top Tree Species for Anchoring String Lights in 2026
When planning your garden-to-table outdoor dining space, consider these four structurally sound and aesthetically pleasing tree species that thrive in various North American hardiness zones and serve as exceptional living light posts.
| Tree Species | Wood Strength | Mature Height | Growth Rate | Guide Wire Suitability |
|---|---|---|---|---|
| Serviceberry (Amelanchier) | High | 15-25 ft | Medium | Excellent (Multi-stem trunks distribute tension well) |
| Crape Myrtle (Lagerstroemia) | Very High | 15-30 ft | Medium-Fast | Excellent (Smooth bark requires specialized wide straps) |
| Eastern Redbud (Cercis canadensis) | Moderate-High | 20-30 ft | Medium | Good (Best for shorter, lighter guide wire runs) |
| Japanese Maple (Acer palmatum) | Moderate | 15-25 ft | Slow | Fair (Use only for low-tension, short-span decorative lighting) |
Planting and Spacing Guidelines for Lighting Canopies
Proper planting technique is critical to ensure your trees develop the root mass necessary to withstand the lateral pull of guide wires. According to the University of Minnesota Extension, the most common planting error is burying the root flare too deeply, which leads to stem girdling roots and structural instability. When planting your anchor trees, always ensure the root flare—the point where the trunk widens at the base—is fully visible and sits slightly above the surrounding soil grade.
Calculating Spacing for Guide Wires
The distance between your trees will dictate the hardware you need and the amount of tension required. For a standard residential patio, spacing your anchor trees between 12 and 20 feet apart is ideal. If you are planting new trees specifically for a lighting project, map out your patio furniture first. A zig-zag pattern using four trees spaced 15 feet apart creates a beautiful, overlapping canopy of light that eliminates dark spots. Remember that guide wires will naturally sag over time; spacing trees closer than 10 feet can make the lights feel overwhelming and claustrophobic, while spacing them beyond 25 feet requires heavy-duty turnbuckles and thicker aircraft cables to prevent excessive sagging.
Step-by-Step: Installing Guide Wires on Trees
Once your trees are established (it is highly recommended to wait at least one full growing season after planting before applying high-tension guide wires to allow the root system to anchor), you can begin the installation process. Never use nails, screws, or eye bolts drilled directly into the trunk. This damages the cambium layer and invites fungal pathogens and pests. Instead, use the following tree-safe hardware method.
Required Hardware for 2026 Installations
- Tree-Saver Straps: UV-resistant, heavy-duty nylon or rubber straps (minimum 2 inches wide) to distribute the load and protect the bark.
- Stainless Steel Aircraft Cable: 1/16-inch or 3/32-inch galvanized or stainless steel wire rope. Do not use standard rope or twine, as it will degrade and snap.
- Turnbuckles: Stainless steel hook-and-eye turnbuckles to apply and adjust tension.
- Carabiners and Snap Hooks: For connecting the cable to the tree straps and turnbuckles.
- Wire Rope Clips: To create secure loops at the ends of the aircraft cable.
Installation Process
First, wrap the tree-saver strap around the trunk at your desired height (typically 8 to 10 feet). Thread the D-ring end through the loop and pull it tight against the bark. Next, attach a snap hook to the D-ring, followed by your turnbuckle. Measure and cut your stainless steel aircraft cable, leaving an extra 12 inches on each end to form loops using the wire rope clips. Attach the cable to the turnbuckle on the first tree, run it to the second tree's strap, and secure it. Finally, use the turnbuckle to slowly apply tension. The cable should be taut enough to support the string lights without excessive drooping, but not so tight that it bends the tree trunk or pulls the tree out of plumb.
Integrating Smart Timers for Energy Efficiency
In 2026, leaving outdoor lights on a manual switch or a basic mechanical dial timer is a thing of the past. Smart home integration allows you to automate your landscape lighting for both security and energy efficiency. The U.S. Department of Energy heavily advocates for the use of advanced controls and LED technology to minimize outdoor light pollution and reduce residential energy consumption.
Choosing the Right Smart Timer and Plug
For most residential string light setups, the lights are plugged into an outdoor-rated GFCI outlet. To automate this, invest in a Matter-compatible outdoor smart plug. The Matter protocol, now standard in 2026 smart home ecosystems, ensures that your outdoor plug will communicate seamlessly with Apple HomeKit, Google Home, or Amazon Alexa without relying on cloud-based servers that can fail during internet outages.
Configuring Astronomical and Geofencing Timers
Instead of setting a static timer (e.g., turning on at 6:00 PM year-round), configure your smart plug's app to use an astronomical clock. This feature uses your home's GPS coordinates to automatically turn the string lights on exactly 15 minutes before local sunset and turn them off at your desired bedtime. Additionally, you can set up geofencing routines. When the GPS on your smartphone detects that you have left your home property, the smart plug automatically cuts power to the outdoor string lights, ensuring you never waste electricity when the house is empty.
Tree Care and Maintenance Around Electrical Fixtures
Trees are living, growing organisms, and your lighting installation must adapt to their growth over time. The Arbor Day Foundation emphasizes that as a tree's trunk expands in diameter (secondary growth), any fixed strap or cable left unattended will eventually girdle the tree, cutting off the flow of nutrients and water, which will ultimately kill the tree.
Annual Hardware Adjustments
You must inspect your guide wire hardware at least twice a year—once in early spring and once in late autumn. Loosen the tree-saver straps and reposition them slightly higher or lower on the trunk to prevent bark abrasion. If the strap is becoming tight against the expanding trunk, replace it with a longer strap. Never allow a wire or strap to embed itself into the wood.
Pruning for Light Clearance and Safety
As your Serviceberry or Crape Myrtle matures, its canopy will grow outward and downward. You will need to perform selective pruning to maintain a clear corridor for your string lights. Prune branches that rub against the guide wire or the electrical cord of the lights, as wind-induced friction can strip the wire's protective casing and create a severe shock or fire hazard. Always use sterilized bypass pruners to make clean cuts just outside the branch collar, promoting rapid healing and preventing disease. By combining thoughtful tree selection, responsible planting, and modern smart-home automation, your outdoor string light canopy will remain a safe, stunning, and sustainable focal point of your garden for decades to come.

