When to Winterize Smart Irrigation and Outdoor Plumbing
The Critical Timing of Fall Winterization
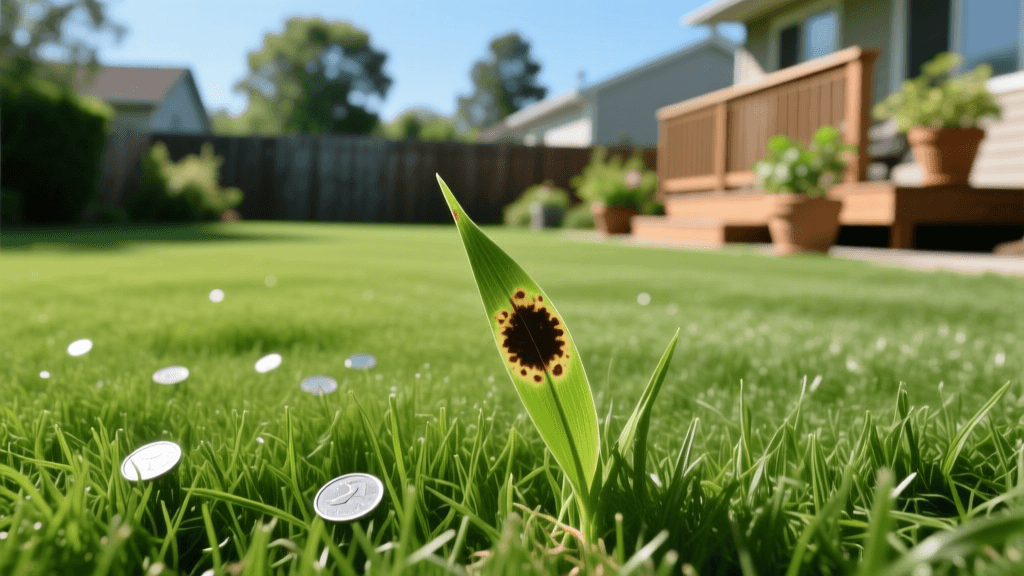
As the vibrant colors of autumn signal the approach of winter, homeowners must shift their focus from landscape growth to landscape preservation. Bridging the gap between indoor comfort and outdoor maintenance requires a keen understanding of seasonal timing. Nowhere is this more critical than in the winterization of smart irrigation systems and outdoor plumbing. Water expands by approximately 9% when it freezes, generating thousands of pounds of pressure that can easily rupture PVC pipes, destroy backflow preventers, and crack brass valves. The cost to repair a burst underground irrigation line or a flooded basement caused by a failed outdoor hose bibb can easily exceed $1,000, making proactive timing an essential part of annual home maintenance.
This comprehensive when-to timing guide will walk you through the exact temperature thresholds, seasonal schedules, and technical specifications required to protect your outdoor water features, smart home irrigation integrations, and garden-to-table raised beds before the first hard freeze.
The Golden Rule: Temperature Thresholds and Timing
The most common mistake homeowners make is waiting until the first snowfall to winterize their outdoor water systems. By then, the ground has often already begun to freeze, and microscopic ice crystals may have already formed in shallow lateral lines. The golden rule for timing your winterization is based on consistent nighttime temperature drops.
When to Start the Process
- The 40-Degree Trigger: Begin your winterization process when nighttime temperatures are consistently dipping below 40°F (4°C) for several consecutive days, even if daytime highs remain in the 60s.
- Regional Timing: In northern climates (USDA Zones 3-5), this typically falls between late September and mid-October. In transitional zones (Zones 6-7), aim for late October to mid-November. Southern climates may not require full blowouts, but manual draining should occur in December.
- Time of Day: Always perform manual draining or compressed air blowouts in the mid-to-late morning. This allows any residual water that surfaces during the process to evaporate before evening temperatures drop below freezing.
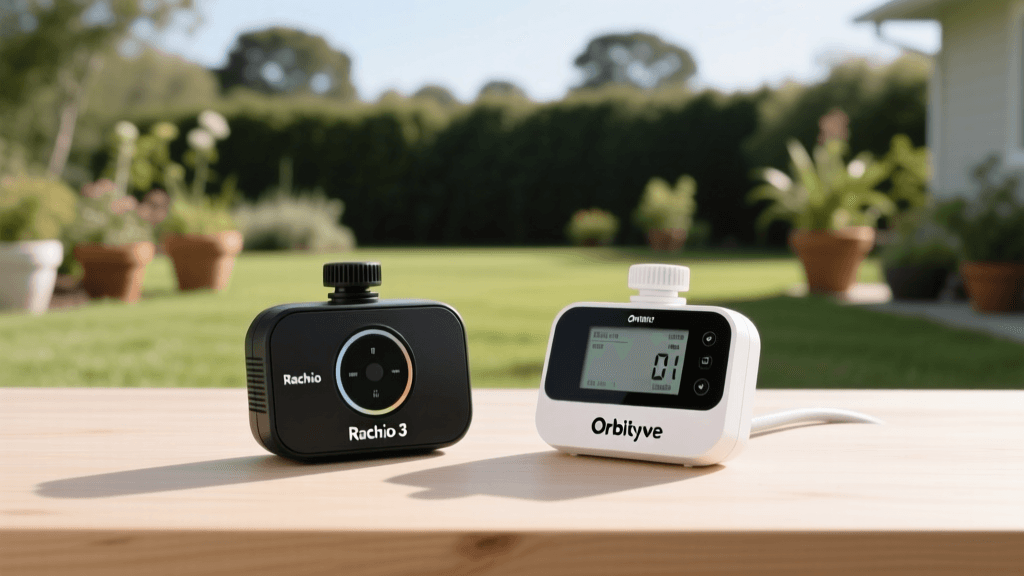
Timing Your Smart Irrigation Shutdown
Modern smart irrigation controllers, such as those utilizing weather-based evapotranspiration (ET) data, are incredible tools for water conservation. According to the EPA WaterSense program, smart controllers can save the average home nearly 7,600 gallons of water annually. However, these devices require specific seasonal timing adjustments to transition from active watering to winter dormancy.
Step 1: Early Fall Audit (4-6 Weeks Before First Freeze)
Before shutting down the system, use your smart controller's app to run a diagnostic test. Cycle through every zone to identify leaky sprinkler heads, misaligned rotors, or sunken spray heads. Repairing these issues now ensures your system is ready for immediate, efficient spring startup. The EPA irrigation maintenance guidelines strongly recommend seasonal audits to maintain peak efficiency and prevent water waste.
Step 2: Transitioning to Standby Mode (1 Week Before Freeze)
Do not simply unplug your smart controller. Unplugging erases your customized zone schedules, soil type data, and microclimate adjustments. Instead, access your controller's settings (via app or physical dial) and switch the system to 'Standby,' 'Winter Mode,' or 'Rain Delay' (set to the maximum allowable duration). This preserves your data while preventing the system from accidentally triggering during an unseasonably warm winter spell.
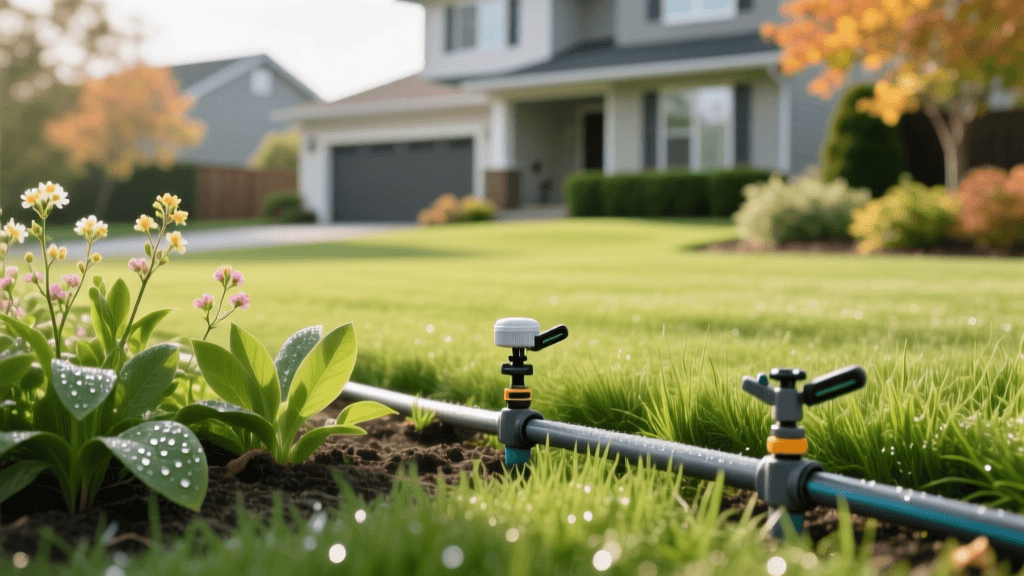
The Blowout Process: Technical Specs and Timing
For regions that experience deep ground freezes, simply turning off the water is insufficient. You must evacuate the water from the lateral lines using compressed air. The timing of this blowout is critical, as doing it too early can stress your lawn during a dry autumn, while doing it too late risks frozen pipes.
Understanding Air Compressor Requirements
Many DIYers attempt to use a standard home garage air compressor (typically 2-5 CFM) to blow out their sprinklers. This is a recipe for failure and potential pipe damage. To properly clear water from irrigation lines, volume (CFM) is far more important than pressure (PSI).
- Spray Heads: Require 20-30 CFM at a maximum of 50 PSI.
- Rotor Heads: Require 50-80 CFM at a maximum of 65 PSI.
- Impact Heads: Require 80-100 CFM at a maximum of 65 PSI.
Warning: Never exceed 80 PSI during a blowout. High pressure can melt PVC pipes through friction heat or shatter sprinkler heads. Always use a pressure-regulating valve at the compressor.
Draining the Backflow Preventer
The backflow preventer (RPZ or PVB) is the most expensive component of your irrigation system and the most vulnerable to freeze damage. Once the main water supply is shut off, open the test cocks and ball valves to a 45-degree angle. This prevents water from pooling inside the brass housing, which will inevitably crack if it freezes.
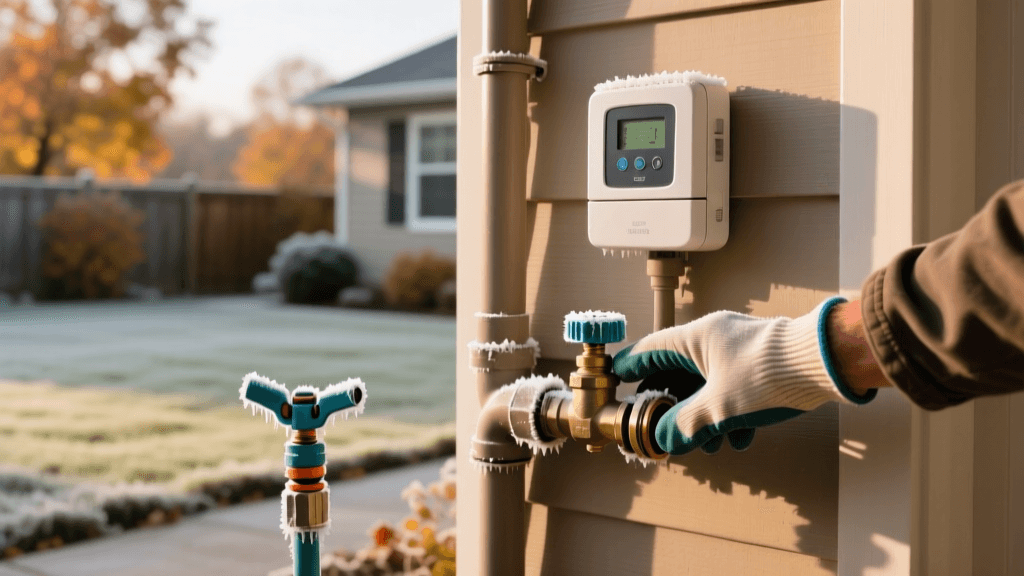
Outdoor Plumbing and Frost-Free Faucets
Beyond the irrigation system, your home's exterior plumbing requires strict timing for winterization. Many modern homes are equipped with 'frost-free' sillcocks (hose bibbs). While the valve mechanism sits deep inside the heated envelope of your home, the exterior pipe still holds water if improperly managed.
The 'No-Hose' Rule
The most critical timing rule for outdoor faucets is to disconnect all garden hoses before the first hard freeze. If a hose is left attached to a frost-free sillcock, it traps water inside the weep hole and the valve seat. When this trapped water freezes, it expands backward into the house, bursting the pipe inside your wall. The U.S. Department of Energy emphasizes that proper weatherization and exterior pipe maintenance are vital to preventing catastrophic indoor water damage during winter months.
For older, non-frost-free faucets, you must locate the interior shut-off valve, turn it off, open the exterior faucet to drain the line, and install an insulated foam faucet cover before temperatures drop below 32°F.
Timing the Winterization of Garden-to-Table Raised Beds
For those who practice garden-to-table living, the transition from fall harvest to winter soil prep requires precise timing to ensure a bountiful crop the following year.
- Post-Harvest Cleanup (Late October): Remove all spent tomato, pepper, and squash plants. Do not compost diseased foliage; bag it and send it to the municipal waste facility to prevent overwintering blights.
- Planting Cover Crops (4 Weeks Before First Frost): Sow winter rye or crimson clover in your raised beds. Timing is crucial here; the seeds need enough warmth to germinate and establish a root system before the ground freezes solid.
- Applying Compost (Late November): After the cover crop is established or the beds are cleared, apply a 2-inch layer of organic compost. Winter rains and snowmelt will slowly leach the nutrients into the soil profile, perfectly timing the nutrient release for early spring planting.
Cost and Method Comparison Chart
Choosing the right winterization method depends on your system's design, your budget, and your comfort level with DIY plumbing. Below is a comparison of the most common methods.
| Method | Best For | Estimated Cost | Time Required | Risk Level |
|---|---|---|---|---|
| Manual Drain Valves | Systems built with slope and manual valves at low points. | $0 (if installed) | 1 - 2 Hours | Medium (human error in forgetting a valve) |
| Auto Drain Valves | Systems with automatic drain fittings on lateral lines. | $0 (if installed) | 30 Minutes | High (debris can block auto-drains, leaving water) |
| DIY Air Blowout | Handy homeowners with access to a tow-behind 185 CFM compressor. | $75 - $150 (rental) | 2 - 3 Hours | High (risk of pipe damage if PSI is unregulated) |
| Professional Blowout | All systems, especially complex layouts and RPZ backflows. | $50 - $150 (service) | 45 - 90 Mins | Low (insured professionals with correct equipment) |
When to Reactivate in Spring
Knowing when to winterize is only half the battle; knowing when to safely reactivate your system in the spring is equally important. Turning your irrigation back on too early can lead to frozen valves if a late spring cold snap hits. Wait until the soil temperature at a depth of 4 inches consistently reads 50°F or higher. In most northern climates, this aligns with the blooming of Forsythia bushes and the return of earthworms to the topsoil. Always open the main water valve slowly—taking a full two minutes to turn it on—to prevent water hammer, which can instantly shatter winter-weakened PVC joints.
By adhering to these precise timing guidelines, you protect your home's infrastructure, conserve vital water resources, and ensure your outdoor living spaces and gardens are primed for a vibrant, trouble-free spring.