When to Winterize Your Smart Irrigation and Outdoor Plumbing
The Critical Window: Identifying the Right Time to Winterize
Transitioning your home and garden from the bustling harvest season of late autumn into the quiet dormancy of winter requires precise timing. For homeowners who have invested in smart home landscaping, outdoor kitchens, and advanced irrigation, knowing exactly when to winterize is not just a matter of convenience—it is a critical step in protecting thousands of dollars of equipment. Winterizing too early can leave your lawn and garden-to-table crops parched during unseasonably warm autumn spells, while waiting too long risks catastrophic freeze damage to your smart valves, PVC pipes, and outdoor plumbing.
The golden rule for winterization timing is to monitor both nighttime air temperatures and soil temperatures. You should begin your winterization process when nighttime temperatures consistently drop below 40°F (4°C) and before the first hard freeze (28°F or -2°C) occurs. According to the USDA Plant Hardiness Zone Map, the exact calendar date for this temperature shift varies wildly depending on your region, ranging from late September in northern climates to late November in transitional zones. Relying on a calendar date is a common mistake; instead, rely on real-time weather data and soil temperature probes.
Timing the Smart Irrigation System Blowout
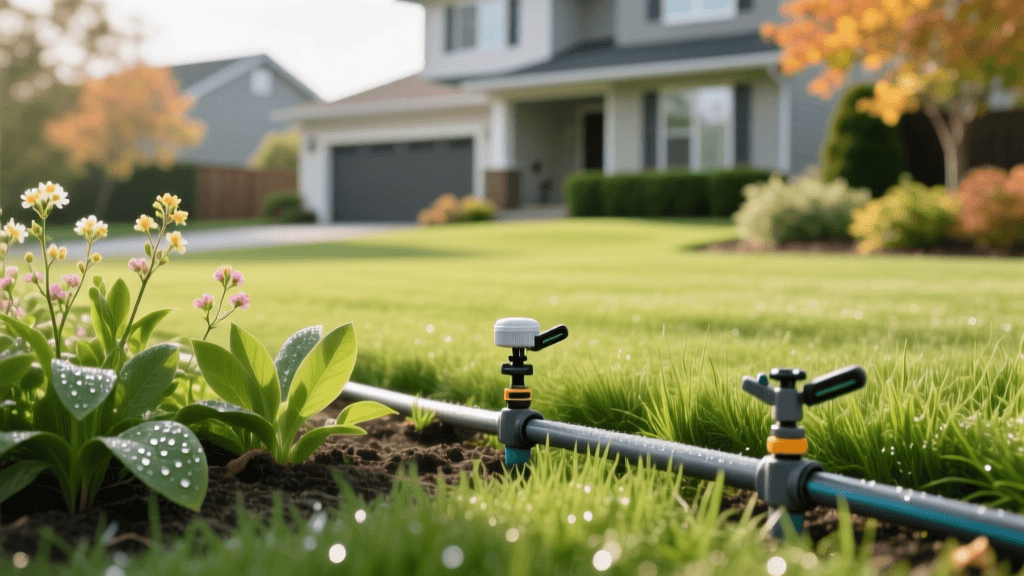
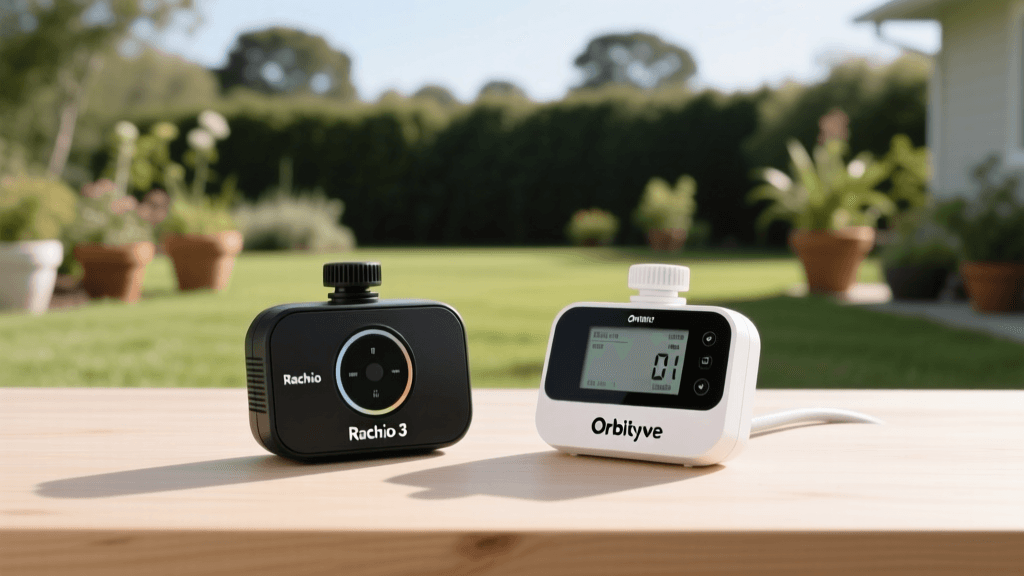
Smart irrigation controllers from brands like Rachio, Rain Bird, and B-hyve are fantastic for optimizing summer water use, but they cannot protect your physical infrastructure from expanding ice. The Colorado State University Extension strongly recommends using the compressed air blowout method to evacuate water from your irrigation lines before the ground freezes solid. The timing for this blowout should occur when daytime temperatures are still above 50°F, allowing you to work comfortably outdoors while ensuring all residual water is cleared before nighttime drops.
When preparing for the blowout, you must first locate your main irrigation shut-off valve, which is typically housed in a basement, crawlspace, or an insulated outdoor valve box. Shut off the water supply to the irrigation system entirely. Next, you will need to manually activate each zone using your smart controller's test mode or manual override feature. This ensures that the solenoid valves are open, allowing air to push the water out of the sprinkler heads and drip emitters.
Compressor Requirements for DIY Blowouts
If you are timing a DIY blowout, you must ensure you have the correct equipment. A standard household pancake compressor will not provide the necessary volume of air to clear the lines effectively, which can leave water trapped in low-lying pipes. Here are the specific requirements for a safe and effective blowout:
- CFM (Cubic Feet per Minute): You need a compressor that delivers between 10 and 25 CFM at 50 PSI. Rotary screw compressors or large tow-behind gas compressors are usually required.
- PSI (Pounds per Square Inch): Never exceed 50 PSI for polyethylene pipe systems or 80 PSI for PVC pipe systems. High pressure can shatter pipes and destroy smart valve diaphragms.
- Connection Hose: Use a heavy-duty, reinforced air hose with a quick-connect fitting that matches your system's blowout port.
Protecting Outdoor Plumbing and Garden-to-Table Kitchens
Outdoor living spaces have evolved far beyond a simple patio grill. Today's garden-to-table enthusiasts often feature outdoor kitchens with sinks, ice makers, and potting stations. The timing for winterizing these features aligns perfectly with your irrigation blowout, usually in mid-to-late autumn. Standard frost-free hose bibbs (spigots) are designed to drain water back into the heated portion of your home, but they only work if the hose is completely disconnected. Leaving a hose attached traps water in the bibb, leading to frozen and burst pipes inside your exterior walls.
For outdoor kitchens and garden sinks, the timing for winterization is critical. You must shut off the dedicated interior water supply lines that feed these outdoor fixtures. Once the interior valve is closed, open the outdoor faucet to drain the remaining water. If your outdoor kitchen includes an ice maker or a refrigerator, the water line must be blown out or drained, and the appliance should be cleaned and unplugged to prevent mold growth and frozen water lines. Additionally, drain and store any flexible hoses used for garden-to-table washing stations indoors, as UV exposure and freezing temperatures will degrade the rubber washers and cause cracking.
Cost and Equipment Breakdown: DIY vs. Professional
Deciding whether to time a DIY weekend project or hire a professional depends on your equipment access and the complexity of your smart landscape. Below is a comparison of the costs and timing requirements for both approaches.
| Winterization Method | Estimated Cost | Time Required | Equipment Needed |
|---|---|---|---|
| DIY Blowout (Rented Compressor) | $75 - $150 | 3 - 5 Hours | Tow-behind compressor rental, heavy-duty air hose, safety goggles, ear protection |
| Professional Irrigation Blowout | $100 - $250 | 1 - 2 Hours | None (Pros bring commercial-grade truck-mounted compressors and liability insurance) |
| Manual Drain Valve Method | $0 | 1 - 2 Hours | Only applicable if your system was installed with automatic or manual drain valves at all low points |
While the DIY route saves money on labor, renting a commercial-grade compressor can be logistically difficult and physically demanding. If your smart irrigation system features complex drip zones for raised garden beds, hiring a professional ensures that the delicate emitter lines are cleared without exceeding the low PSI limits of the drip tubing.
Smart Home Automation for Seasonal Shifts
One of the greatest advantages of modern landscaping is the ability to integrate your outdoor systems with your smart home hub. While a smart controller cannot physically blow out your pipes, it can automate the seasonal shutdown process to prevent accidental watering during late autumn warm spells. Platforms like IFTTT (If This Then That) or native smart home ecosystems like Apple HomeKit and Amazon Alexa allow you to create automated triggers based on local weather APIs.
For example, you can program a routine that automatically switches your Rachio or B-hyve controller to 'Standby' or 'Rain Delay' mode the moment your local weather station reports three consecutive nights below 40°F. Furthermore, smart water shut-off valves, such as those made by Moen or Phyn, can be integrated into your main water line. If a late-season freeze causes a pipe to burst in your outdoor kitchen or irrigation manifold, these smart valves detect the abnormal water flow and instantly shut off the main supply, saving your home from severe water damage.
The EPA WaterSense program notes that outdoor water use accounts for nearly 30% of total household water consumption in the United States. Properly timing the shutdown of these systems not only prevents structural damage but also ensures that you are not wasting thousands of gallons of water due to broken, freeze-damaged valves leaking silently into your winter lawn.
Frequently Asked Questions About Winterization Timing
What if I miss the first frost and the ground is already frozen?
If you miss the window and a hard freeze has already occurred, do not attempt to run a blowout immediately if the sprinkler heads are frozen shut. Wait for a brief afternoon thaw to ensure the heads can pop up and release the water. If the pipes have already burst, you will need to wait until spring to excavate and repair the damaged PVC or polyethylene lines before repressurizing the system.
Do I need to winterize drip irrigation for my raised garden beds?
Yes, drip irrigation lines are highly susceptible to freeze damage. While the tubing itself is flexible, the water trapped inside the emitters and micro-sprayers will expand and crack the plastic housings. Timing the blowout for drip zones requires extreme care; you must use a pressure regulator to ensure the air pressure does not exceed 25 PSI, which is the maximum rating for most drip components.
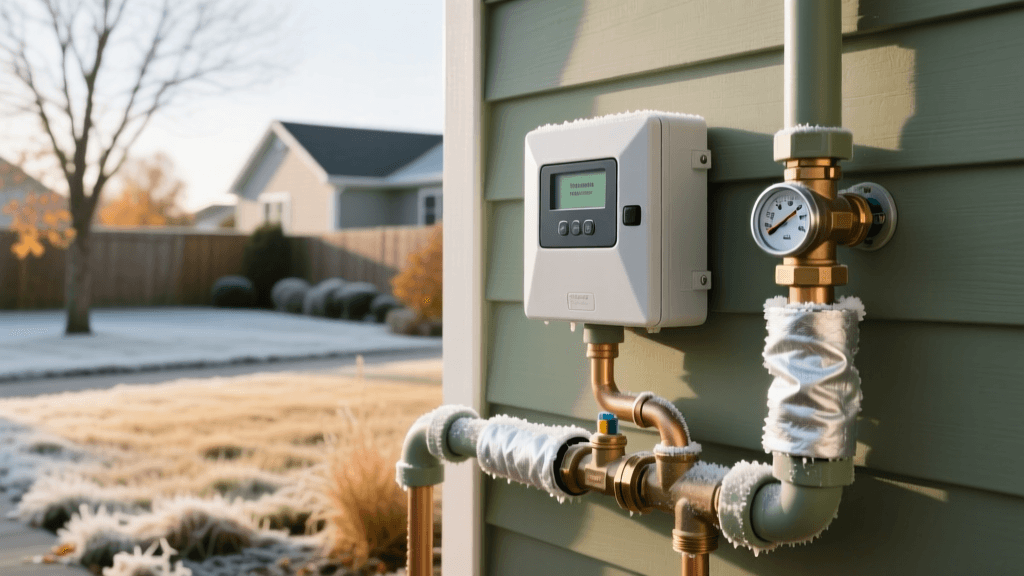
When should I cover my outdoor smart valves and backflow preventers?
Backflow preventers and above-ground smart valve manifolds should be insulated and covered immediately after the blowout process is complete. Use specialized insulated foam covers or wrap the components in foam insulation tape and cover them with a waterproof plastic shell. Do this on a dry day in late autumn to ensure no moisture is trapped inside the insulation, which could freeze against the brass and plastic fittings.