When to Winterize Smart Sprinklers and Outdoor Pipes
Bridging Smart Home Tech and Seasonal Landscape Care
Bridging the gap between indoor smart home ecosystems and outdoor landscape maintenance requires a keen understanding of seasonal timing. While your smart thermostat knows exactly when to lower the indoor temperature as winter approaches, your smart irrigation system relies on you to initiate the winterization process. Failing to properly time the shutdown of your smart sprinklers, outdoor pipes, and backflow preventers can lead to catastrophic freeze damage. A cracked PVC mainline or a shattered brass backflow preventer can easily cost upwards of $1,500 to repair, completely erasing the water savings you achieved during the summer.
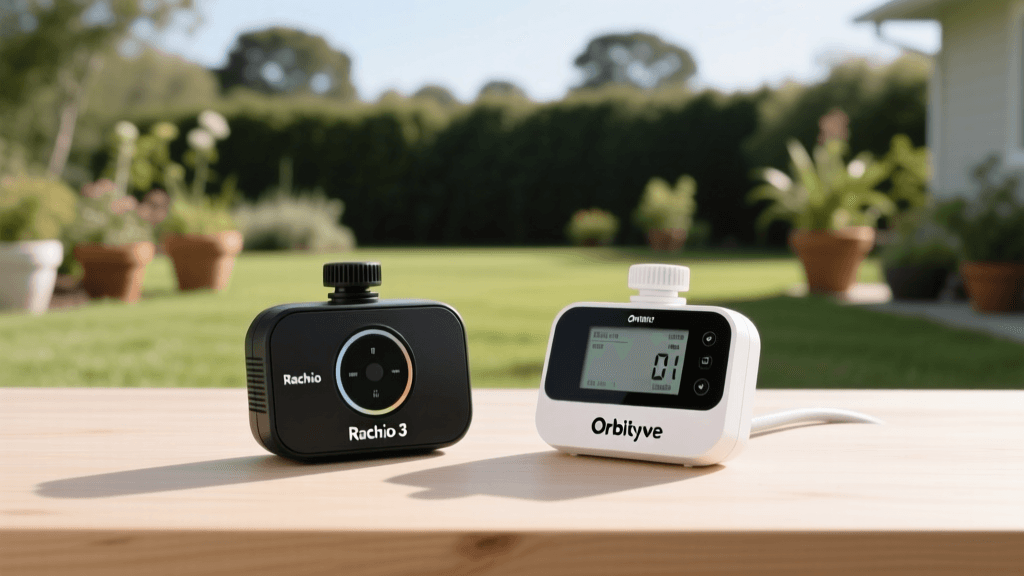
According to the EPA WaterSense program, smart irrigation controllers can save the average home nearly 7,600 gallons of water annually. However, these sophisticated devices—such as the Rachio 3, Orbit B-hyve, and Rain Bird ST8I-2.0—must be properly prepared for dormancy. This comprehensive when-to timing guide will walk you through the exact soil temperatures, regional windows, and step-by-step procedures required to winterize your smart irrigation system and outdoor plumbing.
The Golden Rule: Soil Temperature vs. Air Temperature
Many homeowners make the critical mistake of waiting until the first frost to winterize their irrigation systems. However, the air temperature dropping to 32°F is not your primary cue. According to the Old Farmer's Almanac Frost Date Calculator, the first frost date is merely an average historical marker and can fluctuate wildly year by year. The true danger lies in soil temperature.
When the ground freezes, any residual water left in shallow underground PVC pipes, polyethylene tubing, or valve boxes will expand. Water expands by approximately 9% when it freezes, generating thousands of pounds of pressure per square inch—more than enough to rupture Schedule 40 PVC pipes and crack expensive smart flow sensors. You must initiate the winterization process when nighttime air temperatures consistently dip below 40°F, but before the ground experiences a hard freeze (typically defined as 28°F or lower for several consecutive hours). Monitoring a localized soil temperature probe or checking your local university extension's agricultural weather dashboard is the most accurate way to time your shutdown.
Regional Timing Guide: When to Pull the Plug
Timing varies drastically depending on your USDA Hardiness Zone and regional microclimates. Use the table below as a baseline for scheduling your smart irrigation shutdown and pipe blow-out.
| Region | Typical Shutdown Window | Soil Temp Trigger | Primary Risk Factor |
|---|---|---|---|
| Northeast & New England | Early to Mid-October | Below 45°F | Early Nor'easters and rapid deep freezes |
| Midwest & Great Lakes | Mid to Late October | Below 45°F | Prolonged sub-zero wind chills freezing topsoil |
| Mountain West | Late September to Early October | Below 50°F | High altitude temperature swings and early snow |
| Pacific Northwest | November (or as needed) | Below 40°F | Freezing rain and prolonged damp freezes |
| South & Sunbelt | December to January (if at all) | Below 35°F | Rare but severe polar vortex events |
Step-by-Step: Timing Your Smart Controller Shutdown
Modern smart controllers offer specialized features to handle the transition into winter. Here is how to time and execute the software side of winterization:
- Rachio 3 & Rachio 3e: Do not simply unplug the device, as this will erase your historical data and custom zone settings. Instead, use the Rachio app to select 'Winterize'. This feature suspends all watering schedules while keeping the system connected to Wi-Fi for firmware updates. Time this for the exact week your grass goes fully dormant.
- Orbit B-hyve: Navigate to the settings menu and select 'Rain Delay'. Set the delay for 90 to 120 days, effectively covering the entire winter season without deleting your smart scheduling algorithms.
- Hunter Hydrawise: Use the 'Suspend' feature on all active zones. This is best done on the same day you physically blow out the pipes to prevent the system from accidentally attempting to pressurize dry lines during a winter warm spell.
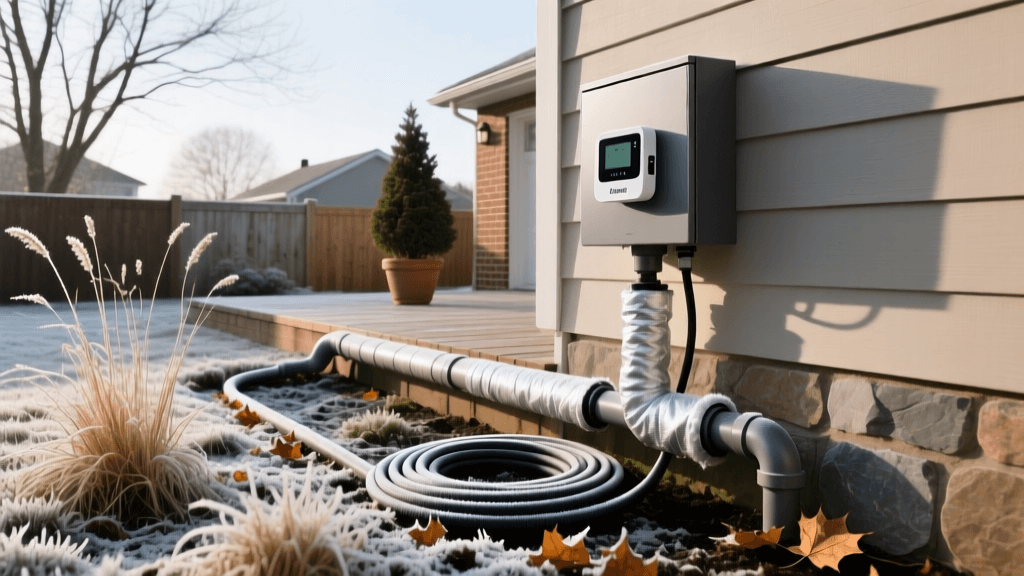
The Blow-Out Method: When and How to Use Compressed Air
For regions that experience deep freezes, simply draining the system is not enough. You must use compressed air to evacuate residual water. The Colorado State University Extension strongly recommends the blow-out method for areas with severe winters, as manual drain valves often fail to clear water from low-lying pipe bellies.
Timing the Compressor
Schedule your blow-out when daytime temperatures are between 45°F and 60°F. If it is too cold, the above-ground PVC and backflow preventers may freeze while you are working on them. If it is too warm, the grass may still be actively transpiring, and shutting off the water could cause winter desiccation.
Crucial Measurements and Safety Limits
- Air Volume (CFM): You need a compressor capable of delivering 10 to 25 Cubic Feet per Minute (CFM). Standard household pancake compressors (2-4 CFM) will not generate enough volume to push the water out, leaving you with a false sense of security.
- Air Pressure (PSI): Never exceed 50 PSI for polyethylene pipe systems, and never exceed 80 PSI for rigid PVC systems. High pressure can melt the inside of the pipes due to friction heat or literally blow the sprinkler heads off their risers.
- Zone Timing: Run each zone for 2 to 3 minutes, or until only a fine mist is emitted from the sprinkler nozzles. Never run air through a dry zone for more than a few seconds, as the friction will destroy the internal rubber diaphragms of your smart valves.
Cost Breakdown: Professional Blow-Out vs. DIY
Deciding when to hire a professional versus doing it yourself often comes down to equipment costs and liability. Here is a comparison to help you time your budget:
| Method | Estimated Cost | Equipment Required | Best For |
|---|---|---|---|
| Professional Landscaper | $75 - $150 per visit | None (They bring tow-behind 185 CFM compressors) | Large properties, complex backflow systems, HOA communities |
| DIY (Compressor Rental) | $50 - $90 per day | Tow-behind gas compressor, heavy-duty hose, brass fittings | Handy homeowners with large trucks and mechanical experience |
| DIY (Pancake Compressor) | $0 (if owned) | Standard 6-gallon electric compressor | Not Recommended. Lacks CFM to clear mainlines safely. |
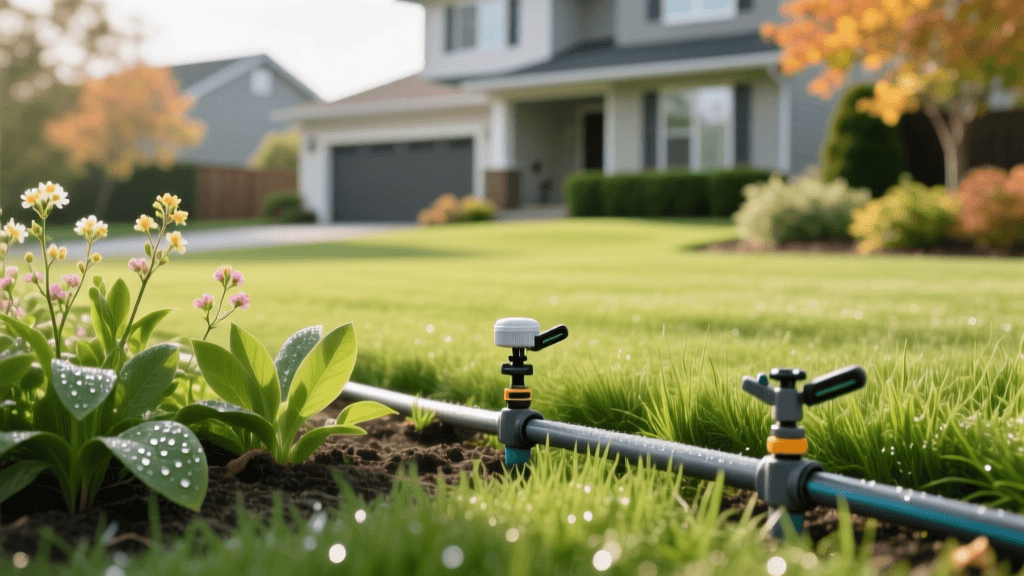
Protecting Outdoor Faucets and Smart Hoses
Your irrigation system isn't the only outdoor plumbing at risk. Standard garden hoses attached to outdoor faucets (hose bibbs) can trap water inside the sillcock, causing the pipe to burst inside your home's exterior wall. Time your hose disconnection for the exact same day you blow out your sprinklers.
Even if you have 'frost-free' sillcocks, leaving a hose attached prevents the internal stem from draining properly. Once the hose is disconnected, install a foam insulated faucet cover (costing roughly $5 to $10 at any hardware store). If you utilize smart hose timers like the Orbit B-hyve Smart Hose Faucet Timer for your drip irrigation or soaker hoses, these must be brought indoors. The internal solenoid valves and lithium-ion batteries in these smart timers will be permanently damaged by freezing temperatures.
Spring Restart: When to Turn It All Back On
Knowing when to winterize is only half the battle; knowing when to safely restart your system in the spring is equally critical. The most common mistake homeowners make is turning their smart sprinklers back on during a deceptive late-winter warm spell.
Wait until the soil temperature consistently reads above 40°F at a depth of 4 inches, and all danger of a hard freeze has passed. When you do turn the main water valve back on, open it only a quarter-turn at first. This allows the pipes to pressurize slowly, preventing a massive water hammer effect that can shatter your smart flow meters and brass backflow preventers. Once the system is fully pressurized and you have manually tested each zone for leaks, reactivate your smart controller's seasonal scheduling features to bridge your home's indoor and outdoor living spaces seamlessly into the new growing season.