When to Winterize Outdoor Kitchens and Smart Irrigation
The Critical Window: Bridging Outdoor Living and Winter Prep
Bridging the gap between indoor comfort and outdoor living requires meticulous seasonal maintenance. As autumn transitions into winter, homeowners who have invested in luxury outdoor kitchens and smart irrigation systems face a strict biological and meteorological clock. Winterizing these assets is not a matter of picking a random weekend in November; it is a precise science dictated by soil temperatures, overnight ambient lows, and the specific materials used in your outdoor build. Missing this window by even a few days can result in catastrophic freeze damage, turning a high-end outdoor oasis into an expensive spring repair project.
This comprehensive timing guide will walk you through the exact environmental triggers for shutting down your smart irrigation network and winterizing your outdoor culinary space, ensuring your equipment survives the harshest months of the year.
The Science of the First Freeze: Understanding Your Timing Window
Before draining a single pipe, you must understand the meteorological definitions that dictate your timeline. According to the National Weather Service, a 'frost advisory' is issued when temperatures are forecasted to drop between 33°F and 36°F under clear skies and light winds. However, your winterization timeline should not be based on a light frost. Instead, you must track the 'hard freeze' threshold.
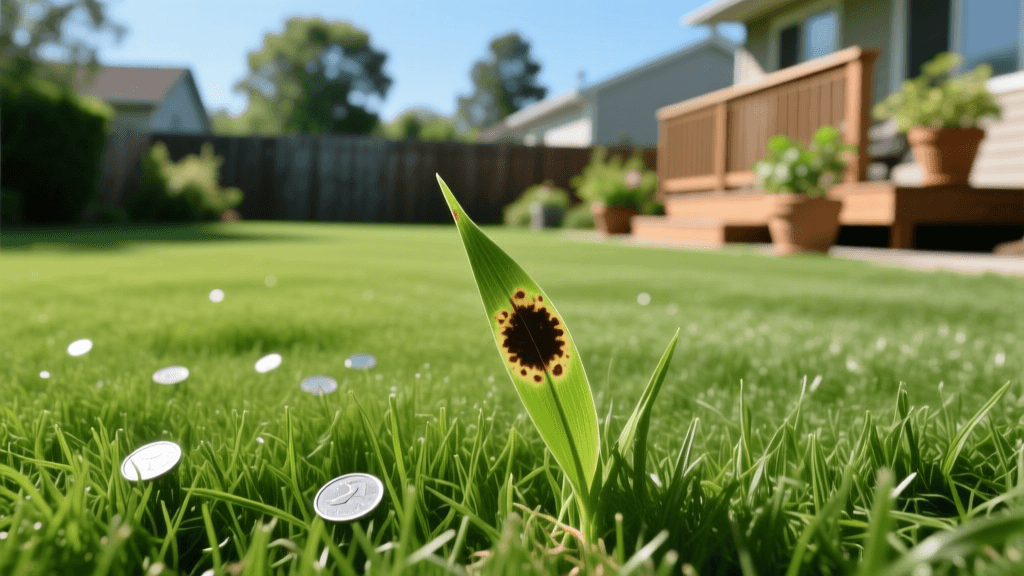
A hard freeze occurs when temperatures dip to 28°F or lower for at least two consecutive hours. At this temperature, water trapped inside the brass valves of your irrigation system or the copper lines of your outdoor kitchen will expand as it turns to ice, exerting thousands of pounds of pressure per square inch. This expansion is what cracks manifolds, splits PEX tubing, and ruins under-counter ice makers. Your goal is to complete all winterization procedures when the evening forecast consistently predicts overnight lows of 32°F, giving you a safety buffer before the first hard freeze arrives.
When to Winterize Your Smart Irrigation System
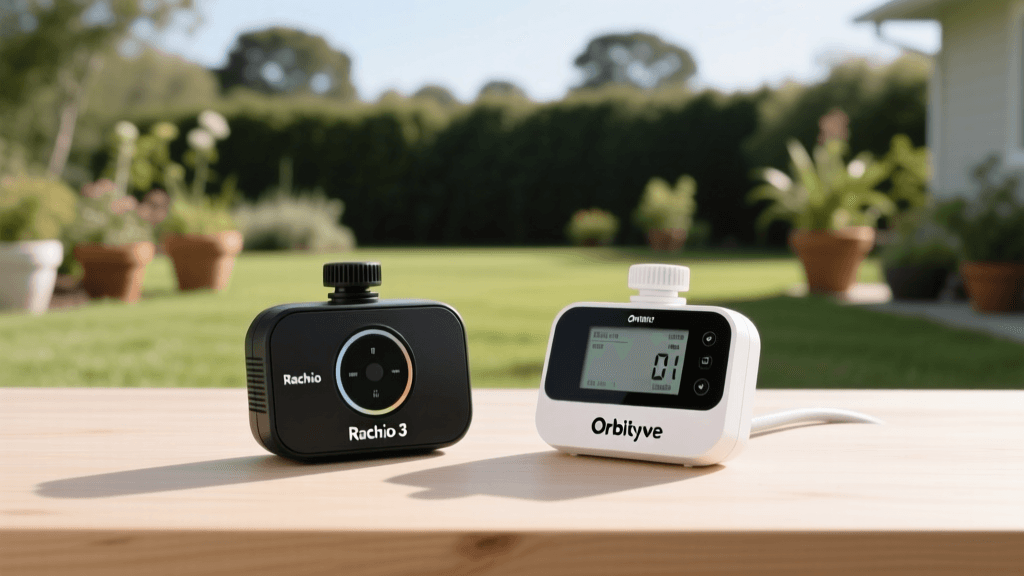
Smart irrigation controllers, such as the Rachio 3e or Hunter Hydrawise, are excellent at adjusting daily watering schedules based on local evapotranspiration (ET) rates. However, they cannot protect your physical infrastructure from freezing. According to the EPA WaterSense program, proper end-of-season maintenance is vital for preserving the efficiency and structural integrity of your irrigation system.
The timing for shutting down your smart irrigation system depends heavily on your soil temperature. Once the soil temperature at a depth of four inches consistently drops below 40°F, your lawn enters dormancy, and supplemental watering is no longer necessary. This is your primary trigger to initiate the 'blowout' process.
The Blowout Method: Specs and Timing
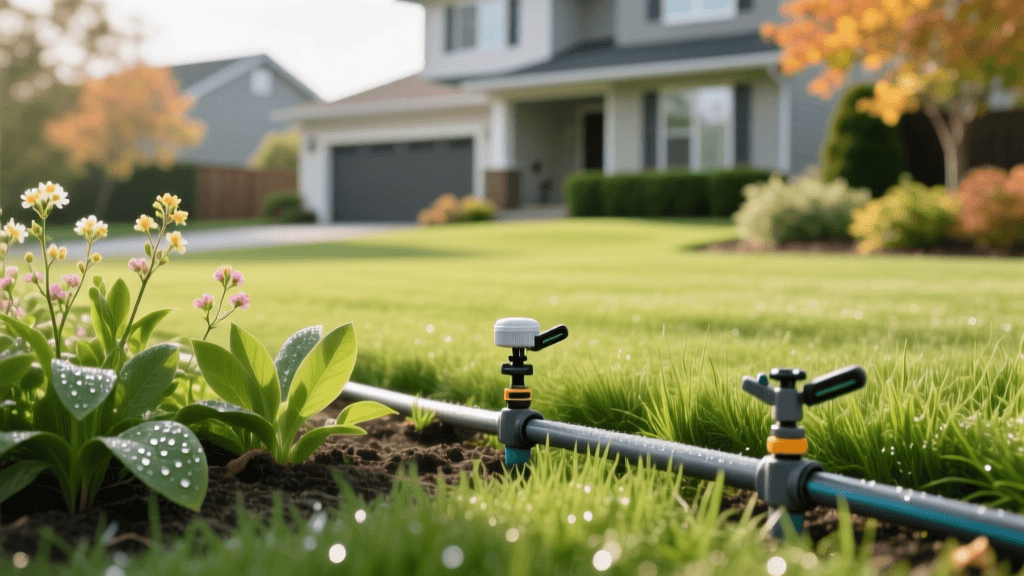
Draining the system via manual valves is rarely sufficient for modern residential setups due to the complex topography of underground piping. The industry standard is the compressed air blowout method. Timing this correctly requires coordinating with local landscaping professionals, as their schedules fill up rapidly by mid-October in northern climates.
- PVC Piping Systems: Never exceed 50 PSI during the blowout to prevent shattering the rigid PVC mainlines.
- Polyethylene (Poly) Piping: Can safely handle up to 80 PSI, but 50-60 PSI is generally sufficient to clear the lateral lines.
- Compressor Requirements: You need a compressor delivering 10 to 25 Cubic Feet per Minute (CFM). Standard homeowner garage compressors (typically 2-5 CFM) do not provide the sustained volume required to lift and evacuate the water from the lines.
Smart Home Integration Tip: If you use a smart controller, do not simply unplug the unit for the winter. Leave it powered on but switch the software to 'Standby' or 'Rain Delay' mode. This preserves your custom zone maps, WiFi credentials, and seasonal adjustment curves for a seamless spring reactivation.
Regional Winterization Timing Chart
| USDA Hardiness Zone | Average First Hard Freeze | Ideal Blowout Window | Smart Controller Action |
|---|---|---|---|
| Zones 3-4 (e.g., MN, ND) | Early to Mid-October | Sept 25 - Oct 10 | Enable Freeze Skip Sensors |
| Zones 5-6 (e.g., NY, CO) | Late October to Mid-November | Oct 15 - Nov 5 | Switch to Standby Mode |
| Zones 7-8 (e.g., NC, GA) | Late November to December | Nov 15 - Dec 10 | Reduce Seasonal Adjust to 30% |
| Zones 9-10 (e.g., FL, SoCal) | Rare / Non-Existent | N/A (No blowout needed) | Adjust for Winter Rainfall |
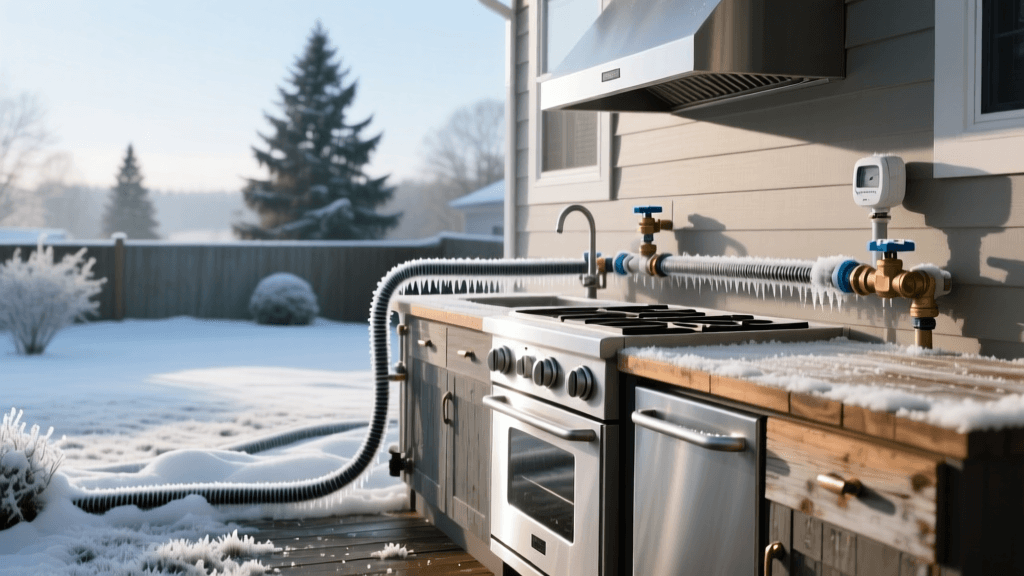
When to Shut Down and Cover the Outdoor Kitchen
Outdoor kitchens represent a massive financial investment, often featuring 304 or 316-grade stainless steel appliances, built-in gas lines, and complex plumbing. Timing the shutdown of your outdoor kitchen should coincide with the end of your regular outdoor entertaining season, typically when daytime highs struggle to reach 55°F.
Proper landscaping and outdoor living maintenance aligns with broader home efficiency goals. As noted by the Department of Energy, managing your exterior utilities and outdoor spaces efficiently reduces year-round energy waste and prevents resource loss from damaged infrastructure.
Appliance and Plumbing Shutdown Sequence
When the 10-day forecast shows a permanent drop toward freezing, execute the following sequence:
- Shut Off the Water Supply: Locate the interior shut-off valve that feeds your outdoor kitchen. Turn it off, then open the exterior faucet or drain valve to relieve pressure and empty the main supply line.
- Drain the Ice Maker and Fridge: Under-counter ice makers are highly susceptible to freeze damage because their water inlet valves hold small pockets of water. Disconnect the 1/4-inch water line at the back of the unit and use a wet-dry vac to suck out any residual water in the line.
- Winterize the Gas Lines: Turn off the main 3/4-inch exterior gas valve. For safety and to prevent debris from clogging the brass fittings, cap the quick-connect hose and store it indoors.
- Clean and Protect the Grill: Burn off any residual grease on high heat for 15 minutes. Once cooled, scrub the grates and apply a light coat of food-grade mineral oil to the stainless steel exterior to prevent winter oxidation and salt-air corrosion.
The Cost of Delay: What Happens if You Miss the Window?
Procrastinating on your winterization timeline is a gamble with steep financial penalties. If water freezes inside the brass manifold of your irrigation backflow preventer, the metal will split. Replacing a commercial-grade backflow preventer and paying for emergency spring landscaping repairs can easily cost between $800 and $1,500. Similarly, a cracked water inlet valve on a high-end outdoor kegerator or ice maker will require a technician visit and part replacements that often exceed $600. By contrast, hiring a professional irrigation blowout service typically costs between $100 and $250, making the timely execution of this guide a highly cost-effective measure.
Spring Reactivation: When to Wake Your Yard and Kitchen
Just as timing is critical for shutting down, patience is required for the spring reactivation. The most common mistake homeowners make is turning their outdoor water valves back on during a warm spell in late February or early March. A sudden late-season cold snap can freeze the newly pressurized lines.
Wait until the soil temperature at a four-inch depth has remained consistently above 45°F for at least two weeks. For your outdoor kitchen, wait until the threat of a hard freeze has entirely passed according to your local historical weather data. When you do turn the water back on, do so slowly. Opening the valve a quarter-turn at a time prevents 'water hammer'—a shockwave of hydraulic pressure that can easily blow out the O-rings in your sprinkler heads and outdoor kitchen faucets.
By respecting the environmental triggers and adhering to this precise timing guide, you ensure that your outdoor living spaces remain pristine, functional, and ready to impress the moment spring arrives.