When to Winterize Smart Irrigation and Garden Plumbing
The Critical Timing of Irrigation Winterization
Winterizing your smart irrigation system and garden plumbing is not a task you can delay until the first snowfall. Water expands by approximately 9% when it freezes, generating thousands of pounds of pressure per square inch inside your pipes, valves, and sprinkler heads. This expansion is the leading cause of catastrophic failures in outdoor plumbing, often resulting in cracked PVC lines, shattered backflow preventers, and ruined smart irrigation controllers. Knowing exactly when to initiate the winterization process is just as important as knowing how to do it.
For homeowners utilizing smart home integration for their landscaping, timing is a blend of meteorological data, soil temperature tracking, and proactive system management. According to the EPA WaterSense program, properly maintaining and winterizing your outdoor irrigation systems is essential not only for preventing water waste from springtime leaks but also for extending the lifespan of your water-efficient landscaping investments.
When to Start: Tracking Frost Dates and Smart Alerts
The golden rule of irrigation winterization is to complete the process before the first hard freeze. A hard freeze occurs when temperatures drop to 28°F (-2°C) or below for several consecutive hours. However, you should not wait until this extreme drop to begin your preparations. The ideal window to start winterizing is when nighttime temperatures consistently dip below 40°F (4°C).
Utilizing Smart Controllers and Weather Data
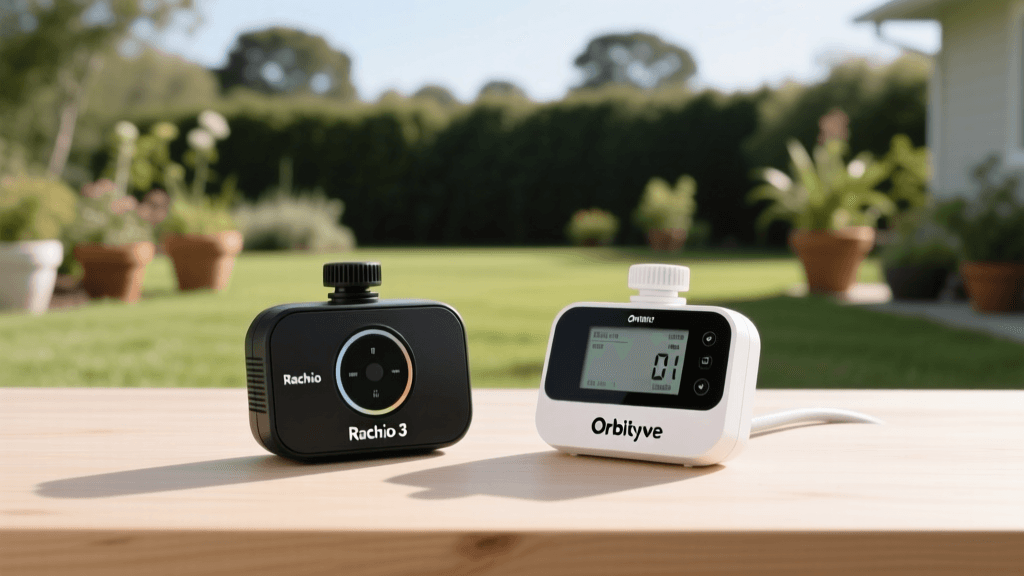
If you use a smart irrigation controller like the Rachio 3, Rain Bird ST8I-2.0S, or Hunter Hydrawise, your system is already pulling localized weather data. While these controllers feature 'Freeze Skip' technology that prevents watering when temperatures drop near freezing, this software feature does not protect the physical plumbing from residual water freezing inside the lines.
- 14 Days Before Average First Frost: Begin monitoring long-range forecasts. You can find highly accurate, historically backed frost date predictions using resources like The Old Farmer's Almanac frost date calculator.
- 7 Days Before Average First Frost: Perform a final system audit. Run each zone manually to check for broken heads or leaks that need repairing before the winter blow-out.
- 3 Days Before Expected Hard Freeze: Execute the physical winterization (draining or blowing out the lines) and shut off the main water supply to the irrigation system.
The Three Methods of Irrigation Winterization
The method you choose depends on your system's design, your local climate, and the topography of your yard. Here is a comparison of the three primary winterization methods and when to use them.
| Method | Best Used When... | Pros | Cons |
|---|---|---|---|
| Manual Drain | Your system has manual drain valves at all low points and the yard is relatively flat. | No air compressor required; highly cost-effective. | Time-consuming; high risk of leaving residual water in uneven lines. |
| Auto Drain | Your system is equipped with automatic drain valves that trigger when pressure drops below 10 PSI. | Convenient; happens automatically when system is shut off. | Valves can clog with debris over time, leading to trapped water and frozen pipes. |
| Air Blow-Out | You live in a northern climate (USDA Zones 3-7) or have complex, uneven piping. | The most thorough method; removes nearly 100% of residual water. | Requires an air compressor and careful PSI management to avoid damaging pipes. |
Step-by-Step Blow-Out Guide: PSI, CFM, and Timing
For the majority of homeowners in regions that experience freezing winters, the air blow-out method is the safest and most reliable choice. The timing of a blow-out is critical: doing it too early wastes water and stresses your lawn during dry autumn spells, while doing it too late risks an overnight freeze destroying your backflow preventer.
Equipment Requirements
You will need an air compressor capable of delivering 10 to 25 Cubic Feet per Minute (CFM). Standard household garage compressors (which typically output 2-5 CFM) are insufficient and will not push the water out fast enough to prevent it from settling back into the low points of the pipes.
The Blow-Out Sequence
- Shut Off the Water: Close the main shut-off valve to the irrigation system and drain the backflow preventer.
- Connect the Compressor: Attach the air hose to the system's blow-out port using a quick-connect hose fitting.
- Set the Pressure (Crucial): Never exceed 50 PSI for polyethylene (poly) pipe or 80 PSI for PVC pipe. Exceeding these limits can cause the pipes to burst or sprinkler heads to become dangerous projectiles.
- Blow Out Zone by Zone: Start with the zone furthest from the compressor. Activate the zone via your smart controller's manual mode. Run the air until the sprinkler heads produce a fine, misty vapor rather than a solid stream of water.
- Timing per Zone: Limit the blow-out time to 2 minutes per zone to prevent the friction heat from melting the plastic sprinkler heads or warping the internal gears of your rotor heads.
When to Winterize Garden Spigots and Outdoor Plumbing
Beyond the underground irrigation lines, your above-ground garden plumbing requires strict timing to avoid indoor water damage. A burst outdoor spigot can flood your basement or crawlspace in minutes.
Hose Disconnect Timing
Garden hoses must be disconnected, drained, and stored indoors the moment nighttime temperatures are forecasted to hit 32°F (0°C). Leaving a hose attached to a spigot traps water inside the faucet's internal valve. Even if you have a 'frost-free' sillcock, leaving a hose attached prevents the internal water from draining out the slope of the pipe, rendering the frost-free mechanism useless.
Spigot Winterization
- Standard Spigots: Shut off the interior supply valve (usually located in the basement directly behind the outdoor faucet). Open the outdoor spigot to let residual water drain out. Install an insulated foam spigot cover.
- Frost-Free Sillcocks: These are designed to shut off the water 12 to 24 inches inside the heated envelope of your home. However, they still require you to disconnect hoses and remove any splitters or timers by late autumn to allow the external shaft to drain completely.
Regional Timing Guide by USDA Hardiness Zone
To help you pinpoint the exact month to schedule your winterization, refer to this general timeline based on USDA Hardiness Zones. Always defer to your local 10-day forecast over historical averages, as early polar vortexes can shift these timelines by several weeks.
- Zones 3 & 4 (e.g., Minnesota, North Dakota, Maine): Begin monitoring in late August. Complete all blow-outs and spigot winterization by late September to early October.
- Zones 5 & 6 (e.g., Colorado, Illinois, Pennsylvania): Begin monitoring in late September. Complete winterization by mid-to-late October.
- Zones 7 & 8 (e.g., Virginia, Tennessee, Oregon): Begin monitoring in late October. Complete winterization by mid-November to early December.
- Zones 9 & 10 (e.g., Florida, Southern California, Texas): Winterization is generally not required. However, if an anomalous freeze warning is issued, disconnect hoses and wrap exposed above-ground backflow preventers with insulated blankets or heat tape for the duration of the cold snap.
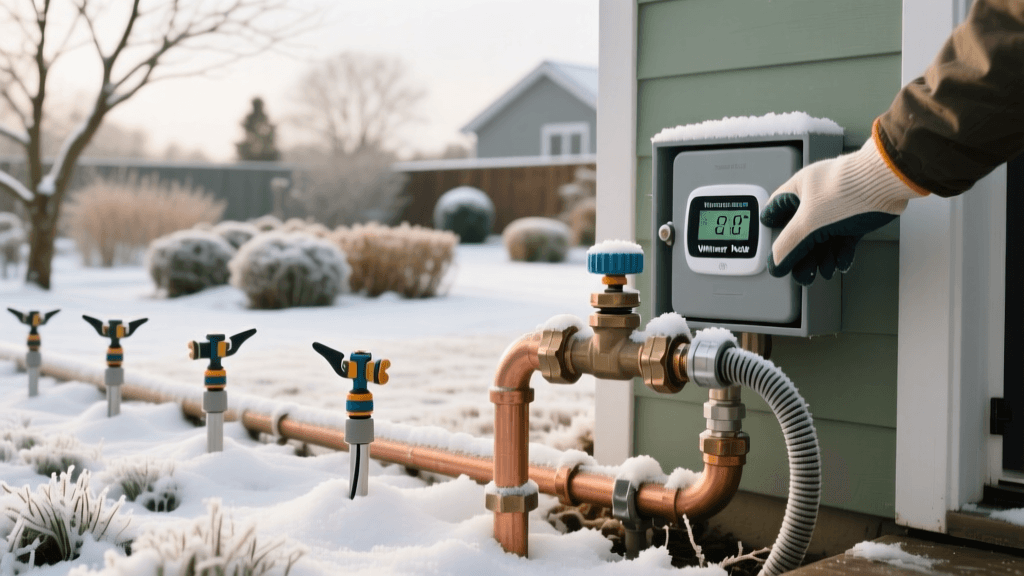
Preparing Your Smart Controller for Winter Mode
Once the physical plumbing is secured, you must address the 'brain' of your irrigation system. In late autumn, immediately following the blow-out, access your smart controller's app. Do not simply unplug the controller; this will erase your customized zone maps, soil type settings, and scheduling data.
Instead, use the app to switch the system into 'Standby' or 'Off' mode. This preserves your Wi-Fi connection and historical data while ensuring the controller does not accidentally send a signal to open a solenoid valve during a winter warm spell. If your controller is mounted in an unheated garage or shed, consider removing the faceplate or backup battery to prevent cold-induced LCD screen damage.
Cost Analysis: DIY vs. Professional Winterization
Timing your winterization also involves budgeting. Hiring a professional landscape contractor to perform an irrigation blow-out typically costs between $60 and $150, depending on the number of zones. If you choose the DIY route, renting a commercial-grade tow-behind air compressor from a local hardware store will cost roughly $50 to $90 per day.
Compare this to the cost of ignoring the timeline: replacing a shattered brass backflow preventer costs $150 to $350 in parts and labor. Repairing a single burst underground PVC mainline requires excavation, costing upwards of $250 to $500 per break. The financial incentive to mark your calendar and winterize on time is undeniable.
Spring Reactivation: When to Turn It Back On
Just as autumn timing is critical, knowing when to reverse the process in the spring is equally important. Do not turn your smart irrigation system back on until the soil temperature has consistently reached 40°F (4°C) at a depth of 6 inches, and all danger of a hard freeze has passed. Turning the system on too early in the spring, when nights are still freezing, can cause the exact same freeze damage you worked so hard to prevent the previous year. By aligning your garden maintenance with precise seasonal timing, you ensure your outdoor living spaces and smart home integrations remain functional, efficient, and beautiful year after year.