Gardening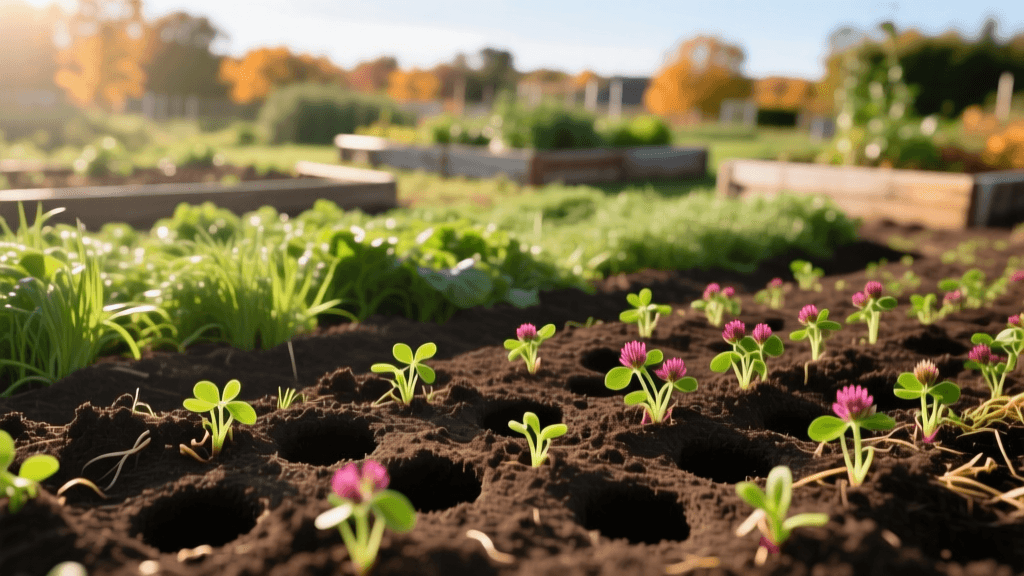
Soil Preparation: Aeration and Overseeding Cover Crops in Gardens
The Intersection of Aeration, Overseeding, and Garden Soil Health
When most home growers hear the terms 'aeration' and 'overseeding,' they immediately picture turfgrass management. However, in the realm of intensive vegetable and flower gardening, these exact same principles are the secret to unlocking highly productive, nutrient-dense soil. Over time, garden beds suffer from severe soil compaction due to foot traffic, heavy rainfall, and the repetitive use of heavy rototillers. This compaction creates a hardpan layer that restricts root growth, limits water infiltration, and stifles the soil microbiome.
By adapting lawn care techniques for the vegetable patch, gardeners can revitalize their soil without relying on destructive mechanical tilling. Core aeration paired with overseeding deep-rooted cover crops (often called green manures) mimics natural prairie ecosystems. This powerful soil preparation technique fractures compacted earth, introduces vital oxygen to the root zone, and utilizes biological root action to permanently improve soil structure.
The Hidden Problem of Garden Soil Compaction
Traditional soil preparation often involves firing up a rear-tine rototiller to pulverize the earth before spring planting. While this creates a fine, workable seedbed on the surface, the weight of the machine and the spinning tines create a dense, compacted layer of soil just a few inches below the surface. According to the Sustainable Agriculture Research and Education (SARE) program, this hardpan layer severely restricts the downward movement of water and the upward movement of essential soil nutrients.
When vegetable roots hit this compacted layer, they stall. Tomatoes, carrots, and deep-rooted perennials struggle to access subsoil moisture during summer droughts, leading to stunted growth and increased susceptibility to disease. Furthermore, compacted soil lacks the pore space necessary for aerobic bacteria to thrive, which slows down the decomposition of organic matter and the cycling of nutrients.
The Biological Solution: Aeration and Overseeding
Instead of mechanically breaking up the hardpan every single season, advanced gardeners use a combination of manual aeration and strategic overseeding. By pulling small plugs of soil or using a broadfork to fracture the earth, you create immediate channels for air and water. Overseeding these freshly aerated beds with specific cover crop seeds turns those temporary channels into permanent biological highways.
As the overseeded cover crops germinate and grow, their roots plunge deep into the aeration holes. The Rodale Institute highlights that the roots of cover crops exude sugars that feed soil microbes, creating a sticky substance called glomalin that binds soil particles together into stable, porous aggregates. When the cover crop is eventually terminated, the decaying roots leave behind massive, nutrient-rich channels that your future vegetable crops will eagerly exploit.
Tools of the Trade: Garden Aeration Techniques
Unlike a sprawling lawn, a raised bed or intensive garden row requires specialized tools that can maneuver in tight spaces without damaging existing soil structure or nearby perennials. Here are the primary tools for garden bed aeration:
- The U-Bar Broadfork: The gold standard for garden aeration. A broadfork features long, heavy-duty tines attached to a crossbar. You step the tines into the soil and pull back on the handles to gently lift and fracture the soil profile without turning it over. This preserves the delicate layers of soil biology while relieving compaction down to 8 or 10 inches.
- Manual Step-on Core Aerator: Similar to lawn plug aerators, this tool features a foot bar and hollow tines that extract 2-to-3-inch soil cores. It is ideal for smaller, heavily compacted clay beds where physical fracturing with a broadfork is too difficult.
- Heavy-Duty Digging Fork: For smaller raised beds or tight corners where a broadfork cannot fit, a standard steel digging fork can be plunged into the soil and rocked back slightly to create fissures for air and water.
Selecting Cover Crop Seeds for Overseeding
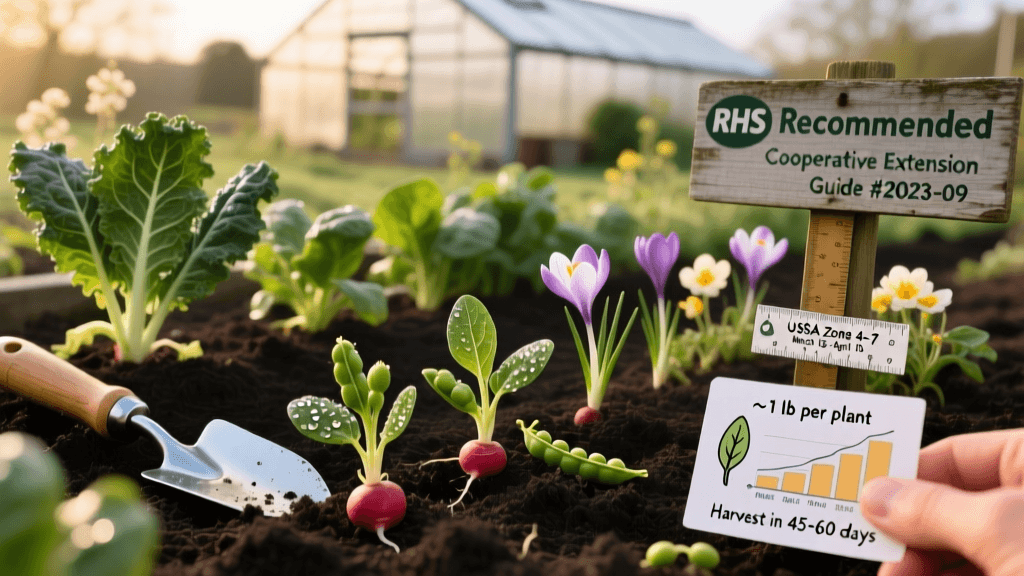
Once the soil is aerated, selecting the right cover crop seed for overseeding is critical. The seed must be able to establish quickly in the cool weather of late summer or early fall, and its root structure must be aggressive enough to hold the aerated soil open. Below is a comparison chart of the best cover crops for overseeding aerated garden beds:
| Cover Crop Variety | Primary Soil Benefit | Overseeding Rate (per 1,000 sq ft) | Ideal Aeration Depth | Spring Termination Method |
|---|---|---|---|---|
| Daikon Radish (Tillage Radish) | Deep soil fracturing and compaction relief | 1.0 - 1.5 lbs | 6 - 8 inches | Winterkill (in zones 6 and below) |
| Cereal Winter Rye | Massive biomass production and weed suppression | 2.0 - 3.0 lbs | 4 - 6 inches | Repeated mowing or silage tarping |
| Crimson Clover | Atmospheric nitrogen fixation for heavy feeders | 0.5 - 1.0 lbs | 3 - 5 inches | Flail mowing or crimping at bloom |
| Hairy Vetch | Long-term nitrogen release and soil moisture retention | 1.0 - 2.0 lbs | 4 - 6 inches | Mowing and light incorporation |
Step-by-Step Aeration and Overseeding Execution
To achieve maximum soil improvement, timing and technique are everything. Follow this actionable guide to properly aerate and overseed your vegetable garden beds in the fall.
Step 1: Soil Moisture Preparation
Aeration tools require specific soil moisture levels to function correctly. If the soil is too dry, a broadfork will bounce off the hardpan, and a core aerator will clog. If it is too wet, you will smear the clay and worsen compaction. Water your garden beds with approximately 1/2 inch of water 24 to 48 hours before you plan to aerate. The soil should feel like a wrung-out sponge—moist, but not muddy.
Step 2: The Aeration Pass
Clear the bed of any remaining summer crop debris. Using your U-bar broadfork, insert the tines vertically into the soil at the back of the bed. Step firmly on the crossbar to drive the tines down 6 to 8 inches. Pull back on the handles just enough to hear a 'popping' sound and see the soil surface crack slightly. Do not flip the soil over. Step back 6 inches and repeat the process across the entire bed. If using a manual core aerator, pull plugs on a 4-inch grid pattern and leave the soil cores on the surface to break down naturally.
Step 3: Overseeding and Seed-to-Soil Contact
Immediately after aerating, broadcast your chosen cover crop seed evenly over the bed. The aeration holes and surface cracks will naturally catch a significant portion of the seed, pulling it down into the soil profile where moisture is stable. After broadcasting, use a stiff leaf rake or a push-broom to gently work the remaining seed into the top 1/4 inch of soil. For small seeds like clover, you can simply drag a piece of chain-link fence or a heavy garden hose over the bed to ensure intimate seed-to-soil contact.
Step 4: Irrigation and Germination
Keep the top inch of soil consistently moist until germination occurs, which usually takes 5 to 10 days depending on the species and soil temperature. Use a gentle misting nozzle to avoid washing the seeds out of the aeration channels. Once the cover crop reaches 3 inches in height, reduce watering frequency to encourage the roots to dive deep into the newly aerated subsoil.
Managing and Terminating the Cover Crop
The final phase of this soil preparation technique is terminating the cover crop before your spring vegetable planting window. The goal is to kill the plant while leaving its root structure intact to maintain the aeration channels you worked so hard to create.
For gardeners in colder climates, overseeding with Daikon Radish is a masterstroke. The massive taproots will fracture the deep hardpan all winter, and the plants will naturally winterkill (die back) when temperatures drop below 20°F. In the spring, the decaying radish taproots leave behind massive, cavernous holes that act as perfect planting pockets for spring transplants and deep-drainage channels for heavy rains.
If you overseeded with Winter Rye or Crimson Clover, you will need to terminate the crop 2 to 3 weeks before planting your vegetables. Use a string trimmer, a push mower with the bag removed, or a manual weed whip to cut the cover crop down to the soil surface. Cover the terminated bed with a heavy silage tarp or a thick layer of compost and straw. This 'occultation' method will smother the roots, accelerate decomposition, and leave you with a dark, crumbly, perfectly aerated seedbed that is teeming with earthworms and ready for your spring garden.
Conclusion
Integrating lawn-style aeration and overseeding techniques into your vegetable garden soil preparation routine is a transformative practice. By stepping away from the rototiller and embracing the broadfork and cover crop seeds, you build long-term soil resilience. The result is a garden ecosystem that drains efficiently, resists drought, and produces significantly higher yields of nutrient-dense vegetables and vibrant flowers year after year.