Gardening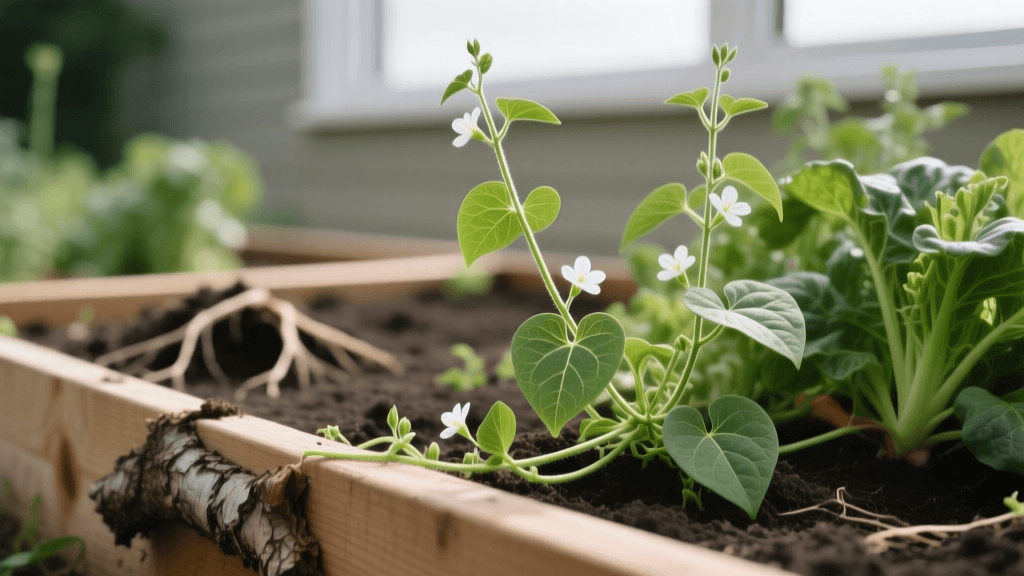
Identifying and Eradicating Field Bindweed in Garden Beds
The Ultimate Guide to Identifying and Eradicating Field Bindweed
Field bindweed (Convolvulus arvensis) is widely considered one of the most tenacious, frustrating, and destructive weeds a home gardener can face. Whether you are cultivating a raised vegetable bed, tending to a cut-flower garden, or maintaining perennial borders, this invasive vine will quickly wrap itself around your prized crops, choking out pole beans, tomatoes, and delicate flowers. Unlike annual weeds that complete their lifecycle in one season and die, field bindweed is a deep-rooted perennial that can survive for decades, making standard weeding practices largely ineffective.
Eradicating this weed requires more than just a quick pull; it demands a strategic, multi-season approach. In this comprehensive guide, we will cover how to accurately identify field bindweed, understand its complex biology, and deploy both organic and chemical removal strategies to reclaim your garden beds.
How to Identify Field Bindweed
Before you can eliminate bindweed, you must correctly identify it. Gardeners frequently confuse field bindweed with ornamental morning glories or the closely related hedge bindweed. Misidentification can lead to ineffective treatment plans. Field bindweed is characterized by its spade-shaped or arrowhead-shaped leaves, which are typically 1 to 2 inches long. The leaves attach to the vine with short petioles and alternate along the stem.
The flowers are trumpet-shaped, usually white or pale pink, and measure about 0.5 to 1 inch in diameter. They bloom from early summer until the first hard frost. The vine itself does not climb using tendrils or aerial roots; instead, it twines tightly around any available support, including plant stems, trellises, and garden netting.
Comparison Chart: Bindweed vs. Similar Vines
Use the table below to ensure you are targeting the correct weed in your garden beds.
| Feature | Field Bindweed | Annual Morning Glory | Hedge Bindweed |
|---|---|---|---|
| Leaf Shape | Small arrowhead / spade | Heart-shaped | Large arrowhead with distinct lobes |
| Flower Size | 0.5 to 1 inch | 2 to 3 inches | 1.5 to 2.5 inches |
| Root System | Deep perennial rhizomes | Shallow taproot (dies in winter) | Shallow perennial rhizomes |
| Bracts | None on flower stalk | None | Two large bracts enclosing the base |
The Biology of Bindweed: Why It Is So Hard to Kill
To understand why your previous attempts to pull bindweed have failed, you must understand its root system. According to the University of Minnesota Extension, field bindweed develops an extensive, fleshy root system that can penetrate the soil up to 20 feet deep. The roots are highly brittle, and any fragment as small as one inch can generate a completely new plant. When you rototill or aggressively dig up a garden bed infested with bindweed, you are inadvertently chopping the roots into dozens of pieces, effectively planting dozens of new weeds.
Furthermore, bindweed reproduces via seeds that possess an incredibly hard coat. These seeds can remain dormant but viable in the soil seed bank for up to 60 years. This means that even if you manage to kill the existing root system, you must remain vigilant against new seedlings germinating for decades to come.
Step-by-Step Organic Removal Strategies
For vegetable gardeners and those who prefer to maintain an organic ecosystem, chemical herbicides are often off the table. Here are the most effective cultural and mechanical controls for bindweed.
1. Smothering and Solarization
If you are preparing a new garden bed or can afford to take a bed out of production for a season, smothering is highly effective. This method starves the roots of sunlight and raises soil temperatures to lethal levels.
- Materials Needed: 6-mil black polyethylene plastic or silage tarps (approx. $40-$60 per 100 square feet), landscape staples, and heavy rocks or soil for the edges.
- Preparation: Mow or cut the existing bindweed vines as close to the soil surface as possible. Do not till the soil, as this brings dormant seeds to the surface and chops roots.
- Application: Lay the 6-mil black plastic over the entire bed. Overlap seams by at least 12 inches and secure the edges by burying them in a 4-inch trench or weighing them down with heavy logs.
- Timing: Leave the plastic in place for a minimum of 6 to 8 weeks during the hottest part of the summer (June through August). The soil temperatures beneath the plastic must consistently exceed 120°F to cook the upper root crown and deplete the plant's energy reserves.
2. The 'Two-Week' Depletion Method
If you are actively growing crops and cannot cover the soil, you must rely on energy depletion. Bindweed stores massive amounts of carbohydrates in its deep roots. When the vine emerges and begins to photosynthesize, it sends energy down to the roots. However, right before the plant forms flower buds, it pulls energy up from the roots to fuel blooming.
Your goal is to sever the vine right at the soil line every 10 to 14 days. Use a sharp garden hoe or a pair of precision snips. By consistently removing the top growth before it can reach the flowering stage, you force the root system to continually expend its stored reserves to push out new shoots. Over the course of 1 to 2 growing seasons, the root system will exhaust its energy and die. This requires immense diligence, but it protects your surrounding crops without the use of chemicals.
3. Horticultural Vinegar (Spot Treatment)
Standard 5% household white vinegar will burn the leaves of bindweed but will not kill the roots. For organic gardeners, 20% to 30% horticultural vinegar (acetic acid) can be used as a contact burn-down. It costs roughly $40 per gallon and must be handled with extreme care, requiring gloves and eye protection. Spray the vinegar directly on the bindweed leaves on a hot, sunny day. Be aware that this is a non-selective contact herbicide; it will severely damage or kill any vegetable or flower foliage it touches, and it can temporarily lower the pH of your soil.
Chemical Control: Systemic Herbicides
In non-edible ornamental beds, or in vegetable gardens during the off-season (late fall or early spring before planting), systemic herbicides offer a more definitive solution. The University of Wisconsin-Madison Division of Extension notes that systemic herbicides are most effective when applied in late summer or early fall. During this time, the plant is actively moving carbohydrates down into its deep root system to prepare for winter, effectively pulling the herbicide down to the root crown where it is needed most.
The 'Painting' Technique for Active Gardens
If bindweed is intertwined with your active tomato or pepper plants, spraying a systemic herbicide like Glyphosate (41% active ingredient) will kill your crops through herbicide drift or root uptake. Instead, use the painting method:
- Mix a 2% to 5% solution of glyphosate according to the label instructions.
- Put on a nitrile glove, and then a cotton gardening glove over it.
- Dip your cotton-gloved fingers into the herbicide solution.
- Carefully grasp the bindweed vine and slide your fingers up the stem, coating the leaves in the chemical.
- This targeted application ensures the bindweed absorbs the systemic poison without a single drop touching your desirable crops or the surrounding soil.
Prevention and Long-Term Management
Once you have reduced the bindweed population, your focus must shift to prevention. Bindweed thrives in poor, compacted, and neglected soils, but it can also invade healthy, fertile garden beds. To keep it at bay, maintain a thick layer of organic mulch. Applying 3 to 4 inches of arborist wood chips or straw over the soil surface blocks the sunlight that bindweed seedlings require to establish their initial taproot.
Additionally, avoid using unverified compost or manure that may contain bindweed seeds. The composting process must reach and sustain temperatures above 145°F for several weeks to reliably kill bindweed seeds; most home compost piles do not achieve this. Finally, inspect nursery transplants carefully before introducing them to your garden. Bindweed rhizomes frequently hide in the root balls of container-grown perennials, allowing the weed to hitch a ride directly into your pristine raised beds.
The Golden Rule of Bindweed: Never rototill an area infested with field bindweed. Tilling chops the fleshy roots into fragments, turning one severe problem into dozens of new, aggressive shoots. Always rely on smothering, persistent cutting, or targeted chemical applications to manage this resilient weed.
Summary
Field bindweed is a formidable opponent that tests the patience of even the most experienced gardeners. By accurately identifying its spade-shaped leaves and trumpet flowers, understanding its deep root biology, and committing to a long-term strategy of solarization, persistent hoeing, or targeted systemic herbicides, you can successfully reclaim your garden beds. Consistency is your greatest tool; deny the weed sunlight and the ability to flower, and you will eventually starve its root system into submission.