Gardening
When to Plant Garlic: The Ultimate Fall Timing Guide
Understanding Vernalization: Why Timing Matters
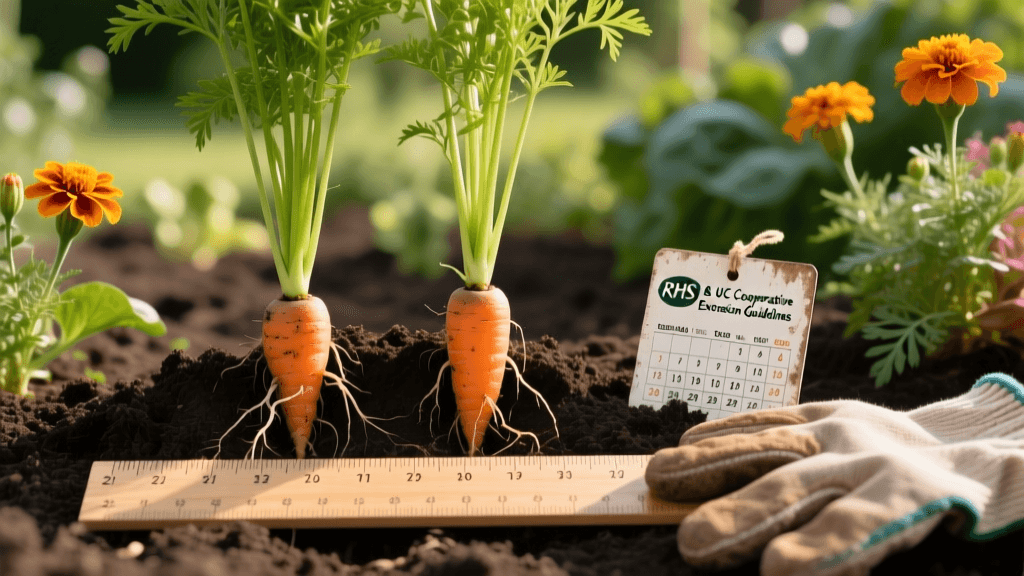
Garlic (Allium sativum) is a cornerstone of the home garden, prized for its robust flavor, long storage life, and relative ease of cultivation. However, unlike tomatoes or peppers that are planted in the warmth of spring, garlic operates on a completely different biological clock. The secret to harvesting massive, tightly wrapped bulbs lies entirely in understanding and executing the correct planting timeline. This timing is dictated by a biological process known as vernalization.
Vernalization is the induction of a plant's flowering process or, in the case of garlic, bulb initiation, through exposure to prolonged cold temperatures. If garlic cloves do not experience a sufficient period of cold (typically between 35°F and 50°F for 4 to 8 weeks), they will fail to divide into individual cloves. Instead, they will produce a single, large, onion-like bulb known as a 'round,' which is difficult to peel and lacks the robust flavor of properly vernalized garlic. Therefore, knowing exactly when to plant garlic in your specific climate zone is the single most critical factor in your crop's success.
The Golden Rule: Fall Planting Timing
For the vast majority of gardeners in North America (USDA Hardiness Zones 3 through 8), fall is the undisputed best time to plant garlic. The golden rule for fall planting is to place your cloves in the ground 2 to 4 weeks before the ground freezes solid for the winter. This specific window allows the clove to develop a robust root system and begin sending out basal plate growth without pushing significant green top growth above the soil line before the deep freeze sets in.
Rather than relying solely on the calendar, professional growers and agricultural extensions recommend monitoring soil temperatures. According to research published by the Penn State Extension, the ideal soil temperature for planting garlic is approximately 50°F (10°C) measured at a depth of 4 inches. If you plant too early when the soil is still warm (above 60°F), the garlic may sprout prematurely, leaving tender green shoots vulnerable to winter kill. If you plant too late, the clove will not have time to establish the root mass necessary to survive frost heave, which can literally push the cloves out of the ground during freeze-thaw cycles.
Hardneck vs. Softneck: Choosing Your Variety
Your planting timing and regional success also depend heavily on the type of garlic you choose to grow:
- Hardneck Garlic (Allium sativum var. ophioscorodon): These varieties are extremely cold-hardy and require a strict, prolonged vernalization period. They produce a rigid central stalk (which yields delicious edible scapes in early summer) and typically feature 4 to 12 large, easily peeled cloves. Hardnecks are the mandatory choice for gardeners in Zones 3 through 6.
- Softneck Garlic (Allium sativum var. sativum): Softnecks have a milder vernalization requirement, making them ideal for Zones 7 through 9. They do not produce a central scape, their necks remain soft (making them perfect for braiding), and they generally store longer than hardnecks. They can contain anywhere from 8 to 20 smaller cloves per bulb.
Regional Timing Guide for Fall Planting
Because first frost dates and ground freeze timelines vary wildly across the continent, you must adapt your planting schedule to your local microclimate. The USDA Plant Hardiness Zone Map is an essential tool for determining your baseline climate metrics. Below is a structured timing chart to guide your fall planting schedule.
| USDA Zone | Typical First Frost | Ideal Planting Window | Target Harvest Time |
|---|---|---|---|
| Zones 3 - 4 | Mid-September | Late Sept to Early Oct | Mid to Late July |
| Zones 5 - 6 | Mid-October | Mid-Oct to Early Nov | Late July to Early Aug |
| Zone 7 | Early November | Early Nov to Mid-Nov | Early to Mid-June |
| Zones 8 - 9 | Rare / Late Dec | Dec to Jan (Pre-chilled) | May to Early June |
Spring Planting: What If You Missed the Fall Window?
Life happens, and sometimes the fall window slips by. If you find yourself in early spring with a bag of seed garlic, all is not lost, but you must intervene manually to trigger vernalization. To spring-plant garlic, you must artificially simulate winter.
Place your seed garlic in a breathable paper bag or mesh sack and store it in the crisper drawer of your refrigerator for 8 to 12 weeks prior to planting. Keep the temperature between 35°F and 40°F. Do not store them near ethylene-producing fruits like apples, as this gas can induce premature sprouting or rot. Once the soil is workable in early spring—usually 4 to 6 weeks before your last expected spring frost—plant the pre-chilled cloves immediately. Note that spring-planted garlic will almost always yield smaller bulbs than fall-planted garlic because the overall growing season is significantly shortened.
Soil Preparation and Planting Depth
Garlic is a heavy feeder that demands loose, well-draining soil rich in organic matter. Heavy clay soils that retain winter moisture will cause garlic cloves to rot long before they can establish roots. According to guidelines from the University of Minnesota Extension, garlic thrives in soil with a pH between 6.0 and 7.0. Before planting, conduct a soil test and amend accordingly.
Step-by-Step Planting Instructions:
- Prepare the Bed: Till or fork the top 8 to 10 inches of soil. Incorporate 2 to 3 inches of finished compost and a balanced, slow-release organic fertilizer. A product high in phosphorus and potassium, such as Espoma Organic Bulb-tone or a generous application of bone meal, is ideal for stimulating strong root and bulb development.
- Break the Bulbs: Break your seed garlic bulbs into individual cloves no more than 24 hours before planting. Crucial: Do not remove the papery husk from the individual cloves, as this protects them from soil-borne pathogens and rot.
- Dig the Trenches: Create furrows or individual holes. In colder climates (Zones 3-6), plant cloves 3 to 4 inches deep to protect against frost heave. In milder climates (Zones 7-9), a depth of 2 inches is sufficient.
- Space and Orient: Space cloves 4 to 6 inches apart within the row, with rows spaced 12 to 18 inches apart. Always plant the clove with the flat basal root plate facing down and the pointed tip facing up. Planting them upside down will result in misshapen bulbs and stunted growth.
- Water In: Water the bed deeply immediately after planting to settle the soil around the cloves and initiate root growth.
Overwintering and Mulching Strategy
Mulching is non-negotiable for fall-planted garlic in freezing climates, but the timing of your mulch application is just as important as the planting date. Do not apply mulch immediately after planting in early autumn. Waiting until the ground has begun to freeze (usually late November or early December in Zone 5) prevents rodents like voles and mice from making a warm, cozy nest in your mulch layer before the real cold arrives.
Once the top layer of soil has hardened from the first few hard freezes, apply a 4 to 6-inch layer of seed-free straw, shredded autumn leaves, or marsh hay. This thick blanket will keep the soil temperature stable throughout the winter, preventing the destructive freeze-thaw cycles that lead to frost heave. In the spring, you can leave the mulch in place to suppress weeds and retain moisture, or gently pull it back if the soil is struggling to warm up.
Expert Tip: 'Never use hay that contains grass or weed seeds as mulch for your garlic bed. Garlic has shallow roots and does not compete well with weeds. Hand-pulling weeds from a mulched bed in early spring is vastly preferable to fighting a weed infestation that steals nutrients from your developing bulbs.' - Master Gardener Best Practices
When to Harvest Your Garlic
Knowing when to plant is only half the battle; knowing when to harvest ensures the bulbs you spent eight months growing are properly protected by their papery wrappers. For hardneck varieties, the first sign of the approaching harvest is the emergence of the 'scape'—a curly, flower-like stalk that appears in early summer. Snip these scapes off as soon as they form a loop to redirect the plant's energy back into bulb swelling.
The actual harvest window arrives when the lower 3 to 4 leaves of the garlic plant have turned completely brown and dried out, while the top 5 to 6 leaves are still partially green. Each green leaf above ground represents one intact layer of protective wrapper paper around the bulb below ground. If you wait until every leaf is brown, the wrappers will have degraded in the soil, and the bulbs will shatter into individual cloves when you pull them, drastically reducing their storage life.
Use a digging fork to gently loosen the soil a few inches away from the base of the plant, then lift the bulbs by their base, not by yanking the stems. Brush off excess soil, but do not wash them with water. Move them immediately to a dark, dry, well-ventilated area (like a garage or covered porch) to cure for 4 to 6 weeks before trimming the roots and stalks for long-term storage.