Landscaping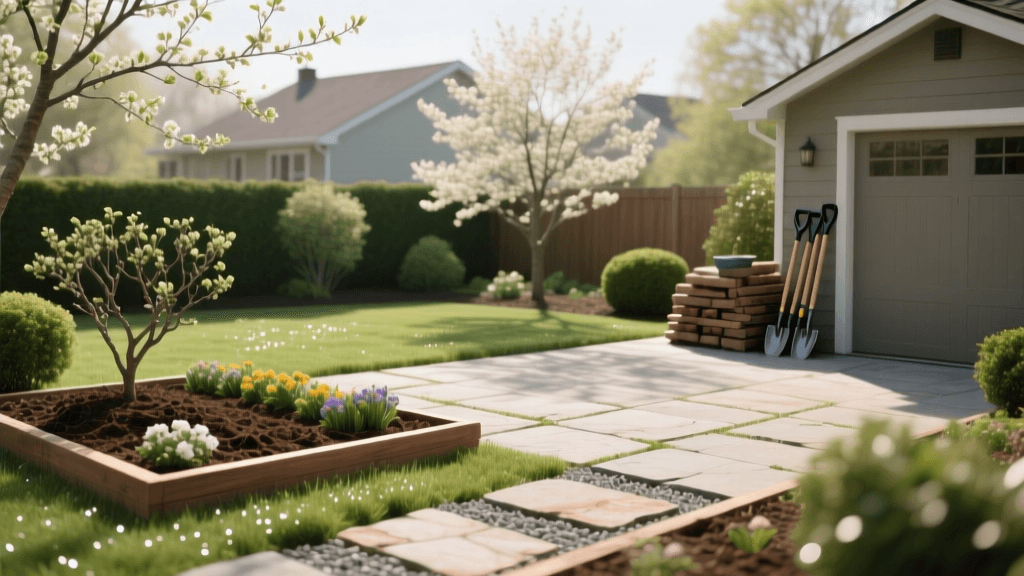
Spring Landscaping and Hardscape Maintenance Checklist
The Importance of a Structured Spring Landscape Schedule
As the frost thaws and the days grow longer, homeowners eagerly anticipate the return to their outdoor living spaces. However, transitioning your yard from the harsh realities of winter to the lush vibrancy of summer requires more than just a quick rake and a bag of fertilizer. A comprehensive spring landscaping and hardscape maintenance checklist is essential for preserving your property value, ensuring plant health, and preventing costly structural repairs. While turfgrass often gets the lion's share of attention, your garden beds, retaining walls, patios, and irrigation systems demand a meticulous, scheduled approach to thrive throughout the growing season.
By breaking down your landscape maintenance into phased, actionable steps, you can tackle the most critical tasks at the exact right time. This guide provides a detailed, professional-grade schedule and checklist to help you restore, protect, and elevate your entire landscape this spring.
Phase 1: Hardscape Inspection and Restoration
Winter weather is notoriously hard on hardscaping. Freeze-thaw cycles can cause frost heave, shifting pavers, cracking mortar, and compromising the structural integrity of retaining walls. Before you focus on planting, you must address the bones of your landscape.
Paver and Patio Maintenance
- Inspect for Frost Heave: Walk your patios and walkways to identify uneven surfaces. If pavers have shifted, carefully remove them, re-grade the crushed stone base, add a fresh layer of bedding sand, and relaid them level.
- Deep Cleaning: Remove winter grime, algae, and efflorescence (white mineral deposits). Use a specialized paver cleaner and a stiff-bristled broom. Avoid high-pressure washing on older pavers, as it can erode the joint sand and damage the surface finish.
- Re-sand and Seal: Sweep polymeric sand into the joints and mist with water to activate the binding agents. Once fully cured, apply a high-quality, breathable paver sealer to protect against UV fading and oil stains.
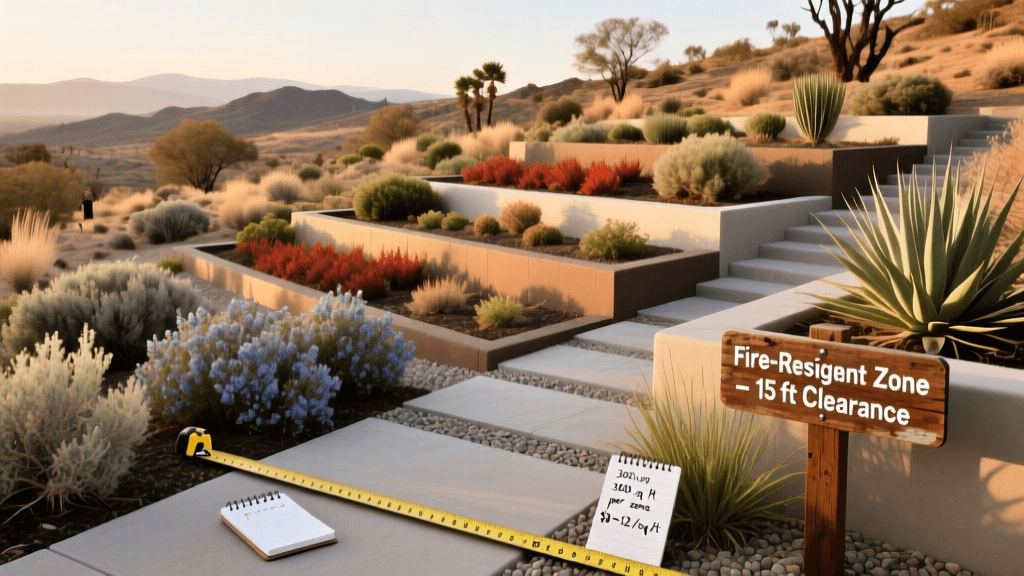
Retaining Wall and Structural Checks
Inspect retaining walls for bulging, cracking, or leaning. Ensure that weep holes and drainage pipes at the base of the wall are completely clear of debris. Blocked drainage is the number one cause of retaining wall failure in the spring, as hydrostatic pressure builds up behind the structure during heavy seasonal rains.
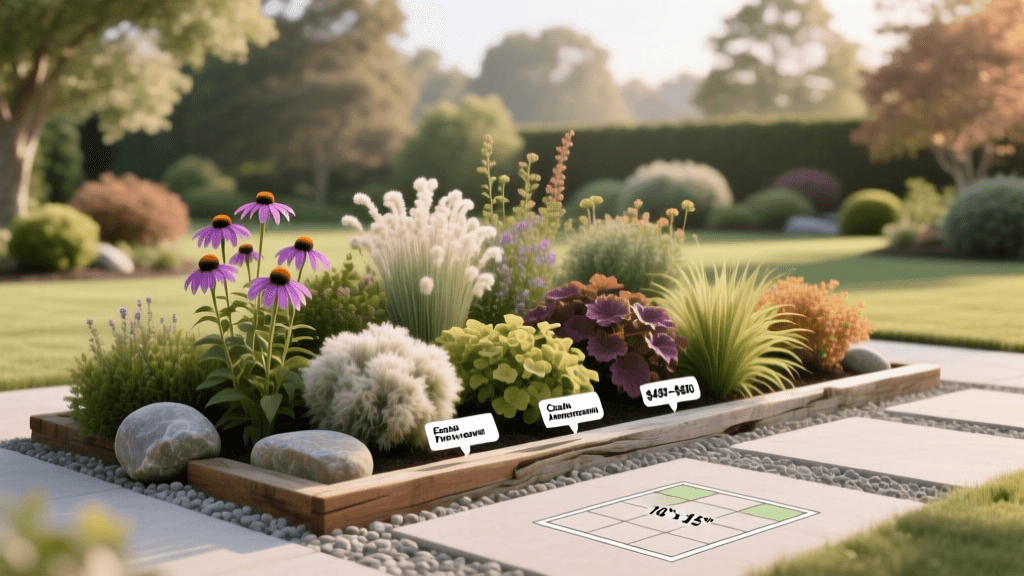
Phase 2: Garden Bed Preparation and Soil Health
Healthy landscapes start from the ground up. Spring is the optimal time to revitalize your soil and prepare your garden beds for new plantings and seasonal color.
Clearing and Cultivating
Begin by removing winter debris, fallen branches, and matted leaves. However, timing is critical for ecological health. Waiting until temperatures are consistently above 50 degrees Fahrenheit before clearing garden beds is crucial to protect overwintering pollinators, notes the University of Minnesota Extension. Once cleared, lightly cultivate the top inch of soil to break up crusted surfaces, allowing water and oxygen to reach the root zones of your perennials and shrubs.
Soil Testing and Amendment
Before applying any fertilizers, conduct a soil test. You can purchase DIY kits or send core samples to your local university extension office. This will reveal your soil's pH and baseline nutrient levels (Nitrogen, Phosphorus, and Potassium). Amend heavy clay soils with organic compost to improve drainage, and add elemental sulfur or lime to adjust the pH based on your specific plant requirements.
Mulching Best Practices
Mulch is vital for moisture retention, weed suppression, and soil temperature regulation. However, improper application can harm your landscape.
According to the Penn State Extension, applying a 2- to 3-inch layer of organic mulch is ideal, but it must be kept away from the base of tree trunks to prevent rot and pest infestations. Avoid creating 'mulch volcanoes' that suffocate root flares.
Phase 3: Irrigation and Drainage System Checklists
Water management is the backbone of a sustainable and thriving landscape. A proper spring startup routine ensures your system operates efficiently and prevents water waste.
Spring Irrigation Startup
- Slowly Open the Mainline Valve: Prevent water hammer (a shockwave that can shatter PVC pipes) by opening the main water valve just a fraction, allowing the lines to fill slowly and equalize pressure.
- Inspect Valves and Sprinkler Heads: Run each zone manually. Check for leaking valves, sunken sprinkler heads, and clogged nozzles. Adjust rotary heads to ensure they are not spraying onto hardscapes or the side of your home.
- Test the Rain Sensor: Ensure your rain or soil moisture sensor is functioning correctly to prevent the system from running during or immediately after a rainfall.
The EPA WaterSense program highlights that outdoor water use can account for up to 60 percent of total household water consumption during the summer months, making early leak detection and smart controller upgrades vital for both your wallet and the environment.
Phase 4: Pruning and Plant Care Timelines
Pruning at the wrong time of year can devastate your seasonal blooms. Understanding the flowering habits of your shrubs and trees is essential for a proper spring schedule.
- Spring-Blooming Shrubs: Plants like lilacs, forsythia, azaleas, and bigleaf hydrangeas (Hydrangea macrophylla) set their flower buds on 'old wood' during the previous fall. Do not prune these in early spring, or you will cut off this year's blooms. Wait until immediately after they finish flowering in late spring or early summer.
- Summer-Blooming Shrubs: Plants that bloom on 'new wood', such as butterfly bushes, panicle hydrangeas (Hydrangea paniculata), and beautyberry, should be pruned aggressively in early spring before new growth emerges.
- Deadwood Removal: For all trees and shrubs, early spring is the perfect time to remove the 'Three Ds': Dead, Damaged, and Diseased wood. This improves air circulation and directs the plant's energy into healthy new growth.
The Ultimate Spring Landscaping Schedule
Use this structured timeline to keep your landscape projects organized and on track. Costs are estimates and may vary based on property size and regional material prices.
| Timeframe | Landscaping Task | Tools and Materials Needed | Estimated Cost |
|---|---|---|---|
| Early March | Hardscape inspection, paver cleaning, and wall drainage checks | Stiff broom, paver wash, polymeric sand | $50 - $150 |
| Mid-March | Irrigation system startup, zone testing, and head realignment | Adjustment tool, replacement nozzles, Teflon tape | $30 - $100 |
| Late March | Soil testing, bed cultivation, and pruning summer-blooming shrubs | Soil test kit, hand trowel, bypass pruners, loppers | $20 - $80 |
| Early April | Applying pre-emergent herbicides to beds and hardscape joints | Granular pre-emergent, broadcast spreader, gloves | $40 - $120 |
| Mid-April | Fresh mulch application and edging of garden beds | Bulk hardwood mulch, steel edging spade, wheelbarrow | $150 - $400 |
| Late April | Outdoor lighting inspection and seasonal plant installations | Multimeter, lens cleaning wipes, annual flats, trowel | $100 - $300 |
Phase 5: Outdoor Lighting and Low-Voltage Maintenance
Landscape lighting enhances curb appeal and provides essential security, but winter weather can take a toll on low-voltage systems. Include these steps in your spring checklist:
- Transformer Check: Inspect the main transformer for moisture intrusion or frayed wiring. Ensure the timer or photocell is adjusted for the longer daylight hours of spring and summer.
- Fixture Cleaning: Wipe down glass lenses with a non-abrasive cleaner to remove hard water spots and dirt, which can significantly reduce light output.
- Repositioning: As plants grow, they can obstruct path lights and uplights. Adjust the angles of your fixtures and trim back any encroaching foliage to maintain your intended lighting design.
Conclusion: Setting the Stage for Summer
A beautiful, functional landscape does not happen by accident; it is the result of intentional, scheduled maintenance. By systematically working through this spring landscaping and hardscape checklist, you address structural vulnerabilities, optimize soil and water health, and set the stage for a vibrant outdoor living season. Investing a few weekends in early spring preparation will save you countless hours of troubleshooting, weeding, and repairing during the peak heat of summer. Grab your tools, consult your schedule, and transform your property into the neighborhood showcase it was meant to be.