
Gardening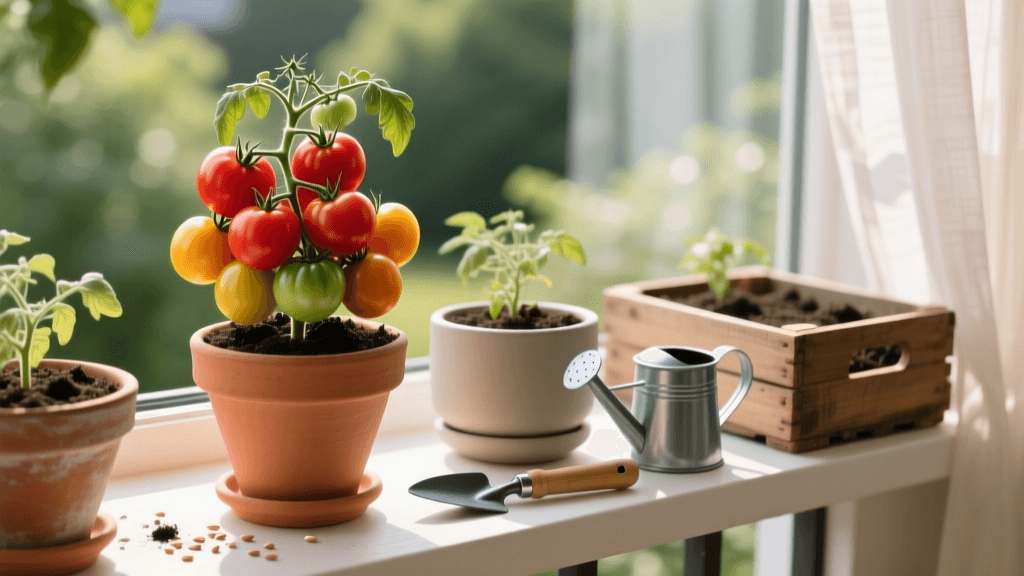
Beginner Guide to Growing Container Tomatoes Successfully
Why Grow Tomatoes in Containers?
Tomatoes are the undisputed champions of the home garden, but not everyone has the luxury of a sprawling backyard with perfect, loamy soil. For beginners, urban dwellers, or those dealing with poor native soil and heavy pest pressure, container gardening offers a highly effective, manageable, and rewarding alternative. Growing tomatoes in pots allows you to control the soil quality, easily move plants to chase the sun, and drastically reduce the risk of soil-borne diseases like verticillium wilt and root-knot nematodes.
If you are a beginner looking to harvest your own juicy, sun-ripened tomatoes this summer, this comprehensive guide will walk you through every step of the process. From selecting the right pot to mastering the watering schedule, we have compiled actionable, budget-friendly advice to ensure your first container tomato crop is a massive success.
Selecting the Right Container
The most common mistake beginners make is choosing a pot that is too small. Tomatoes have extensive, aggressive root systems that require ample space to access water and nutrients. A cramped root system leads to stunted growth, blossom drop, and poor yields. As a general rule, you need a minimum of 5 gallons of soil volume for dwarf or determinate varieties, and at least 10 to 15 gallons for larger, indeterminate varieties.
Below is a comparison chart to help you choose the best container type for your space and budget:
| Container Type | Minimum Size | Estimated Cost | Pros | Cons |
|---|---|---|---|---|
| Fabric Grow Bags | 10 Gallons | $8 - $15 each | Air-prunes roots for healthier growth; excellent drainage; lightweight and foldable for winter storage. | Dries out much faster than plastic; can be floppy when empty; may stain wooden decks. |
| Plastic Nursery Pots | 5 Gallons | $5 - $10 each | Retains moisture well; very affordable; easy to find at local garden centers. | Poor aeration can lead to root circling; dark colors can overheat roots in peak summer. |
| Glazed Ceramic | 15 Gallons | $40 - $80+ each | Extremely stable in high winds; beautiful aesthetic; retains moisture and insulates roots. | Very heavy to move; expensive; requires careful winterization to prevent cracking. |
| Upcycled Buckets | 5 Gallons | $3 - $5 each | Highly affordable; durable; perfect for DIY self-watering setups. | Requires drilling drainage holes; not visually appealing without decoration. |
Pro Tip: Regardless of the material you choose, ensure your container has at least four to six drainage holes at the bottom. Tomatoes despise 'wet feet,' and standing water will quickly lead to fatal root rot.
Mixing the Perfect Container Soil
Never use topsoil or garden soil from your yard in a container. Garden soil is too dense, compacts easily in a pot, and will suffocate your tomato roots while failing to drain properly. Instead, you need a light, fluffy, and nutrient-rich potting mix.
While you can buy pre-bagged mixes like Espoma Organic Potting Mix (around $15 for a 1.5 cubic foot bag), mixing your own is often more cost-effective and yields better results. Here is a beginner-friendly, high-yield soil recipe:
- 2 Parts High-Quality Potting Soil or Peat Moss/Coco Coir: Provides the base structure and moisture retention.
- 1 Part Finished Compost: Adds a slow-release buffet of micronutrients and beneficial biology.
- 1 Part Perlite or Pumice: Ensures proper aeration and prevents soil compaction.
- 1 Cup Worm Castings (per 5 gallons of mix): A gentle, potent organic fertilizer that boosts plant immunity.
- 2 Tablespoons Granular Organic Fertilizer: Mix in a balanced organic fertilizer like Espoma Tomato-tone (3-4-6) before planting to give roots an immediate food source.
Choosing Beginner-Friendly Tomato Varieties
When shopping for seeds or seedlings, you will encounter two main growth habits: Determinate (bush) and Indeterminate (vining). For beginners growing in containers, determinate or semi-determinate varieties are highly recommended. They grow to a compact, predetermined height (usually 3 to 4 feet), produce their fruit over a concentrated 3-to-4-week window, and require minimal pruning or staking compared to their sprawling indeterminate cousins.
Top 3 Container Varieties for Beginners
- Patio Princess: A dwarf variety specifically bred for pots. It reaches only 24 inches tall but produces an abundance of sweet, salad-sized tomatoes.
- Bush Early Girl: A reliable, disease-resistant determinate hybrid that produces large, slicing tomatoes in just 55 days from transplant.
- Tiny Tim: Perfect for small spaces or window boxes. This heirloom cherry tomato stays under 18 inches and requires no staking.
Step-by-Step Planting Guide
Timing is everything. Tomatoes are highly sensitive to cold. Wait to transplant your seedlings outdoors until at least one to two weeks after your region's last expected spring frost date, when nighttime temperatures consistently stay above 50°F (10°C).
The Deep Planting Method
Unlike most plants, tomatoes have the unique ability to grow adventitious roots all along their buried stems. You can use this to your advantage to build a massive, drought-resistant root system.
- Fill your container with the prepared soil mix, leaving about 2 inches of space from the rim.
- Gently remove the tomato seedling from its nursery pot. Pinch off the bottom two or three sets of leaves.
- Dig a deep hole in the center of your container. Bury the tomato stem deeply, so that only the top cluster of leaves is visible above the soil line.
- Backfill with soil, gently tamping it down to remove large air pockets.
- Water thoroughly until water flows freely from the bottom drainage holes.
Watering, Feeding, and Ongoing Care
Consistent care is the secret to a bountiful harvest. Containers dry out much faster than in-ground garden beds, especially during the heat of mid-summer.
Watering Rules
Aim to provide 1 to 2 inches of water per week, but rely on the 'finger test' rather than a strict calendar schedule. Push your index finger two inches into the soil. If it feels dry, it is time to water. Always water at the base of the plant in the early morning. Avoid overhead watering, as wet foliage invites fungal diseases like early blight and powdery mildew.
Feeding Schedule
Potting soil and compost provide a good start, but heavy-feeding tomatoes will deplete container nutrients within 4 to 6 weeks. Once the plant begins to flower, begin a bi-weekly feeding regimen. Use a liquid organic fertilizer like Neptune's Harvest Tomato & Veg Formula (2-4-2) or apply a top-dressing of granular Tomato-tone every three weeks, scratching it lightly into the top inch of soil before watering.
Companion Planting in Your Tomato Pots
You do not have to leave the surface of your large tomato containers bare. Companion planting helps maximize space, deters pests, and improves plant health. Try planting these beneficial companions around the base of your tomato:
- Marigolds: Their strong scent masks the tomato's aroma from pests, and their roots exude compounds that deter harmful root-knot nematodes.
- Basil: A classic culinary pairing in the garden as well as the kitchen. Many gardeners swear that growing basil near tomatoes improves their flavor and repels tomato hornworms.
- Nasturtiums: Acts as a 'trap crop,' drawing aphids away from your precious tomato plants while adding a beautiful, edible splash of color to your container.
Troubleshooting Common Beginner Mistakes
Even with the best preparation, beginners often encounter a few common hurdles. Here is how to identify and fix them quickly.
Blossom End Rot
If the bottom of your green or ripening tomatoes turns black, sunken, and leathery, you are dealing with blossom end rot. Many beginners assume this is a disease or a lack of calcium in the soil, but it is almost always a watering issue.
According to the University of Minnesota Extension, 'Blossom end rot is a physiological disorder caused by a calcium deficiency in the developing fruit. It is most often triggered by fluctuating soil moisture levels rather than a true lack of calcium in the soil.' When the soil dries out completely and is then flooded, the plant cannot transport calcium to the fruit efficiently.
The Fix: Maintain strictly consistent soil moisture. Apply a 1-inch layer of organic mulch, such as straw or shredded leaves, to the top of your container soil to lock in moisture and regulate temperature. Remove affected fruits so the plant can redirect energy to healthy new growth.
Tomato Splitting
Cracks radiating from the stem or concentric circles on the fruit skin occur when a dry plant suddenly receives a massive influx of water (like a heavy summer thunderstorm). The fruit swells faster than the skin can stretch. Keeping your watering schedule consistent and utilizing mulch will prevent this cosmetic, though entirely edible, issue.
Harvesting Your Reward
Harvest your tomatoes when they are fully colored but still slightly firm to the touch. If a late frost or a heavy pest invasion threatens your crop in late summer, you can pick mature green tomatoes and ripen them indoors in a paper bag with a banana, which emits ethylene gas to speed up the process. With the right container, a premium soil mix, and consistent moisture, your beginner container tomato garden will yield a delicious, cost-effective harvest that puts grocery store produce to shame.

