Pest Control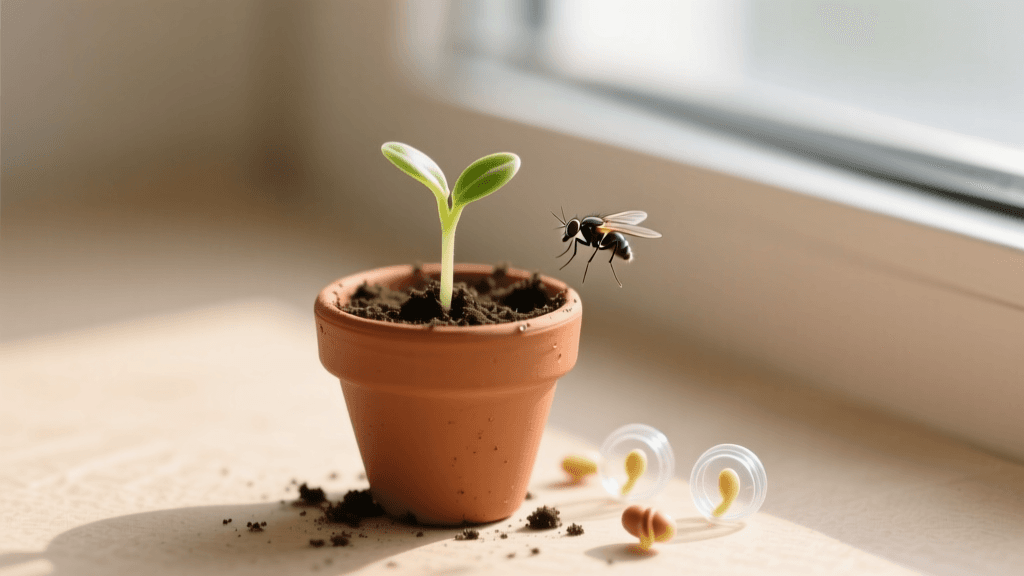
Beginner Guide To Fungus Gnat Control In Seedlings
Welcome to the Seed Starting Journey
Starting seeds indoors is one of the most rewarding milestones for any beginner gardener. Watching tiny green shoots break through the soil feels like a small miracle. However, nothing ruins the excitement of a new indoor garden quite like a sudden cloud of tiny, hovering black flies. If you are seeing small insects crawling across your seedling trays or buzzing around your grow lights, you are likely dealing with fungus gnats. While they are a common nuisance, they can quickly become a severe threat to your fragile young plants if left unchecked. This beginner-friendly guide will walk you through exactly what fungus gnats are, how to identify them, and how to implement a highly effective, low-cost Integrated Pest Management (IPM) strategy to save your seedlings.
Understanding the Enemy: The Fungus Gnat Lifecycle
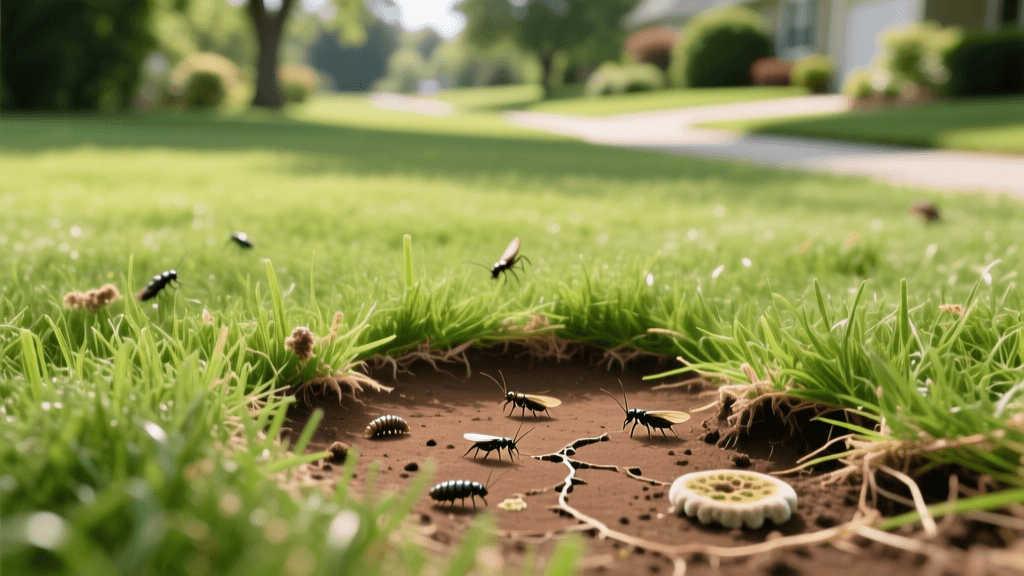
To defeat a pest, you must understand its biology. According to the University of California Agriculture and Natural Resources (UC ANR), fungus gnats thrive in the exact conditions beginners often provide: warm, consistently moist, and organic-rich soil. The gnat lifecycle consists of four stages: egg, larva, pupa, and adult. The entire cycle can take as little as three to four weeks, meaning populations can explode rapidly indoors where temperatures are controlled.
The adult gnats you see flying around are mostly a nuisance. They do not bite humans or pets, and they do not directly damage plants. Their sole purpose is to mate and lay up to 200 eggs in the top layer of your damp seed-starting mix. The real villains are the larvae. These tiny, translucent, worm-like creatures live in the soil and feed on fungi, decaying organic matter, and most importantly, the tender, microscopic root hairs of your seedlings. Severe larval feeding can stunt growth, cause yellowing leaves, and even vector deadly fungal diseases like Pythium, which causes a fatal seedling condition known as 'damping off'.
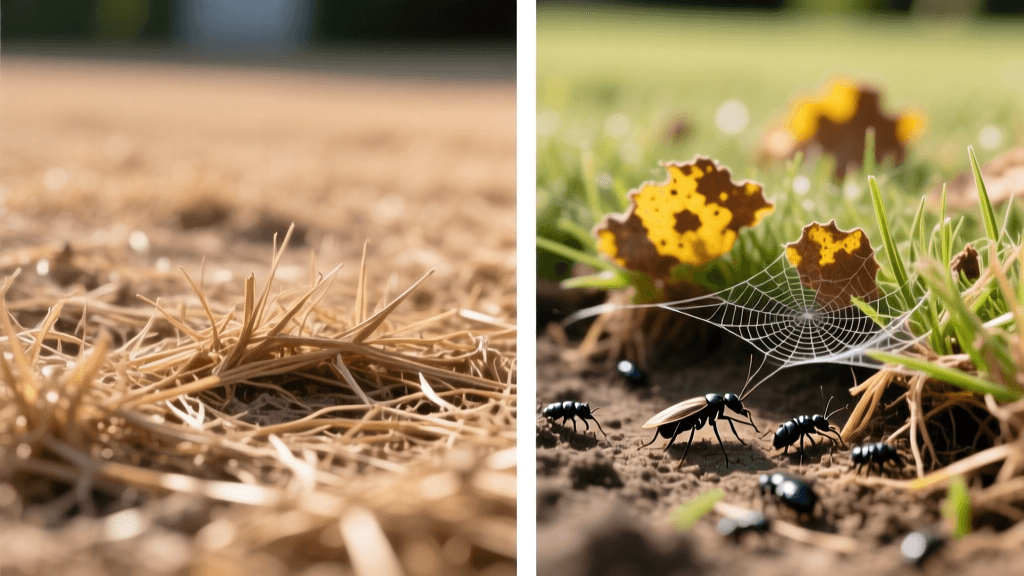
How to Identify a Fungus Gnat Infestation
Catching an infestation early is key to saving your crop. Here is what to look for:
- Adults: Tiny, dark gray or black flies about 1/8 inch long. They are weak fliers and tend to run rapidly across the soil surface when disturbed, or hover lazily around the plant canopy and grow lights.
- Larvae: Difficult to see with the naked eye. They have shiny black head capsules and translucent white bodies. If you suspect larvae, place a slice of raw potato on the soil surface for 24 hours; larvae will gather on the underside to feed, making them visible.
- Plant Symptoms: Seedlings may suddenly stop growing, wilt despite moist soil, or develop yellowing lower leaves due to root damage.
The Beginner's Action Plan: Treating Fungus Gnats
Eradicating fungus gnats requires a two-pronged approach: killing the flying adults to stop egg-laying, and eliminating the soil-dwelling larvae to protect roots. Here is your step-by-step action plan.
Step 1: Adjust Your Watering Habits (Cost: $0)
Fungus gnats require constantly moist soil to survive. The single most effective cultural control is to let the top 1 to 2 inches of your seed-starting mix dry out completely between waterings. This dry layer acts as a barrier, preventing adults from laying eggs and causing existing shallow eggs and young larvae to desiccate and die. For seedlings that require constant moisture, switch to 'bottom watering' by placing your seed trays in a shallow basin of water for 15 minutes, allowing the soil to wick moisture upward while the top layer remains dry.
Step 2: Deploy Yellow Sticky Traps (Cost: $5 - $10)
Adult fungus gnats are highly attracted to the color yellow. Inserting yellow sticky card traps into your seedling trays is an excellent way to monitor the population and trap breeding adults. Place one trap for every 2 square feet of seedling space, positioning them just above the soil surface. This will not solve the root problem, but it drastically reduces the number of females available to lay the next generation of eggs.
Step 3: Apply a BTI Soil Drench (Cost: $10 - $15)
To target the larvae, you need Bacillus thuringiensis israelensis, commonly known as BTI. BTI is a naturally occurring soil bacterium that produces proteins toxic only to the larvae of gnats, mosquitoes, and black flies. It is completely safe for humans, pets, plants, and beneficial soil microbes. A popular consumer product containing BTI is 'Mosquito Bits'.
How to make a BTI Tea:
- Measure 4 tablespoons of Mosquito Bits per 1 gallon of warm water.
- Let the mixture steep for 24 to 48 hours, stirring occasionally. This allows the BTI spores to leach into the water.
- Strain out the bits (or leave them in, though straining prevents mold on the soil surface).
- Use this BTI-infused water to water your seedlings from the top, thoroughly drenching the soil.
- Repeat every 7 to 10 days for at least three cycles to break the lifecycle.
As noted by Penn State Extension, BTI is one of the most reliable and environmentally friendly biological controls available for indoor growers.
Step 4: Neem Oil Soil Drench (Alternative or Supplemental Treatment)
If BTI is unavailable, cold-pressed Neem Oil containing azadirachtin can be used as a soil drench. Neem acts as an insect growth regulator, disrupting the molting process of the larvae. Mix 1 tablespoon of pure cold-pressed neem oil and 1/2 teaspoon of mild liquid dish soap (as an emulsifier) into 1 gallon of warm water. Drench the soil thoroughly. Note that neem oil can have a strong odor, so ensure your growing area is well-ventilated.
Treatment Comparison Chart
Use the table below to choose the right combination of treatments for your specific situation and budget.
| Treatment Method | Target Life Stage | Estimated Cost | Ease of Use | Time to Results |
|---|---|---|---|---|
| Dry Topsoil / Bottom Watering | Eggs & Young Larvae | $0 | High | 1 - 2 Weeks |
| Yellow Sticky Traps | Adults | $5 - $10 | High | Immediate (Trapping) |
| BTI Soil Drench | Larvae | $10 - $15 | Medium (Requires Steeping) | 1 - 2 Weeks |
| Neem Oil Soil Drench | Larvae | $10 - $15 | Medium | 2 - 3 Weeks |
| Hydrogen Peroxide (3%) Flush | Larvae & Eggs | $5 | High | Immediate (Contact Kill) |
Prevention: Setting Up Your Seed Station for Success
According to the Clemson University Cooperative Extension, prevention is always easier than eradication. When starting your next batch of seeds, implement these foundational rules to ensure gnats never get a foothold:
- Use Sterile Seed Starting Mix: Never use garden soil or reused potting soil for seedlings. Garden soil is teeming with fungi and potentially gnat eggs. Always purchase a fresh, sterile, bagged seed-starting mix composed of peat moss or coco coir, perlite, and vermiculite.
- Provide Adequate Airflow: Stagnant, humid air is a breeding ground for fungal growth (the gnat's primary food source). Place a small oscillating fan near your seedling trays to keep the air moving. This strengthens the seedling stems and dries the soil surface faster.
- Store Soil Properly: If you have leftover seed-starting mix, seal the bag tightly with a clip or transfer it to an airtight plastic bin. An open bag of damp soil in a garage or greenhouse is an open invitation for wild gnats to lay eggs.
- Sanitize Trays: Before starting a new season, wash your plastic seedling trays with a 10% bleach solution to kill any lingering fungal spores or pest eggs from previous grows.
Conclusion
Discovering fungus gnats in your seedling trays is a rite of passage for almost every indoor gardener. While they can be frustrating, they are entirely manageable with a calm, methodical approach. By combining cultural controls like bottom-watering with targeted biological treatments like BTI and sticky traps, you can break the breeding cycle and protect your plant's root systems. Stick to your treatment schedule for at least three to four weeks to ensure every generation of the pest is eliminated, and your seedlings will soon be robust enough to transplant into the outdoor garden.