
Gardening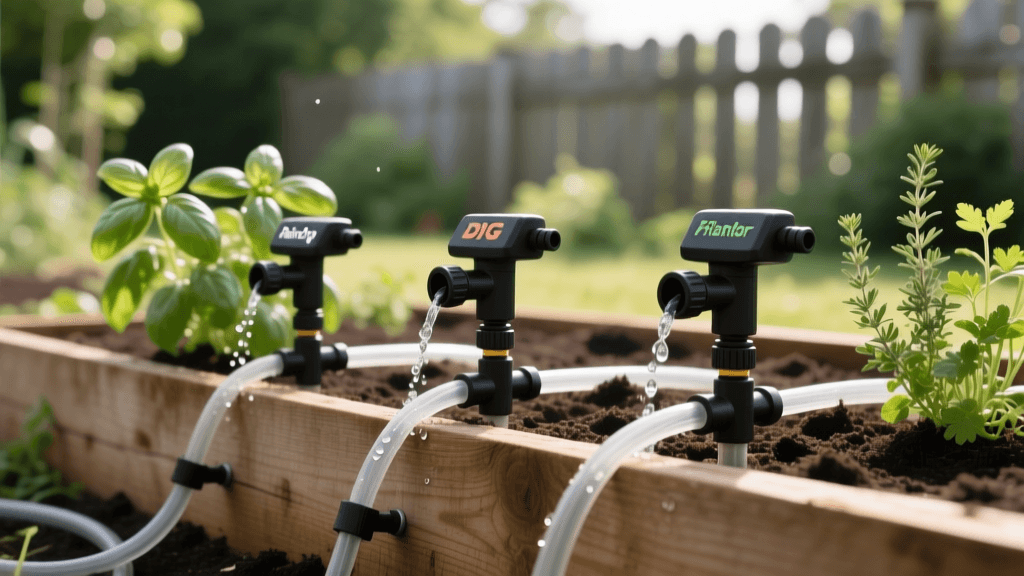
Best Drip Irrigation Kits for Raised Beds: 2024 Review
Why Drip Irrigation is Essential for Raised Beds
Raised bed gardening offers incredible advantages for home growers, from superior soil drainage to extended growing seasons. However, the very design that makes raised beds so effective—elevated, loose, and well-draining soil—also means they dry out significantly faster than traditional in-ground garden rows. Hand watering is time-consuming and often leads to uneven moisture levels, while overhead sprinklers waste water and promote fungal diseases on wet foliage.
According to the Colorado State University Extension, drip irrigation systems can reduce water usage by 30% to 50% compared to traditional sprinkler systems. By delivering moisture directly to the root zone at a slow, steady rate, drip lines minimize evaporation and runoff. For raised bed vegetable gardens, this targeted approach is the gold standard for maintaining consistent soil moisture, which is critical for preventing issues like blossom end rot in tomatoes and splitting in root vegetables.
In this comprehensive product review and comparison, we evaluate the three best drip irrigation kits on the market specifically tailored for raised bed gardens. We break down their costs, components, setup times, and overall efficiency to help you choose the perfect system for your backyard harvest.
How We Tested and Ranked Irrigation Kits
Our testing methodology involved installing each kit in standard 4-foot by 8-foot cedar raised beds filled with a loamy compost blend. We evaluated the kits based on five core metrics:
- Component Quality: UV resistance of the tubing and durability of the plastic fittings.
- Emission Consistency: Whether emitters at the end of the line received the same water pressure as those near the source.
- Customizability: The ease of cutting, routing, and expanding the tubing around different plant layouts.
- Setup Time: How long it took an average gardener to unbox, assemble, and test the system.
- Value: The cost per square foot of coverage and the inclusion of essential accessories like filters and pressure regulators.
Top 3 Drip Irrigation Kits for Raised Beds Compared
1. Raindrip R560DP: Best Overall for Beginners
The Raindrip R560DP is a staple in the gardening community, and for good reason. Priced at approximately $49.99, this kit is designed specifically for containers and small raised beds. It includes 75 feet of 1/4-inch drip tubing, 20 adjustable drippers, and a complete faucet connection kit featuring a timer, filter, and pressure regulator.
Pros: The inclusion of a battery-operated timer and a 25 PSI pressure regulator right out of the box makes this a true plug-and-play solution. The adjustable drippers allow you to dial in the exact flow rate (from 0 to 15 gallons per hour) depending on whether you are watering a thirsty squash plant or a delicate herb.
Cons: The kit relies entirely on 1/4-inch tubing for the main lines. While flexible, 1/4-inch tubing can restrict water flow if you attempt to daisy-chain too many emitters on a single run. It is best suited for beds with fewer than 20 individual plants.
Best For: Beginner gardeners with one or two raised beds who want an all-in-one package without making a trip to the hardware store for extra fittings.
2. DIG Geodrip Micro Drip Kit: Best for Large Raised Beds
If you are managing multiple large raised beds or growing water-intensive crops like corn and melons, the DIG Geodrip Micro Drip Kit (Model G77AS) is a professional-grade solution. Retailing around $74.50, this kit utilizes a robust 1/2-inch polyethylene mainline tubing with pre-punched, pressure-compensating emitters spaced every 12 inches.
Pros: The pressure-compensating emitters are a game-changer for raised beds with uneven terrain or long tubing runs. They ensure that the first emitter and the last emitter output the exact same amount of water (1 gallon per hour). The 1/2-inch mainline is highly durable, UV-resistant, and easily snakes down the center of a 4x8 bed.
Cons: The kit does not include an automatic timer or a faucet adapter; you must purchase a hose-end timer and a 200-mesh filter separately. Punching additional holes for custom emitter placement requires a specialized DIG punch tool, which adds to the initial cost.
Best For: Experienced gardeners and homesteaders with extensive raised bed layouts who prioritize long-term durability and precise, uniform water distribution.
3. Flantor Garden Irrigation System: Best Budget Customizable Kit
The Flantor Garden Irrigation System is a highly versatile, budget-friendly option available for about $29.99. Rather than a rigid pre-designed layout, Flantor provides 82 feet of 1/4-inch blank tubing, a massive assortment of T-connectors, L-connectors, and a mix of misting nozzles and drip emitters.
Pros: The sheer volume of connectors allows for unparalleled customization. You can build a grid system, run parallel lines, or create custom loops around specific plants. The misting nozzles are excellent for starting delicate seeds or maintaining humidity in cold frames attached to raised beds.
Cons: The plastic fittings are somewhat brittle compared to premium brands. In high-heat summer conditions, the 1/4-inch tubing can soften, and the barbed connectors may pop out if the water pressure exceeds 20 PSI. A pressure regulator is absolutely mandatory with this kit.
Best For: DIY enthusiasts on a tight budget who enjoy tinkering and designing custom irrigation layouts for uniquely shaped raised beds or container clusters.
Side-by-Side Comparison Chart
| Feature | Raindrip R560DP | DIG Geodrip G77AS | Flantor Custom Kit |
|---|---|---|---|
| Approximate Cost | $49.99 | $74.50 | $29.99 |
| Main Tubing Size | 1/4-inch | 1/2-inch | 1/4-inch |
| Emitter Type | Adjustable Drippers | Pressure-Compensating | Mix of Drip and Mist |
| Timer Included? | Yes | No | No |
| Filter & Regulator | Yes (Both Included) | Filter Only | No |
| Setup Difficulty | Easy | Moderate | Moderate to Hard |
| Ideal Bed Size | Small (e.g., 4x4) | Large (e.g., 4x12) | Custom / Odd Shapes |
Emitter Spacing Guidelines Based on Soil Type
When configuring your raised bed drip system, emitter spacing is just as critical as the hardware you choose. Water moves differently through various soil textures due to capillary action. The University of California Agriculture and Natural Resources (UC ANR) division recommends adjusting emitter spacing based on your soil profile to ensure complete root zone coverage without dry spots.
- Sandy Soil: Water percolates straight down with very little lateral spread. Space emitters 6 to 8 inches apart to ensure overlapping wetting patterns.
- Loamy Soil: The ideal raised bed mix. Water spreads laterally and vertically in a balanced bulb. Space emitters 12 inches apart.
- Clay-Heavy Soil: Water spreads widely on the surface before sinking. Space emitters 18 to 24 inches apart to prevent waterlogging and surface pooling.
Installation Tips for Maximum Efficiency
To get the most out of your chosen irrigation kit, follow these professional installation steps:
- Always Use a Filter and Regulator: Drip emitters have tiny orifices that clog easily from sediment in municipal or well water. A 200-mesh filter prevents debris blockages, while a pressure regulator drops standard household water pressure (often 50-80 PSI) down to the 15-25 PSI required for drip lines. High pressure will blow out fittings and rupture tubing.
- Route Tubing Under Mulch: Once your system is laid out and tested, cover the drip lines with 2 to 3 inches of organic mulch, such as straw or shredded leaves. This protects the plastic from UV degradation, hides the unsightly tubing, and further reduces soil evaporation.
- Secure the Lines: Raised bed soil settles over the season. Use 6-inch galvanized landscape staples or specialized drip tubing stakes every 3 feet to anchor the lines and prevent them from shifting when you are weeding or harvesting.
Winterizing Your Drip System
If you live in a climate with hard freezes, leaving water in your drip lines will cause the plastic to crack and shatter. Before the first frost, disconnect the timer, filter, and pressure regulator and store them indoors. Open all end caps and flush the lines with water to remove dirt. If possible, use an air compressor set to a low PSI (under 20 PSI) to blow out residual water from the micro-tubing. Store the tubing in a shed or garage to extend its lifespan by several years.
Final Verdict
Choosing the right drip irrigation kit depends entirely on your garden's scale and your personal gardening style. For the average home gardener looking for a reliable, hassle-free introduction to automated watering, the Raindrip R560DP remains our top overall pick due to its inclusive component list and beginner-friendly design. However, if you are scaling up your food production and demand commercial-grade reliability, investing in the DIG Geodrip system will save you time, water, and frustration in the long run. Regardless of your choice, transitioning to drip irrigation is one of the most impactful upgrades you can make for a thriving, productive raised bed garden.

