
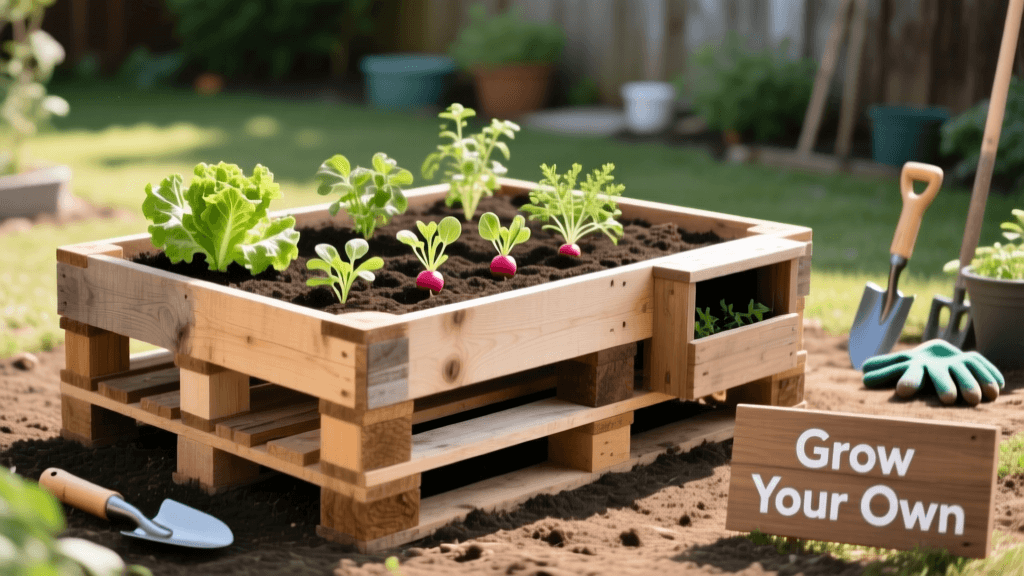
Build a Budget DIY Pallet Raised Garden Bed and Composter
Gardening is a deeply rewarding endeavor that bridges the gap between indoor living and the natural world outside. However, the costs associated with setting up a productive outdoor space can quickly spiral out of control. Commercial raised garden beds often cost upwards of $150 to $300 each, and standalone compost bins can easily add another $100 to your budget. For home gardeners looking to maximize their yield without emptying their wallets, upcycling is the ultimate strategy. In this comprehensive guide, we will walk you through building a budget DIY pallet raised garden bed and a matching compost bin for under fifty dollars.
Why Choose Upcycled Pallets for Garden Beds?
Wooden shipping pallets are the unsung heroes of the DIY landscaping world. They are abundant, often free, and constructed from durable hardwoods or softwoods designed to withstand heavy loads. By repurposing pallets, you not only save money but also divert usable timber from landfills. A standard pallet measures 48 by 40 inches, making it the perfect modular building block for a 4x4 foot raised garden bed. This specific size is widely recommended by horticulturists because it allows you to reach the center of the bed from any side without stepping on and compacting the delicate soil structure.
Decoding Pallet Stamps: Safety First
Before you start dismantling wood, you must ensure the pallets are safe for growing edible plants. Pallets are treated to prevent the spread of invasive insects and plant diseases, but some chemical treatments are highly toxic. Always inspect the pallets for an IPPC (International Plant Protection Convention) stamp. According to agricultural safety guidelines, you should only use pallets marked with specific safe-treatment codes.
| Stamp Code | Meaning | Safe for Garden? |
|---|---|---|
| HT | Heat Treated | Yes |
| KD | Kiln Dried | Yes |
| DB | Debarked | Yes |
| MB | Methyl Bromide | No (Toxic) |
Never use pallets that are stained, smell of chemicals, or have no stamp at all, as their history is unknown. For more information on safe materials for garden structures, refer to resources from the University of Minnesota Extension, which emphasizes the importance of avoiding chemically treated lumber like old railroad ties or CCA-treated wood in edible gardens.
Materials and Tools Needed
- 4 to 6 Heat-Treated (HT) Pallets (Free)
- Two 8-foot 2x4 lumber pieces for corner bracing ($12)
- 1 lb box of 2.5-inch exterior wood screws ($10)
- 1/2-inch galvanized hardware cloth, 4x4 foot roll ($15)
- Cardboard boxes (Free, upcycled)
- Crowbar or reciprocating saw (Owned/Borrowed)
- Drill with Phillips and drill bits (Owned/Borrowed)
- Tape measure, speed square, and level (Owned/Borrowed)
Total estimated out-of-pocket cost: $37.00. By sourcing free pallets from local hardware stores, garden centers, or industrial parks (always ask for permission first), you keep the budget remarkably low while securing high-quality building materials.
Step-by-Step Construction Guide
Step 1: Dismantling and Prepping the Wood
Dismantling pallets can be labor-intensive. Use a crowbar and a scrap piece of wood for leverage to pry the slats apart, minimizing splits. Alternatively, a reciprocating saw with a metal-cutting blade can slice right through the nails, saving you time and preserving the integrity of the wood. Wear heavy-duty leather gloves and safety goggles during this phase. Pallet nails are often rusted and can snap or fly unexpectedly when pried loose. Once dismantled, remove all protruding nails and sand down any rough edges to prevent splinters.
Step 2: Building the Raised Bed Frame
Cut your 2x4 lumber into four 11-inch pieces to serve as internal corner brackets. Lay out the thick pallet stringers to form a 4x4 foot square. Pre-drill holes through the stringers into the 2x4 corner brackets to prevent the aged wood from splitting. Secure the corners using your 2.5-inch exterior screws. Repeat this process to stack a second layer of stringers on top, creating a bed that is roughly 10 to 12 inches deep. This depth is ideal for most vegetables, including tomatoes, peppers, and leafy greens.
Step 3: Attaching the Base and Liner
To protect your crops from burrowing pests like gophers and voles, staple the galvanized hardware cloth to the bottom of the frame. Next, line the interior walls and the hardware cloth with flattened cardboard. This acts as a weed barrier and will naturally decompose over time, feeding the soil microbiome and encouraging beneficial earthworm activity.
Filling Your Raised Bed on a Budget
Buying enough bagged raised bed soil to fill a 4x4 foot box can cost over $80, completely derailing a budget project. Instead, utilize the Hugelkultur method, a traditional permaculture technique that uses decaying wood and organic matter to fill the bottom third of the bed.
- Bottom Layer (4 inches): Rotting logs, thick branches, and twigs.
- Middle Layer (3 inches): Grass clippings, dry leaves, and straw.
- Top Layer (5 inches): A mix of homemade compost and affordable topsoil.
This layered approach not only saves you money on soil but also creates a sponge-like environment that retains moisture and slowly releases nutrients. The Environmental Protection Agency (EPA) notes that incorporating organic matter like yard trimmings into your garden soil significantly improves soil structure and water retention, reducing the need for frequent watering and synthetic fertilizers.
Budget Smart Irrigation Integration
To truly bridge the gap between traditional gardening and modern convenience, consider adding a budget-friendly smart irrigation system. You do not need to spend hundreds on proprietary landscaping tech. A standard drip irrigation kit connected to a Wi-Fi-enabled smart hose timer (available for under $40) allows you to automate watering schedules based on local weather data. Run the drip lines beneath the mulch layer in your Hugelkultur bed to minimize evaporation. This ensures your plants receive consistent moisture while you are away, optimizing water usage and keeping your utility bills low.
Adding a DIY Pallet Compost Bin
To sustain your garden's soil health, you need a steady supply of compost. Using the thinner slats you removed during the dismantling phase, you can construct a simple 3x3 foot compost bin. Stand four heavy pallet stringers or 4x4 posts in the ground to form a square. Nail the pallet slats horizontally across the posts, leaving a half-inch gap between each board for essential airflow.
Pro Tip: Leave the front slats unattached or secure them with removable bungee cords. This allows you to easily slide them out when it is time to turn the compost pile with a pitchfork.
A successful compost pile requires a balance of greens (nitrogen-rich materials like vegetable scraps and coffee grounds) and browns (carbon-rich materials like dry leaves and shredded newspaper). According to the Penn State Extension, maintaining a proper carbon-to-nitrogen ratio and turning the pile every few weeks will yield rich, dark compost in as little as two to three months during the warm summer season.
Maintenance and Seasonal Care
Pallet wood is naturally rustic but will eventually succumb to the elements. To extend the life of your raised beds and compost bin, treat the exterior wood with raw linseed oil or a non-toxic, eco-friendly wood preserver annually. Avoid using synthetic chemical stains on the interior where the soil touches the wood. During the off-season, cover the beds with a layer of straw or plant a cover crop like winter rye to prevent soil erosion and suppress early spring weeds.
By combining smart upcycling, budget-friendly construction techniques, and permaculture principles like Hugelkultur, you can transform a stack of discarded shipping pallets into a thriving, highly productive garden ecosystem. Not only will you enjoy a bountiful harvest of garden-to-table vegetables, but you will also do so knowing your outdoor oasis was built sustainably and well under budget.

