Smart Irrigation Systems: Save Water and Grow a Greener Lawn

The Rise of Smart Irrigation in Modern Landscaping
As homeowners increasingly seek ways to bridge the gap between indoor convenience and outdoor sustainability, smart home automation has naturally extended into the garden. At the forefront of this green revolution is the smart irrigation system. According to the Environmental Protection Agency (EPA), outdoor water use accounts for nearly 30% of total household water consumption, with some arid regions seeing that number climb to 60% during peak summer months. Traditional timer-based sprinkler systems are notoriously inefficient, often watering lawns during rainstorms or applying the same volume of water to shaded garden beds as they do to sun-baked front yards.
Enter the smart irrigation controller. By leveraging real-time weather data, soil moisture levels, and advanced algorithms, these devices eliminate the guesswork from lawn care. The EPA's WaterSense program notes that upgrading to a smart irrigation controller can save the average home nearly 7,600 gallons of water annually. Beyond the environmental impact and utility bill savings, smart controllers promote deeper root growth and healthier turf by preventing the shallow, frequent watering cycles that plague traditional timers.
The Science Behind Smart Watering: ET and Microclimates
To understand why smart controllers are vastly superior to legacy dial timers, you must understand Evapotranspiration (ET). ET is the sum of evaporation from the soil and transpiration from plant leaves. Smart weather-based controllers pull local meteorological data—such as temperature, humidity, solar radiation, and wind speed—from nearby weather stations to calculate the exact ET rate for your specific zip code. If the weather is cool and cloudy, the controller automatically reduces the watering duration. If a heatwave hits, it increases the runtime to compensate for moisture loss.
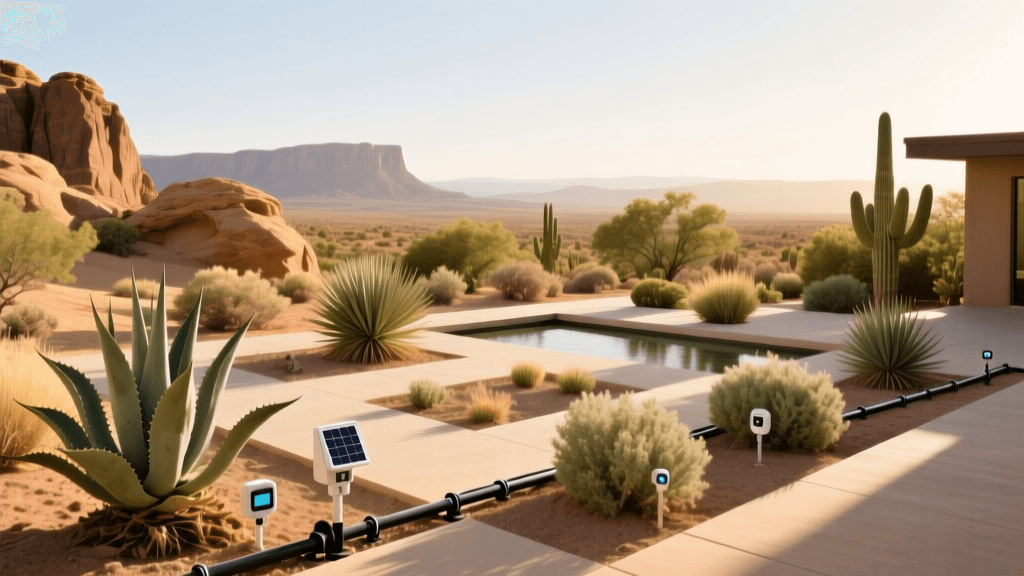
Furthermore, smart systems allow for hyper-specific zoning based on microclimates. A south-facing slope with sandy soil requires vastly different irrigation than a flat, north-facing clay bed shaded by oak trees. With a smart system, you can program individual zones based on:
- Soil Type: Sandy soil drains quickly and requires shorter, more frequent cycles to prevent runoff. Clay soil absorbs water slowly, necessitating 'cycle and soak' methods.
- Plant Material: Turfgrass, drought-tolerant shrubs, and vegetable gardens all have distinct baseline water requirements.
- Sun Exposure: Zones are adjusted based on daily sunlight hours and shade patterns.
- Sprinkler Head Type: Rotors apply water much slower than traditional spray heads, requiring longer runtimes to deliver the same precipitation rate.
Soil Moisture Sensors vs. Weather-Based Controllers
While weather-based ET controllers are excellent, the gold standard for precision landscaping involves integrating soil moisture sensors. A weather controller predicts what the soil should need based on atmospheric conditions. A soil moisture sensor, buried 4 to 6 inches deep in the root zone, measures what the soil actually holds. The EPA WaterSense specification for smart controllers recognizes both weather-based and soil-moisture-based technologies. For high-value landscapes or regions with highly variable microclimates, pairing a Wi-Fi-enabled controller with wireless soil sensors ensures you never water a lawn that already has sufficient subsurface moisture.
Top Smart Irrigation Controllers Compared
Choosing the right hardware depends on your budget, the size of your landscape, and your existing smart home ecosystem. Below is a comparison of the top three EPA WaterSense-certified smart controllers on the market.
| Feature | Rachio 3 | Orbit B-hyve XD | Rain Bird ESP-TM2 (with Wi-Fi Module) |
|---|---|---|---|
| Price (Approx.) | $229 (8-Zone) | $119 (6-Zone Indoor) | $145 + $100 Wi-Fi Module |
| Weather Intelligence | Hyper-local, multi-source | WeatherSense tech | Basic seasonal adjust via app |
| Smart Home Integration | Apple HomeKit, Alexa, Google, IFTTT | Alexa, Google Assistant | Alexa, Google (via Rain Bird LNK2) |
| Ease of Setup | Exceptional (App-guided) | Very Good | Moderate (Module installation required) |
| Best For | Tech enthusiasts, full automation | Budget-conscious DIYers | Upgrading existing Rain Bird systems |
Financial Breakdown and Return on Investment
Investing in a smart irrigation system requires upfront capital, but the return on investment (ROI) is highly tangible. Let us break down the typical costs associated with upgrading an 8-zone residential system:
- Hardware Costs: $120 to $250 for the controller.
- Professional Installation: $150 to $300 if you hire a licensed landscaper or electrician. (DIY installation costs $0 in labor but requires basic wiring knowledge).
- Soil Moisture Sensors (Optional): $40 to $80 per wireless sensor node.
According to the Alliance for Water Efficiency, smart controllers can reduce outdoor water use by 15% to 30%. If your summer water bill averages $120 per month, a 25% reduction in outdoor usage could save you $15 to $20 monthly during the irrigation season. In many municipalities, the payback period is less than two years. Furthermore, many local water districts offer rebates ranging from $50 to $150 for installing EPA WaterSense-certified smart controllers, effectively making the hardware nearly free.
Step-by-Step DIY Installation Guide
Replacing a legacy timer with a smart controller is a straightforward weekend project. Most modern smart controllers operate on standard 24V AC power and utilize the same color-coded wiring as older models.
Step 1: Document and Power Down
Before touching any wires, turn off the power to your existing controller at the breaker or by unplugging it. Open the panel and take a high-resolution, well-lit photograph of the existing wiring. Pay special attention to the 'C' (Common) wire and the numbered zone wires. This photo is your lifeline if you get confused during reinstallation.
Step 2: Remove the Old Controller
Loosen the terminal screws and carefully remove the wires. Use a small piece of painter's tape to label each wire with its corresponding zone number (e.g., Zone 1, Zone 2, Master Valve, Common). Unscrew the old backplate from the wall.
Step 3: Mount the New Backplate
Most smart controllers require a standard 120V outlet nearby to plug in their 24V AC transformer. Mount the new backplate using drywall anchors if you are not drilling into a stud. Ensure it is placed in a location with strong Wi-Fi signal, as a weak connection will cause the controller to drop offline and fail to fetch weather data.
Step 4: Wire and Connect
Thread your labeled wires through the new backplate. Insert the 'C' wire into the Common terminal, and the numbered wires into their respective zone terminals. If you have a Master Valve or Pump Start Relay, consult the manufacturer's manual, as these often require specific terminal placements. Tighten the screws firmly to prevent voltage drops.
Step 5: Software Configuration
Plug in the transformer, download the manufacturer's app, and connect the device to your 2.4GHz Wi-Fi network. The app will walk you through a zone-by-zone setup wizard, asking you to identify the sprinkler head type, soil type, plant type, and sun exposure for each individual zone. Do not rush this step; the accuracy of your watering schedule depends entirely on these inputs.
Advanced Smart Home Integrations and Automation
The true power of a smart irrigation system is unlocked when integrated into a broader smart home ecosystem. By utilizing platforms like IFTTT (If This Then That), Apple HomeKit, or Amazon Alexa, you can create complex, automated routines that traditional timers cannot fathom.
Pro-Tip: Geofencing for Watering Windows
Use your smart home hub to create a geofence around your property. If your smart controller schedules a watering cycle for 4:00 AM, but your security system detects that a window is open or motion is detected in the yard, the automation can pause the irrigation to prevent spraying open windows or waking up guests sleeping in outdoor living spaces.
You can also set up voice commands for seasonal maintenance. For example, telling your voice assistant to 'activate the sprinkler system for winterization' can trigger a specific routine that pulses each zone for exactly 30 seconds—just enough time to blow out the lines with an air compressor without damaging the PVC pipes or sprinkler heads.
Maintenance and Seasonal Adjustments
While smart controllers handle the daily scheduling autonomously, they are not entirely 'set and forget.' To maintain peak efficiency, homeowners should perform the following seasonal maintenance:
- Spring Audit: Run a manual catch-can test. Place identical tuna cans across a zone, run the system for 15 minutes, and measure the water depth. Input this exact precipitation rate into your smart app to override generic estimates.
- Filter Cleaning: If your system uses inline drip irrigation for garden beds, flush the filters monthly to prevent emitter clogs, which can trick soil moisture sensors into thinking the bed is dry.
- Winterization: Use the app's 'Standby' or 'Off' mode during freezing months. Do not simply unplug the unit, as this will erase your customized zone data and force a factory reset upon spring startup.
Conclusion
Integrating a smart irrigation system into your home's automation network is one of the most impactful upgrades you can make for your landscape. It shifts lawn care from a reactive, wasteful chore into a proactive, data-driven science. By selecting the right controller, accurately mapping your yard's microclimates, and leveraging smart home integrations, you will cultivate a lusher, more resilient lawn while simultaneously conserving thousands of gallons of precious water annually. Whether you are a tech-savvy DIYer or a homeowner looking to lower utility bills, smart irrigation is the cornerstone of the modern, sustainable garden.