
Budget DIY Rain Barrel and Gravity Drip Irrigation Guide
Transform Your Garden with Budget-Friendly Rainwater Harvesting
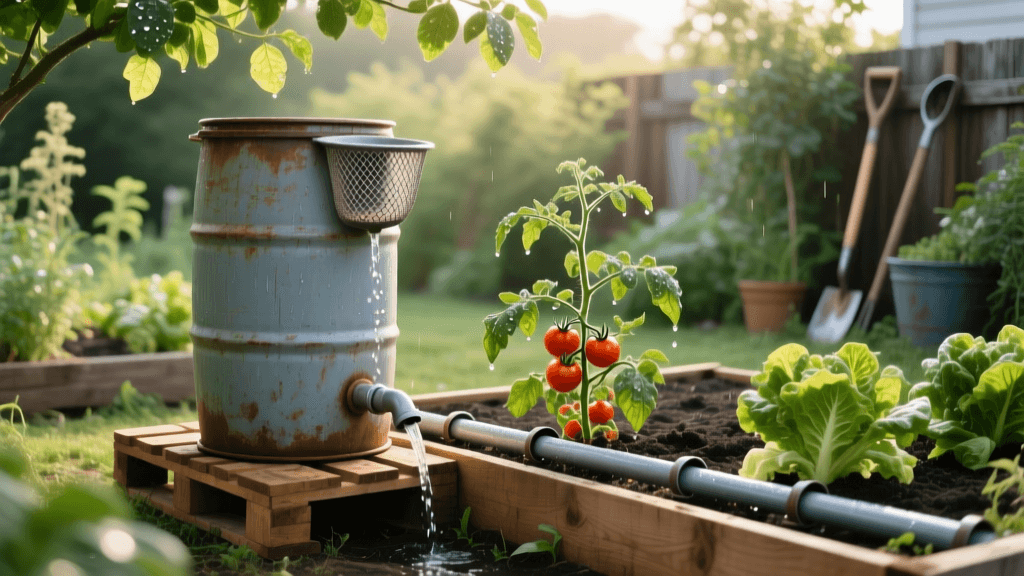
As water restrictions become more common and utility rates climb, homeowners are actively seeking sustainable, cost-effective ways to maintain their landscapes. Bridging the gap between energy-efficient landscaping and DIY garden projects, building your own rain barrel and gravity-fed drip irrigation system is one of the most impactful weekend projects you can undertake. Not only does it reduce your municipal water bill, but it also provides your plants with chlorine-free, naturally soft water that promotes vigorous root growth.
In this comprehensive guide, we will walk you through a budget-friendly DIY solution to construct a 55-gallon rain barrel system complete with a low-pressure gravity drip line. The entire project can be completed for under $75 using upcycled materials and basic hardware store fittings, saving you hundreds of dollars compared to commercial pump-driven systems.
The Financial and Environmental Impact
Before diving into the construction, it is essential to understand the sheer volume of water you can capture. According to Texas A&M AgriLife Extension, a 1,000-square-foot roof catchment area can yield approximately 600 gallons of water per inch of rainfall. This means a single moderate rainstorm can fill multiple barrels, providing a crucial reserve for dry spells.
Furthermore, the Environmental Protection Agency (EPA) reports that outdoor water use accounts for 30 to 60 percent of total household water consumption, depending on the region. By capturing rainwater and applying it efficiently, you directly reduce the strain on municipal water treatment facilities and lower your monthly utility expenses. When paired with a drip system, water waste is virtually eliminated.
Materials and Cost Breakdown
To keep this project budget-friendly, we are avoiding expensive electric pumps and opting for a gravity-fed soaker hose or low-pressure drip tape setup. Below is the estimated shopping list and cost breakdown.
| Item | Specification | Estimated Cost |
|---|---|---|
| Food-Grade Plastic Barrel | 55-Gallon, BPA-Free, Opaque (Upcycled) | $20.00 - $35.00 |
| Brass Spigot Kit | 3/4-inch thread with bulkhead fitting | $12.00 |
| Overflow Valve and Hose | 1-inch PVC bulkhead and 3ft corrugated hose | $8.00 |
| Downspout Diverter Kit | Flexible corrugated tubing and mesh screen | $10.00 |
| Soaker Hose or Drip Tape | 50-foot low-pressure porous soaker hose | $15.00 |
| Hose Adapter | 3/4-inch GHT to 5/8-inch hose barb | $4.00 |
| Plumber's Silicone and Teflon Tape | Waterproof outdoor sealant | $6.00 |
Total Estimated Cost: $75.00 - $90.00 (Significantly cheaper than commercial 50-gallon rain barrel kits which often retail for $130+ without irrigation lines).
Step-by-Step Assembly Guide
Step 1: Sourcing and Prepping the Barrel
The most expensive component of any rain barrel system is the tank itself. To keep costs low, search for local beverage distributors, car washes, or food processing plants that sell used 55-gallon HDPE (High-Density Polyethylene) drums. Ensure the barrel previously held food-grade liquids (like syrup or vinegar) and never industrial chemicals. Opaque barrels are mandatory; sunlight penetrating clear or white plastic will rapidly encourage algae growth, which can clog your drip emitters.
Thoroughly rinse the barrel with a mild bleach solution (1 part bleach to 10 parts water) to eliminate any residual odors or bacteria, then rinse it out completely with a garden hose. Allow it to dry in the sun.
Step 2: Installing the Spigot and Overflow
Proper placement of your spigot is critical for gravity systems. You want the spigot as low as possible to access the maximum amount of water, but high enough to fit a watering can or hose underneath.
- Use a 3/4-inch hole saw bit to drill a hole about 3 inches from the bottom of the barrel.
- Wrap the threads of your bulkhead fitting in Teflon tape and apply a generous bead of marine-grade silicone sealant around the rubber gasket.
- Insert the bulkhead from the outside, reach inside the barrel (or use a specialized locking nut tool) to tighten the inner lock nut securely.
- Drill a second 1-inch hole near the very top rim of the barrel for the overflow valve. This prevents water from backing up into your home's foundation during heavy downpours. Attach the overflow hose and direct it away from your house.
Step 3: Elevating for Gravity Pressure
Understanding head pressure is the secret to a successful gravity-fed drip system. The general rule of physics dictates that every 2.31 feet of vertical elevation from the water surface to the drip line generates 1 PSI (pound per square inch) of pressure. Standard drip emitters require 15 PSI, but low-pressure soaker hoses and specialized gravity drip tape can operate efficiently on as little as 2 to 5 PSI.
By elevating your barrel 4 to 6 feet off the ground using stacked cinder blocks or a reinforced wooden pallet stand, you generate enough pressure to push water through 50 feet of soaker hose. Ensure your base is perfectly level and capable of supporting over 450 pounds (the weight of a full 55-gallon barrel).
Step 4: Connecting the Drip Line
Attach the hose adapter to your brass spigot. Connect your porous soaker hose directly to the adapter. Because gravity systems lack the high pressure needed to blast through clogs, it is highly recommended to install a simple mesh inline filter between the spigot and the hose to catch any debris or algae flakes from the barrel.
Weave the soaker hose through your raised beds or garden rows, weaving it around the base of your plants. According to the University of Minnesota Extension, drip and soaker systems deliver water directly to the root zone, reducing evaporation by up to 50 percent compared to overhead sprinklers. Cap the end of the soaker hose with a standard hose end cap or fold it over and secure it with a zip tie.
Downspout Diversion and Mosquito Control
To fill the barrel, cut into your existing gutter downspout using a hacksaw and install a flexible downspout diverter. Place a fine mesh screen over the entry point where the water enters the barrel to filter out leaves, shingle grit, and pine needles.
Pro-Tip for Pest Control: Standing water is a breeding ground for mosquitoes. To combat this without harming your garden, drop a quarter of a BTI (Bacillus thuringiensis israelensis) mosquito dunk into the barrel every 30 days. BTI is a naturally occurring bacterium that targets mosquito larvae but is completely safe for plants, pets, and wildlife.
System Maintenance and Winterization
To ensure your budget DIY system lasts for years, seasonal maintenance is required. In the late autumn, before the first hard freeze, open the spigot and drain the barrel completely. Water expands when it freezes, which will crack the HDPE plastic and shatter your brass fittings if left full. Disconnect the soaker hose, drain it, and store it in a shed or garage to protect it from UV degradation and freezing temperatures. Leave the spigot open throughout the winter months to prevent condensation buildup.
Conclusion
Bridging the gap between indoor resource management and outdoor garden vitality doesn't require a massive financial investment. By upcycling a food-grade barrel and leveraging the simple physics of gravity, you can construct a highly efficient, eco-friendly irrigation system for under $100. This DIY project not only slashes your summer water bills but also fosters a deeper connection to the natural water cycle, ensuring your garden thrives through even the strictest drought restrictions.

