
Gardening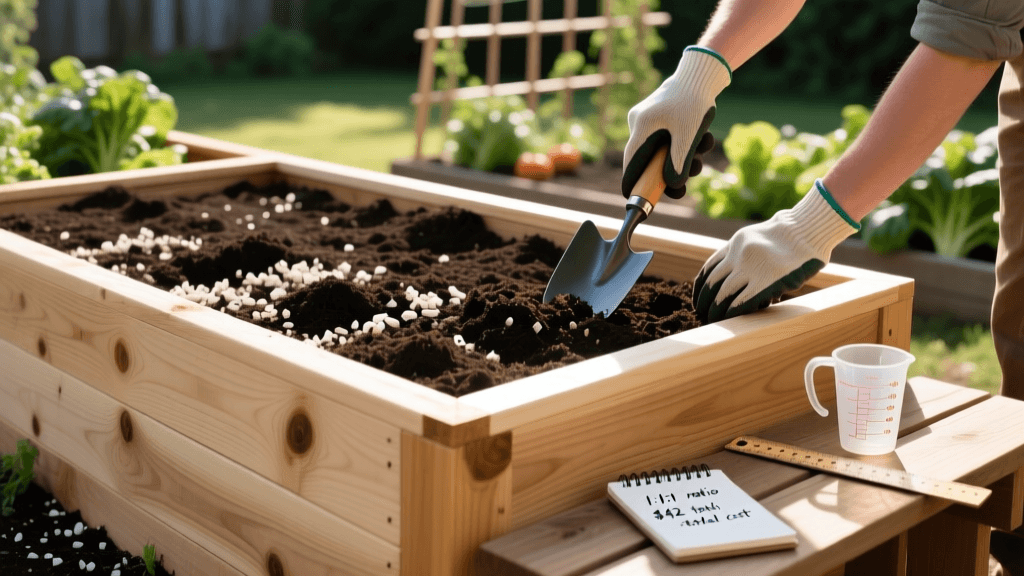
How to Build a Cedar Raised Bed and Mix the Perfect Soil
Introduction to Raised Bed Gardening
Raised bed gardening is one of the most effective methods for maximizing vegetable yields in a small footprint while bypassing the challenges of poor native soil. Whether you are dealing with heavy clay, compacted urban dirt, or rocky terrain, a raised bed allows you to completely control the growing environment. By elevating the planting area, you improve drainage, extend the growing season through faster soil warming in the spring, and reduce the physical strain of weeding and harvesting. In this comprehensive guide, we will walk you through the exact steps to construct a durable, long-lasting western red cedar raised bed and formulate a scientifically balanced soil mix that will sustain heavy-feeding vegetables for years to come.
Why Choose Western Red Cedar?
When selecting lumber for a raised bed that will hold damp soil year-round, rot resistance is your primary concern. Western red cedar contains natural tannins and oils that act as a built-in preservative against fungal decay and insect damage. Unlike pressure-treated pine, which historically contained arsenic and copper compounds (and even modern treatments that some organic gardeners prefer to avoid), cedar is completely safe for growing edible crops. A well-constructed, 2-inch thick cedar raised bed left untreated will easily last 10 to 15 years. If you choose to apply a raw linseed oil sealant annually, you can extend its lifespan even further while maintaining a rich, warm color.
Tools and Materials Required
Building a standard 4-foot by 8-foot raised bed (which provides 32 square feet of growing space and fits perfectly on a standard landscaping footprint) requires a modest investment. Below is the precise materials list and estimated costs based on average national hardware store pricing.
- (4) 2x10x8 ft. Rough-Sawn Cedar Boards: Provides a 10-inch depth, ideal for most root vegetables. (Approx. $80 - $110 total)
- (1) 4x4x8 ft. Cedar Post: Will be cut into four corner blocks for structural reinforcement. (Approx. $25)
- (1) Box of 2.5-inch Exterior Grade Deck Screws: Star-drive (Torx) screws like GRK Fasteners resist stripping and rust. (Approx. $12)
- (1) Box of 1.5-inch Exterior Wood Screws: For securing the corner blocks. (Approx. $8)
- Heavy-Duty Cardboard: Free from appliance stores; used for weed suppression at the base.
- Tools Needed: Miter saw or circular saw, power drill with Torx and countersink bits, tape measure, speed square, level, and a rubber mallet.
Step-by-Step Construction Guide
Step 1: Cutting the Corner Posts
Using your miter saw, cut the 4x4 cedar post into four equal blocks, each measuring exactly 9.5 inches in length. These blocks will sit inside the corners of your bed, providing a thick, sturdy surface to drive your screws into, preventing the cedar boards from splitting over time due to soil pressure and moisture expansion.
Step 2: Assembling the Frame
Lay two 8-foot boards and two 4-foot boards flat on a level surface, such as a driveway or patio. Place a 4x4 corner block inside each corner. Use your speed square to ensure the corners are perfectly at 90-degree angles. Drill two pilot holes through the outside of the 8-foot board into the corner block, and two pilot holes through the 4-foot board into the same block. This interlocking screw pattern creates immense structural integrity. Drive the 2.5-inch screws into the pilot holes. Repeat this process for all four corners until the rectangular frame is fully assembled.
Step 3: Placement and Leveling
Move the assembled cedar frame to your chosen garden location. Ensure the site receives a minimum of 6 to 8 hours of direct sunlight daily, which is critical for fruiting crops like tomatoes and peppers. Lay down a thick layer of plain, uncoated brown cardboard directly over the grass or weeds inside the bed's footprint. The cardboard will smother existing vegetation and eventually decompose, inviting beneficial earthworms up into your new soil. Use a level across the frame. If the ground is uneven, dig out the high side rather than building up the low side, ensuring the bed is perfectly level to prevent water from pooling at one end.
Formulating the Ideal Raised Bed Soil Mix
The most common mistake new gardeners make is filling a raised bed with native ground soil or cheap "topsoil" bags from a big-box store. Native soil is too heavy and will compact severely in a raised bed, suffocating plant roots. According to the Oregon State University Extension Service, raised bed soils must be highly porous, well-draining, and rich in organic matter to support intensive planting.
We recommend a modified "Mel's Mix" or a premium 3-part blend that balances water retention, aeration, and nutrient density. Here is the exact recipe for filling a 4x8 bed that is 10 inches deep (requiring roughly 27 cubic feet of soil).
| Ingredient | Volume Percentage | Purpose in the Soil Matrix | Estimated Cost |
|---|---|---|---|
| High-Quality Topsoil | 40% (11 cu. ft.) | Provides base structure, bulk, and essential trace minerals. | $55 (Bulk delivery) |
| Organic Compost | 40% (11 cu. ft.) | Supplies slow-release nutrients, beneficial microbes, and moisture retention. | $60 (Bulk or bagged) |
| Coarse Horticultural Perlite or Pumice | 20% (5 cu. ft.) | Ensures critical aeration, prevents compaction, and improves drainage. | $35 (Bagged) |
| Organic Granular Fertilizer | 2 cups per 4x8 bed | Kickstarts microbial activity and provides immediate N-P-K for transplants. | $15 |
Filling, Settling, and Pre-Planting Prep
Begin by adding your bulk topsoil and compost into the bed. As you add the materials, use a garden fork or broadfork to gently mix them in place. Once the bed is filled to within two inches of the top rim, sprinkle your coarse perlite and organic granular fertilizer (such as Espoma Garden-tone 3-4-4) evenly over the surface and fork it into the top 6 inches of the mix.
Crucial Step: Do not plant immediately after filling. The newly mixed soil will be full of air pockets. Use a garden hose with a gentle spray nozzle to thoroughly water the entire bed until it is saturated. Allow the bed to sit and settle for 5 to 7 days. You will notice the soil level drop by 2 to 3 inches. Top off the remaining space with a final layer of pure compost before transplanting your seedlings.
Expert Insights and Seasonal Maintenance
"Raised beds require a soil mix that is significantly lighter and more porous than native ground soil to ensure proper drainage and root penetration. Because raised beds drain more efficiently, they also require more frequent monitoring for moisture and nutrient leaching, making annual compost top-dressing essential for long-term productivity."
— Oregon State University Extension Service, Master Gardener Program Guidelines on Soil Management
To maintain your cedar raised bed and its soil ecosystem, practice annual top-dressing. Every late fall or early spring, apply a 1-inch layer of fresh organic compost to the surface of the bed. This replenishes the organic matter consumed by your crops and maintains the soil structure without the need for aggressive tilling, which can disrupt the fungal networks and earthworm tunnels you have worked hard to establish. Furthermore, rotate your crop families annually—never plant tomatoes, peppers, or eggplants in the exact same spot two years in a row—to prevent the buildup of soil-borne pathogens and ensure your cedar raised bed remains a powerhouse of vegetable production for over a decade.

