
Gardening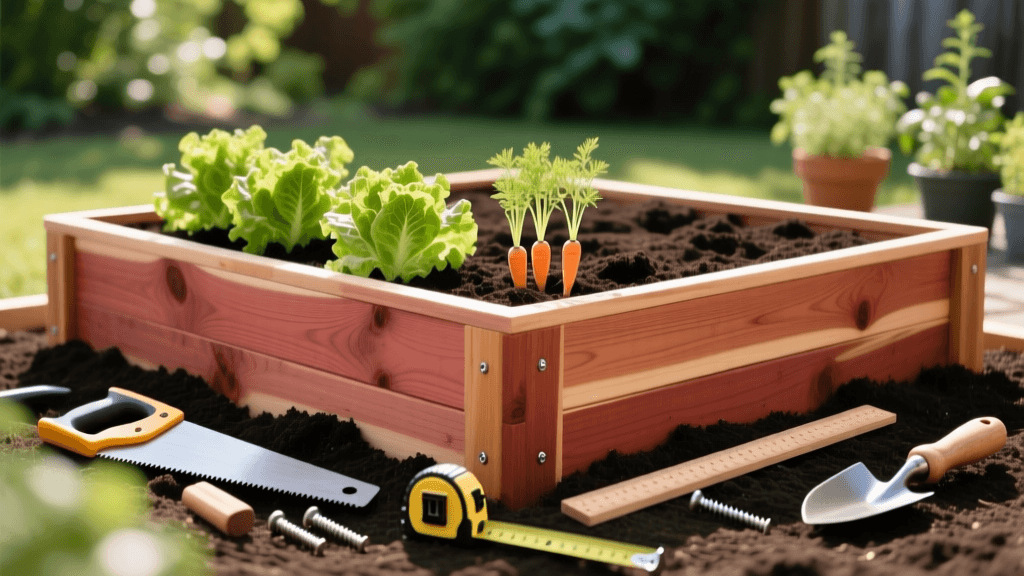
How to Build a Cedar Raised Garden Bed for Vegetables
Introduction to Raised Bed Gardening
Building a raised garden bed is one of the most transformative projects you can undertake for your home vegetable garden. Raised beds solve a multitude of common gardening problems, including poor native soil quality, inadequate drainage, and persistent weed pressure. By elevating your planting area, you gain complete control over the soil environment, allowing you to cultivate nutrient-dense vegetables, vibrant flowers, and robust herbs. Furthermore, raised beds warm up faster in the spring, extending your growing season, and they provide an ergonomic gardening experience that reduces strain on your back and knees.
In this comprehensive practical guide, we will walk you through the exact steps to construct a highly durable, 4-foot by 8-foot Western Red Cedar raised garden bed. This specific dimension is the gold standard for home gardeners because it allows you to reach the center of the bed from either side without stepping on and compacting the soil.
Why Choose Western Red Cedar?
When selecting lumber for a vegetable garden, safety and longevity are paramount. Pressure-treated lumber, while inexpensive and rot-resistant, is often avoided by organic gardeners due to concerns about chemical leaching into the soil. Western Red Cedar, on the other hand, contains natural tannins and oils that make it highly resistant to rot, decay, and insect damage without the need for chemical treatments. An untreated cedar raised bed can easily last 10 to 15 years, and treating it with natural oils can extend its lifespan even further. It is aesthetically pleasing, blending beautifully into any backyard landscape, and is completely safe for growing edible crops.
Site Selection and Preparation
Before purchasing materials, you must select the right location. Your raised bed requires a minimum of six to eight hours of direct sunlight daily for optimal vegetable production. Avoid placing the bed near large trees or shrubs, as their roots will compete for water and nutrients, and their canopies will cast unwanted shade.
Once you have chosen a sunny, level spot, prepare the ground. Mow the grass or weeds as short as possible. To smother existing vegetation and prevent it from growing up into your raised bed, lay down overlapping sheets of plain, uncoated corrugated cardboard directly over the grass. This sheet mulching technique will decompose over a few months, feeding the soil while acting as an initial weed barrier.
Materials and Tools Required
To build a standard 4x8 foot bed that is 12 inches tall (two tiers of 2x6 lumber), you will need the following materials. Prices are estimates based on national averages and may vary by region.
| Material | Quantity | Estimated Cost |
|---|---|---|
| 2x6x8 Western Red Cedar Boards | 4 | $48.00 |
| 4x4x8 Western Red Cedar Post (for corners) | 1 | $18.00 |
| 3-inch Exterior Deck Screws (e.g., GRK or Simpson) | 1 Box | $12.00 |
| 1/2-inch Galvanized Hardware Cloth (4x10 roll) | 1 | $25.00 |
| Heavy-Duty Landscape Staples | 1 Pack | $8.00 |
Tools Needed: Miter saw or circular saw, power drill/driver, tape measure, carpenter's square, level, heavy-duty staple gun, safety glasses, and work gloves.
Step-by-Step Construction Guide
Step 1: Cut the Lumber and Corner Posts
Your 4x8 bed requires two 8-foot boards for the long sides and two 4-foot boards for the short sides. Since lumber is sold in 8-foot lengths, you will use two boards for the long sides uncut. Take the remaining two 8-foot boards and cut them exactly in half to create four 4-foot pieces. Next, take your 4x4 cedar post and cut it into four 12-inch blocks. These blocks will serve as the internal corner braces, providing structural integrity to the bed.
Step 2: Assemble the Long Sides
Lay two 8-foot boards flat on the ground, stacked on top of one another to create a 12-inch high wall. Place a 4x4 corner brace at each end, flush with the edges of the boards. Pre-drill three holes through the 2x6 boards into the 4x4 post at each end to prevent the cedar from splitting. Secure the boards to the corner posts using your 3-inch exterior deck screws. Repeat this process for the second long side.
Step 3: Square the Frame and Add Short Sides
Stand the two long assemblies upright and position them 4 feet apart. Use a carpenter's square to ensure the corners are perfectly at 90-degree angles. Insert the 4-foot boards between the long assemblies, resting them against the 4x4 corner posts. Pre-drill and drive three screws through the 4-foot boards into the corner posts on both the top and bottom tiers. Once all four sides are attached, measure diagonally from corner to corner. If both diagonal measurements are equal, your bed is perfectly square.
Step 4: Install Pest-Proof Hardware Cloth
If you live in an area with gophers, moles, or voles, this step is non-negotiable. Flip the assembled bed upside down. Unroll the 1/2-inch galvanized hardware cloth over the bottom of the bed. Allow the wire to extend a few inches up the inside walls. Secure the hardware cloth to the bottom edges of the cedar using your heavy-duty staple gun, placing a staple every 6 inches. Trim any excess wire with wire snips. This barrier will prevent burrowing rodents from destroying your root crops while still allowing earthworms and beneficial drainage.
Step 5: Position and Level the Bed
Flip the bed right-side up and move it onto your prepared cardboard-covered site. Place a long level across the width and length of the bed. If the ground is uneven, use a shovel to dig out soil from the high side rather than adding soil to the low side, which can cause settling over time. Ensure the bed is level in all directions to prevent water from pooling in one corner.
Calculating Soil Volume
Filling a raised bed requires a significant amount of soil. It is crucial to calculate the volume accurately so you can order the right amount of bulk soil or purchase the correct number of bags. The formula is Length x Width x Height. Note that a 12-inch tall bed will not require a full 12 inches of soil; you will typically fill it to about 10 or 11 inches to leave room for mulch and watering.
| Bed Dimensions (L x W x H) | Total Cubic Feet | Cubic Yards (for bulk ordering) |
|---|---|---|
| 4 x 8 x 1 foot (12 inches) | 32 cu ft | 1.18 cu yards |
| 4 x 8 x 1.5 feet (18 inches) | 48 cu ft | 1.77 cu yards |
| 3 x 6 x 1 foot (12 inches) | 18 cu ft | 0.66 cu yards |
| 4 x 4 x 1 foot (12 inches) | 16 cu ft | 0.59 cu yards |
The Ideal Raised Bed Soil Mix
Do not fill your raised bed with native garden soil or heavy topsoil alone; it will compact heavily in a confined space, suffocating plant roots. You need a light, fluffy, and nutrient-rich mixture. According to the University of Maryland Extension, the ideal raised bed soil should provide excellent drainage while retaining enough moisture and nutrients for heavy-feeding vegetables.
'A good mixture for raised beds is 50 percent topsoil, 30 percent compost, and 20 percent organic matter such as peat moss, coconut coir, or leaf mold. This blend ensures adequate aeration, moisture retention, and a steady supply of slow-release nutrients.' - University of Maryland Extension
For a 4x8 bed requiring roughly 30 cubic feet of soil, you would mix 15 cubic feet of high-quality screened topsoil, 9 cubic feet of diverse compost (mix mushroom compost, worm castings, and homemade compost if possible), and 6 cubic feet of coconut coir or peat moss. Thoroughly blend these ingredients in a wheelbarrow or directly in the bed using a garden fork before planting.
Companion Planting Layout for Your 4x8 Bed
Once your bed is filled, maximize your yield through strategic companion planting. A 4x8 bed is perfect for a classic Tomato, Basil, and Marigold layout. Plant four indeterminate tomato vines down the center of the bed, spacing them 2 feet apart. Install sturdy 6-foot metal trellises or cattle panels behind them for support. On the front edge of the bed, plant a continuous border of French Marigolds. Marigolds exude compounds from their roots that deter harmful root-knot nematodes and attract beneficial predatory insects. Tuck sweet basil plants in the spaces between the tomatoes. Basil is known to improve the flavor of tomatoes and repel pests like the tomato hornworm and aphids.
Maintenance Tips for Longevity
To ensure your cedar raised bed lasts for over a decade, perform annual maintenance. At the end of the growing season, clean out dead plant debris to prevent overwintering diseases. Every two to three years, treat the exterior wood with raw linseed oil or a natural tung oil finish. Apply the oil with a rag on a dry, mild day, allowing it to soak into the wood grain. This replenishes the natural oils lost to sun and rain, preserving the rich cedar color and preventing the boards from graying and splitting. Finally, top-dress the bed with an inch of fresh compost every spring to replace nutrients consumed by the previous year's crops, ensuring your soil remains fertile and productive for seasons to come.

