
Gardening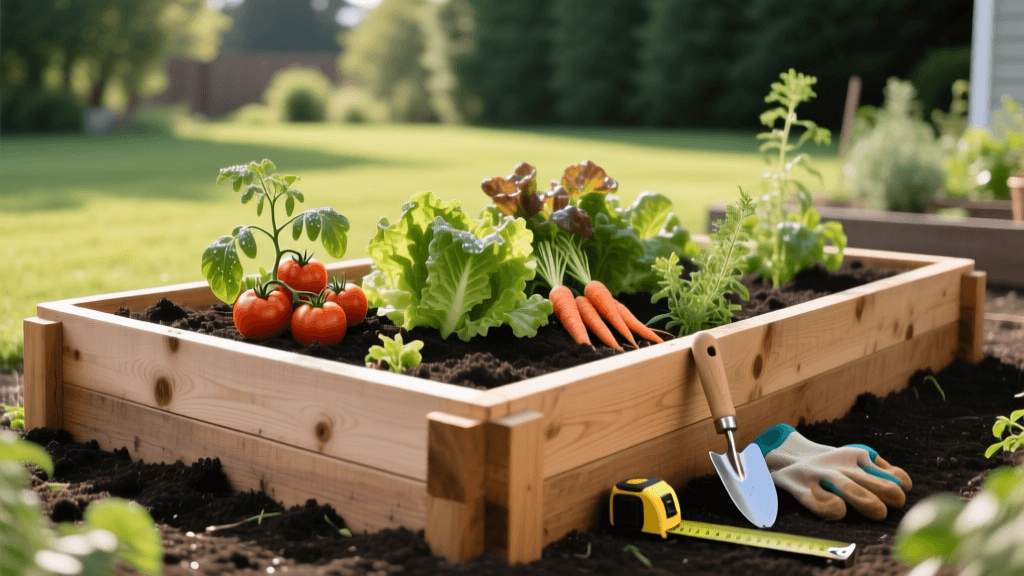
How to Build a Cedar Raised Bed for Vegetable Gardens
Building a raised bed is one of the most rewarding weekend projects a home gardener can undertake. Not only does it instantly elevate the aesthetic of your backyard, but it also provides superior drainage, warms up faster in the spring, and allows you to control the exact soil composition your plants receive. In this comprehensive how-to guide, we will walk you through building a 4-foot by 8-foot Western Red Cedar raised bed, complete with material costs, construction steps, and the ideal soil recipe for a bountiful vegetable harvest.
Why Choose Western Red Cedar?
When selecting lumber for a raised vegetable bed, safety and longevity are paramount. Pressure-treated wood, while cheap and rot-resistant, is often treated with chemical preservatives like copper azole that can leach into the soil and be absorbed by your edible crops. Western Red Cedar, on the other hand, contains natural oils and tannins that make it highly resistant to rot, decay, and insect damage without the need for chemical treatments. While the upfront cost is higher than pine or composite materials, a well-built cedar bed can easily last 10 to 15 years, making it a sound investment for your garden.
Materials and Tools Required
Before heading to the hardware store, gather the following materials and tools. The costs below are estimates based on national averages and may vary by region.
| Item | Quantity / Specifications | Estimated Cost |
|---|---|---|
| Western Red Cedar 2x6 | 4 boards (8 ft length) | $45.00 |
| Cedar 4x4 Corner Posts | 2 boards (8 ft length, cut into 12-inch blocks) | $25.00 |
| Exterior Wood Screws | 1 box (2.5-inch, corrosion-resistant) | $12.00 |
| Hardware Cloth (1/2 inch) | 1 roll (4 ft x 10 ft, galvanized) | $20.00 |
| Landscape Fabric (Optional) | 1 roll (weed barrier) | $15.00 |
| Total Estimated Material Cost | $117.00 |
Tools Needed: Circular saw or miter saw, power drill with a Phillips bit, measuring tape, carpenter's square, level, staple gun (for hardware cloth), and safety gear (gloves and goggles).
Step-by-Step Construction Guide
Step 1: Site Selection and Preparation
Choose a location that receives at least 6 to 8 hours of direct sunlight daily, which is crucial for most vegetable crops like tomatoes, peppers, and squash. Ensure the site is relatively flat and within reach of your garden hose. Clear the area of large rocks, debris, and existing grass. You do not need to dig up the sod; the bed will sit directly on top of it, and the sod will eventually decompose, adding organic matter to the soil below.
Step 2: Cutting the Lumber
Your 4x8 bed will consist of two layers of 2x6 boards to achieve a depth of 12 inches, which is sufficient for most root vegetables. You will also need corner posts to provide structural integrity. Cut your 4x4 cedar posts into four 12-inch lengths. These will serve as the internal corner braces. If you are buying pre-cut lumber, ask the hardware store to make the straight cuts for you to save time at home.
Step 3: Assembling the Frame
Lay out your first layer of 2x6 cedar boards on a flat surface, such as a driveway or patio. Form a rectangle, ensuring the ends meet flush. Place a 12-inch 4x4 corner post inside each corner. Using your carpenter's square to maintain perfect 90-degree angles, drive three 2.5-inch exterior wood screws through the outside of the 2x6 board and into the 4x4 post. Repeat this for all four corners. Once the first tier is complete, stack the second layer of 2x6 boards on top, staggering the seams so they do not align with the bottom layer. Screw the second layer into the corner posts and drive additional screws directly into the bottom boards to prevent bowing.
Step 4: Pest Proofing the Base
To protect your vegetable roots from burrowing pests like gophers, moles, and voles, line the bottom of the raised bed with 1/2-inch galvanized hardware cloth. Unroll the cloth inside the bed, allowing it to extend slightly up the inside walls. Secure it to the bottom edge of the cedar frame using a heavy-duty staple gun. Overlap any seams by at least 6 inches and staple them together. Avoid using plastic sheeting at the bottom, as this will impede drainage and lead to waterlogged soil and root rot.
The Ideal Raised Bed Soil Recipe
The success of your raised bed garden hinges entirely on the soil you use to fill it. Never use native garden soil or heavy topsoil straight from the ground, as it will compact heavily in a confined space, suffocating plant roots. Instead, you need a light, fluffy, and nutrient-dense mixture.
According to the University of Maryland Extension, an ideal raised bed mix should prioritize drainage while retaining enough moisture and nutrients to support heavy-feeding vegetables. They recommend avoiding pure compost mixes, which can shrink significantly and become hydrophobic when dry.
| Soil Component | Volume Ratio | Purpose in the Mix |
|---|---|---|
| High-Quality Topsoil | 50% | Provides base structure, minerals, and weight to anchor plants. |
| Organic Compost | 30% | Supplies slow-release nutrients, beneficial microbes, and organic matter. |
| Coarse Sand or Perlite | 10% | Ensures adequate drainage and prevents soil compaction. |
| Peat Moss or Coco Coir | 10% | Retains moisture and keeps the soil structure light and aerated. |
For a 4x8 bed that is 12 inches deep, you will need exactly 32 cubic feet of soil mix. It is highly recommended to mix the soil in a large tarp or wheelbarrow before adding it to the bed to ensure an even distribution of nutrients. Fill the bed to about two inches below the rim, as the soil will settle significantly after the first few deep waterings.
Expert Tips for Raised Bed Success
"Raised beds warm up earlier in the spring than in-ground gardens, allowing for earlier planting of cool-season crops. However, they also dry out faster in the heat of summer. Implementing a thick layer of organic mulch, such as straw or shredded leaves, is critical to retain moisture and suppress weeds."
— Cornell University Cooperative Extension, Guide to Raised Bed Gardening
To maximize your new cedar bed, practice intensive planting and companion planting. Because the soil is loose and rich, you can plant crops closer together than traditional row gardening suggests. For example, interplant fast-growing radishes between slower-growing tomato transplants. The radishes will be harvested before the tomatoes need the space, and they help break up the soil surface.
Maintenance and Longevity
While Western Red Cedar is naturally rot-resistant, you can extend its lifespan and maintain its rich color by applying a food-safe, natural oil finish. Raw linseed oil or pure tung oil applied to the exterior wood once a year will protect it from UV graying and moisture damage. Never apply chemical sealants or stains to the interior of the bed where it will contact your vegetable soil.
At the end of the growing season, remove all spent plant debris to prevent overwintering pests and diseases. Top off the bed with a fresh two-inch layer of organic compost in the fall. By spring, the earthworms and soil microbes will have incorporated this organic matter deep into the profile, preparing a perfect, living seedbed for your next gardening season. With proper construction and soil management, your cedar raised bed will serve as the cornerstone of a highly productive vegetable garden for over a decade.

