
Gardening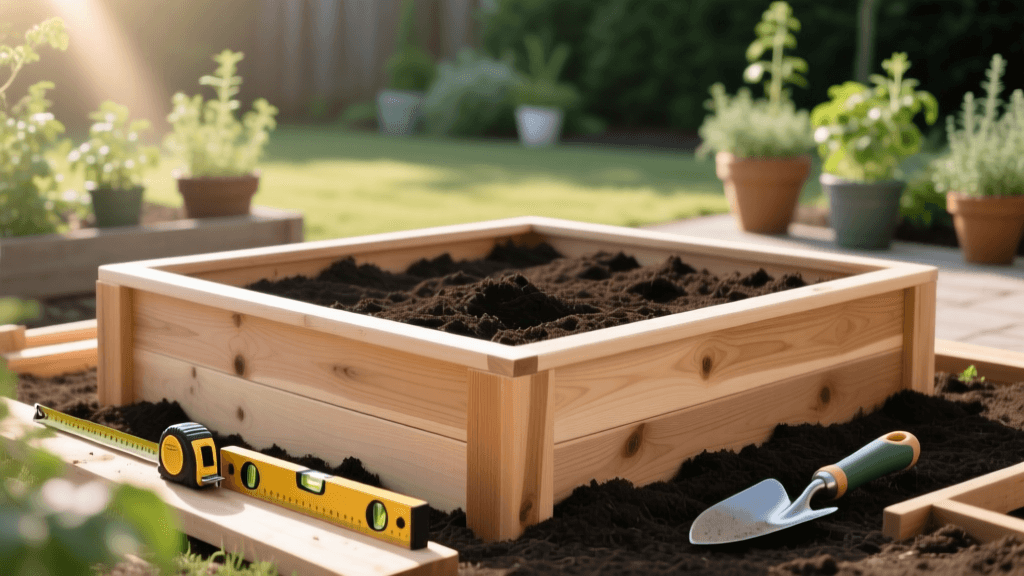
How to Build and Fill a 4x8 Raised Bed for Vegetables
Why Choose a 4x8 Raised Garden Bed?
For home vegetable gardening, the 4x8-foot raised bed is a popular choice—and for good reason. It’s wide enough that most adults can reach the center from either side without stepping in, which helps keep the soil loose and healthy. Stepping on garden soil compacts it, making it harder for roots to grow and water to soak in. The eight-foot length also matches standard lumber, so you’ll have less cutting and less waste when building.
Raised beds drain better than ground-level plots, warm up faster in spring, and keep out many pests that live in the soil. Whether you’re growing tomatoes, lettuce, or flowers to attract bees and butterflies, getting the frame built right and filling it with good soil sets you up for solid results. Here’s how to build one that holds up and grows well for years.
Material Selection: Choosing the Right Lumber
What you build the bed from affects how long it lasts. Cheaper wood might seem like a smart move at first, but it often means replacing the whole thing in just a few years.
Untreated Cedar or Redwood
Cedar and redwood hold up well in damp soil because they contain natural oils that resist rot and insects. They cost more—usually $15 to $25 per board—but last 10 to 15 years or longer without any chemical treatment.
Untreated Pine or Fir
Pine or fir is affordable and easy to find, but it breaks down faster in contact with moist soil—usually within three to five years. If you go this route, lining the inside of the bed with heavy-duty plastic can slow moisture damage.
Composite or Recycled Plastic Lumber
Composite boards won’t rot and don’t need sealing or painting. But they cost two to three times more than cedar, and some types bow outward when wet soil pushes against them unless you add extra bracing.
Tools and Materials Checklist
Here’s what you’ll need to build one 4x8-foot bed that’s 10 inches deep.
- Lumber: Three 2-inch by 10-inch by 8-foot boards (Cedar or Redwood recommended).
- Corner Brackets: Four 10-inch heavy-duty galvanized or powder-coated steel corner brackets.
- Fasteners: One box of 2.5-inch exterior-grade decking screws (star-drive preferred to prevent stripping).
- Weed Barrier: One roll of heavy-duty plain brown cardboard.
- Leveling Tools: A 4-foot spirit level, a rubber mallet, and a shovel.
- Cutting Tools: A circular saw or miter saw (if you need the lumber yard to cut one 8-foot board in half to create the 4-foot end pieces, ensure the cuts are perfectly square).
- Drill: A cordless power drill with a star-bit driver and a 3/16-inch drill bit for pre-drilling.
- Measuring Tape: A standard 25-foot tape measure.
Step-by-Step Construction Guide
Step 1: Site Preparation and Leveling
Pick a spot that gets at least six to eight hours of sun each day. Clear away rocks, trash, and grass. Set the four corner brackets where you want the bed, then lay the boards inside them to mark the outline. Use your shovel to scrape away or pile up soil under the boards until the whole frame sits flat and level. If the bed tilts, water will collect at one end and leave the other dry—bad news for roots.
Step 2: Assembling the Frame
Once the site is level, start screwing the boards to the corner brackets. Drill pilot holes first—especially near the ends—to keep the wood from splitting. Drive the screws through the holes into the brackets. Go around the whole frame, checking as you go. To confirm it’s square, measure corner to corner both ways. If both diagonal measurements match, you’re good.
Step 3: Installing the Weed Barrier
Before adding soil, deal with weeds and grass underneath. Lay overlapping sheets of plain brown cardboard right on the ground inside the frame, then soak them well with the hose. The cardboard blocks light and kills the grass while breaking down slowly—earthworms love it. Skip black plastic or woven landscape fabric at the bottom; they stop deep-rooted crops and mess with drainage.
The Science of Raised Bed Soil
One of the biggest early mistakes is filling a raised bed with regular topsoil or dirt dug from your yard. That kind of soil is too dense and doesn’t drain well. Raised beds need something lighter and fluffier—something that lets roots breathe and water move freely. The University of Maryland Extension recommends a mix that balances drainage, air space, and nutrients—either a blend of topsoil, compost, and organic matter, or a full soilless mix if you want maximum looseness.
A 4x8 bed that’s 10 inches deep holds about 26.6 cubic feet of soil. Plan for 30 cubic feet to cover settling later on. Here’s a soil recipe backed by university research that works well for most vegetables and herbs.
Soil Mix Recipe (30 Cubic Feet)
| Component | Volume Percentage | Required Volume | Purpose |
|---|---|---|---|
| High-Quality Topsoil | 50% | 15 Cubic Feet | Provides bulk, structure, and essential minerals. |
| Organic Compost | 30% | 9 Cubic Feet | Supplies slow-release nutrients and beneficial microbes. |
| Coco Coir or Peat Moss | 10% | 3 Cubic Feet | Retains moisture while keeping the soil light and fluffy. |
| Coarse Vermiculite or Perlite | 10% | 3 Cubic Feet | Improves aeration and prevents soil compaction over time. |
Note: If using peat moss, make sure it’s buffered—or add a cup of garden lime per cubic foot to balance its acidity. Coco coir is a pH-neutral, renewable option.
Filling and Settling the Soil
Don’t just dump each ingredient into the bed and call it done. Mix the topsoil, compost, coir, and vermiculite together first—in a wheelbarrow or on a tarp—so everything blends evenly. As you shovel the mix into the bed, water it lightly every few inches. This “mudding in” step knocks out big air pockets and starts settling right away, so you won’t be scrambling to top off the bed weeks later.
Strategic Planting and Companion Layouts
With the bed filled and settled, it’s time to plan what goes where. A 4x8 bed gives you 32 square feet to work with. Tight spacing and smart companion planting help you get more food from that space.
- Trellised Tomatoes (North End): Plant indeterminate tomatoes along the north side so their vines don’t shade smaller plants. Space them 18 inches apart and set up a trellis right away.
- Basil and Marigolds (Companions): Tuck basil and French marigolds around the tomato stems. Basil may improve tomato flavor and deter some bugs; marigolds help keep root-knot nematodes in check.
- Leafy Greens (Center): Lettuce, spinach, and Swiss chard do well in the middle. Try staggered rows or a grid pattern, spacing plants 8 to 10 inches apart for steady harvests.
- Root Vegetables (South Edge): Carrots, radishes, and beets like the warm, sunny south edge. Make sure your soil mix is free of stones or heavy clay clumps—they cause forked or stunted roots.
Ongoing Maintenance and Seasonal Care
Raised beds are easier to manage than traditional rows, but they still need regular care. Because they drain so well, they dry out faster in hot weather. A drip irrigation system with a timer helps keep the roots moist without wetting the leaves—which cuts down on problems like powdery mildew.
At season’s end, don’t yank out bean or pea plants by the roots. Cut them off at the soil line instead. Their roots stay behind, adding nitrogen and leaving little tunnels for air and water. Every spring, spread about an inch of fresh compost over the top to replace what the plants used up. With decent materials and thoughtful soil care, your 4x8 bed can produce well for ten years or more.

